How To Install Epoxy Natural Stone Flooring

Related Images about How To Install Epoxy Natural Stone Flooring
Natural Stone Flooring Options for Concrete Floors Epoxy floor, Natural stone flooring

Epoxy flooring is made from polymer materials will begin the lives of theirs as a liquid and then might be changed into a strong polymer through a chemical reaction. The Interactive Designer tool on these websites is additionally a fantastic learning resource to match up base coats as well as flooring flecks. This means that designers can select a color which compliments, contrasts, or highlights the place they are reinventing.
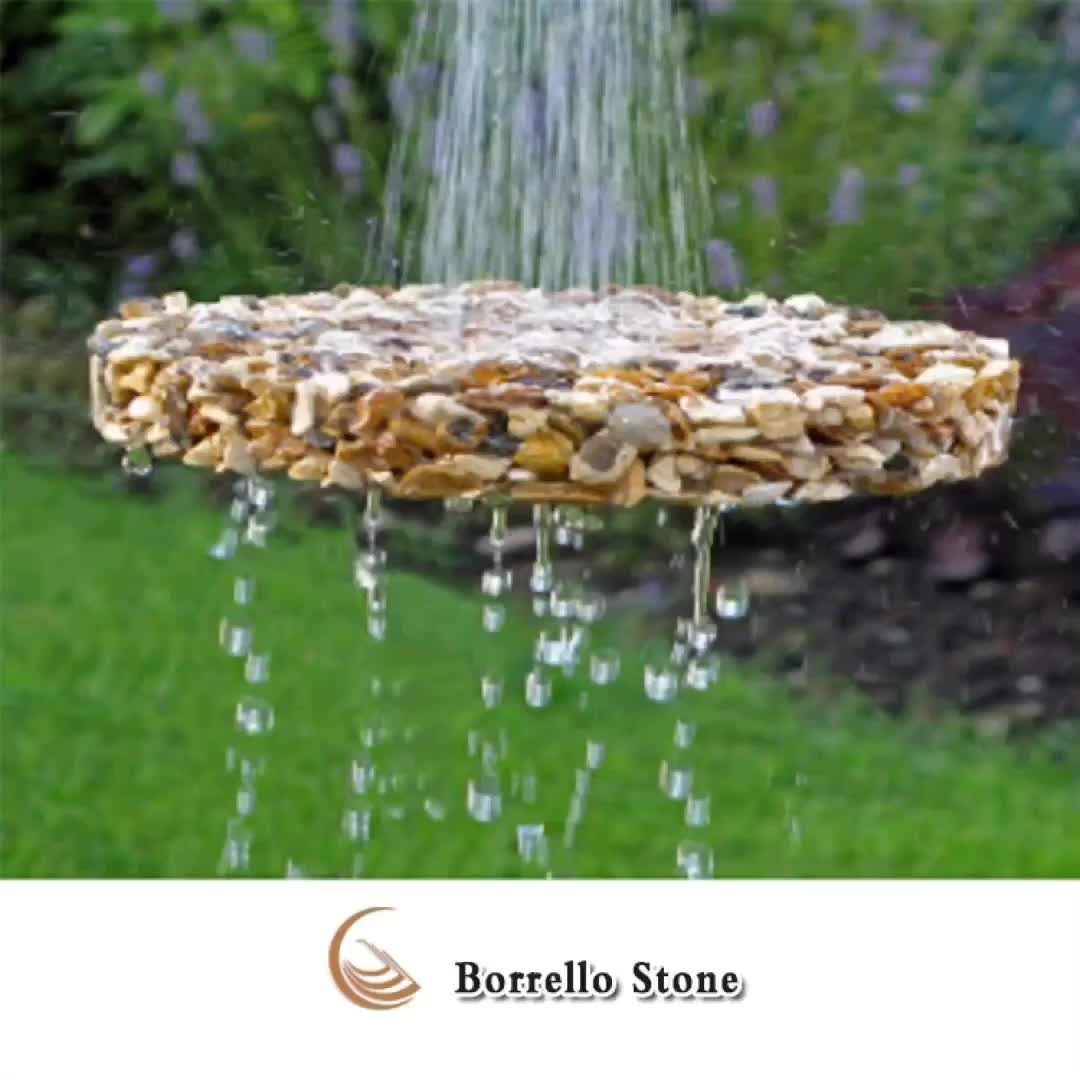
Glacier Bay Granitestone Natural Stone by Everlast Epoxy is a surprisingly economical solution

Poly urea pains normally cost up to 4 times the amount of epoxy flooring and homeowners or maybe business people do not see some added benefits of coming from the expanded cost. Regrettably this only comes in one color, tan, however, it could be used to create labels often by itself or with other epoxy floorings.
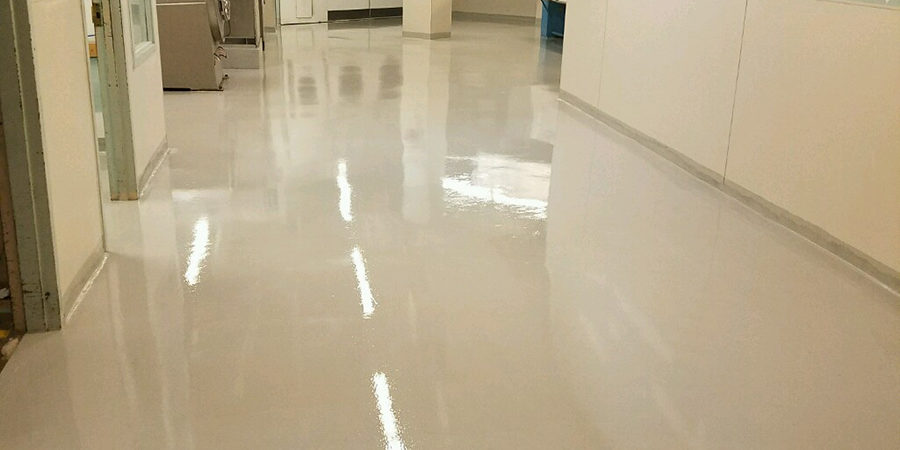
Epoxy Stone Floor Coating Garage Flooring Installation

You can also use epoxy to broken floors, a single epoxy jacket will do! Additionally, you will be ready to lengthen your floors life span. You are able to even end up with a floor which is created entirely of epoxy. This makes the epoxy paint a practical area coat for the manufacturing surfaces as well. Product preparation, blending and application are compromised.
Epoxy Floor 3D Kerala Working – Home Pictures :: Easy Tips

Colour Stone Epoxy Aggregate Flooring – Buy Epoxy Aggregate Flooring,Epoxy Aggregate,Epoxy
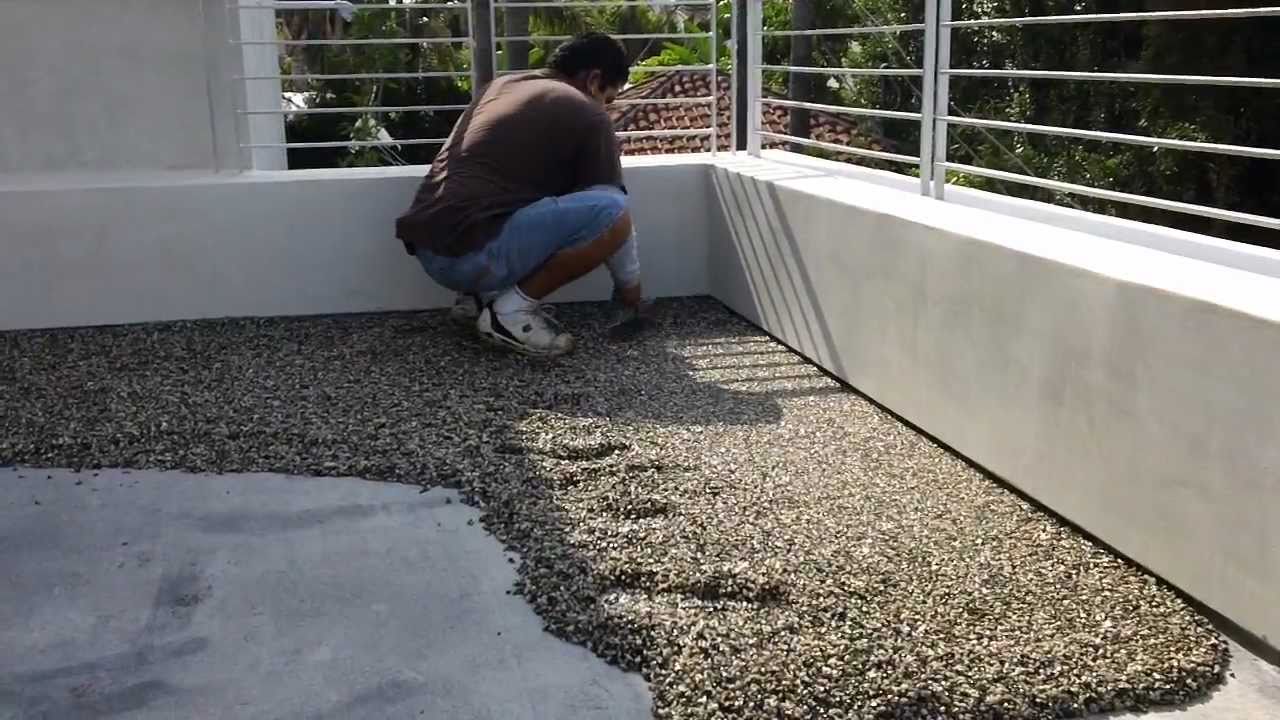
pebbletec floor system installation by: STONE DESIGNS, – YouTube
Epoxy Stone Flooring – Maintenance, Installation, Pros & Cons – Architecture Lab

Pin on Epoxy Floors

How to Install Nature Stone Flooring eHow

70 best Epoxy Flooring images on Pinterest Abilene texas, A call and Concrete staining

DIY Epoxy Stone Flooring » Everlast® Editorial

Services ESR Decorative Concrete Experts
Everlast Epoxy Floor Gallery Ideas for Commercial Floors

Everlast Epoxy Flooring for Wide Range of Commercial & Industrial Needs

Related Posts:
- Epoxy Resin Floor Finish
- Commercial Grade Floor Epoxy
- Clear Self Leveling Floor Epoxy
- Epoxy Over Laminate Flooring
- Quikrete Floor Epoxy Reviews
- Outdoor Epoxy Resin Flooring
- Epoxy Floor Decals
- Epoxy Terrazzo Flooring Installation
- How To Remove Epoxy Paint From Concrete Garage Floor
- Epoxy Flooring Baton Rouge
Title: How to Install Epoxy Natural Stone Flooring: A Comprehensive Guide
Introduction:
Epoxy natural stone flooring is a popular choice among homeowners and commercial property owners due to its durability, aesthetic appeal, and low maintenance requirements. This versatile flooring option combines the beauty of natural stone with the resilience of epoxy resin, creating a seamless and long-lasting surface. In this detailed guide, we will walk you through the step-by-step process of installing epoxy natural stone flooring, ensuring a successful and professional-looking result.
I. Preparing for Installation:
Before starting the installation process, it is crucial to make adequate preparations to ensure a smooth and successful project.
1. Assessing the Surface:
Begin by evaluating the condition of the existing floor surface. Ensure it is clean, dry, level, and free from any cracks or imperfections. If necessary, repair or level the surface before proceeding with the installation.
2. Gathering Tools and Materials:
To install epoxy natural stone flooring, you will need several tools and materials including:
– Epoxy adhesive: Choose an adhesive suitable for natural stone applications.
– Natural stone tiles: Select your desired type of natural stone tiles.
– Epoxy grout: Opt for an epoxy-based grout for added durability.
– Notched trowel: Use a notched trowel to spread adhesive evenly.
– Rubber float: Employ a rubber float for grout application.
– Bucket and mixing paddle: Prepare a bucket with water and a mixing paddle for grout preparation.
– Sponge or cloth: Keep a sponge or cloth handy for cleaning excess grout.
– Measuring tape, level, and chalk line: Use these tools to ensure accurate tile placement.
II. Installing Epoxy Natural Stone Flooring:
Follow these step-by-step instructions to install epoxy natural stone flooring:
1. Applying Adhesive:
Start by applying the epoxy adhesive onto the prepared floor surface using a notched trowel. Spread the adhesive evenly, ensuring complete coverage. Work in small sections to avoid drying of the adhesive before tile placement.
2. Placing Natural Stone Tiles:
Carefully place the natural stone tiles onto the adhesive, pressing them firmly to create a secure bond. Use a level and chalk line to ensure straight alignment and maintain consistent spacing between tiles. Allow the adhesive to cure according to the manufacturer’s instructions.
3. Mixing and Applying Epoxy Grout:
Prepare the epoxy grout mixture by following the manufacturer’s instructions. Mix the grout thoroughly using a mixing paddle until it reaches a smooth consistency. Apply the grout onto the tile surface using a rubber float, ensuring complete coverage of the joints.
4. Cleaning Excess Grout:
Once the grout has set for a short period, use a damp sponge or cloth to clean off any excess grout from the tile surface. Rinse the sponge or cloth regularly to achieve a neat and polished finish.
5. Curing and Sealing:
Allow the epoxy grout to cure completely before subjecting the floor to heavy traffic or moisture exposure. Once cured, consider applying a sealant to enhance durability and protect against stains and wear.
III. Frequently Asked Questions (FAQs):
Q1: How long does epoxy natural stone flooring installation take?
A1: The duration of installation varies depending on factors such as surface preparation requirements, tile size, and project complexity. On average, it can take anywhere from several days to a week to complete.
Q2: Can epoxy natural stone flooring be installed Over existing flooring?
A2: In some cases, epoxy natural stone flooring can be installed over existing flooring. However, it is important to assess the condition and suitability of the existing floor before installation. It may be necessary to remove or prepare the existing flooring to ensure proper adhesion and a smooth surface for the new epoxy natural stone flooring.
Q3: Is epoxy natural stone flooring suitable for outdoor applications?
A3: Yes, epoxy natural stone flooring can be used for outdoor applications. However, it is important to choose a natural stone that is suitable for outdoor use and select an adhesive and grout that are specifically designed for outdoor conditions. Additionally, proper sealing and maintenance are essential to protect the flooring from weathering and moisture damage.
Q4: How do I maintain and clean epoxy natural stone flooring?
A4: To maintain and clean epoxy natural stone flooring, regularly sweep or vacuum to remove dirt and debris. Avoid using abrasive cleaners or tools that could damage the surface. Instead, use a pH-neutral cleaner and a soft mop or cloth to gently clean the floor. Follow manufacturer’s instructions for any specific cleaning products or techniques recommended for your specific epoxy natural stone flooring.
Q5: Can I install epoxy natural stone flooring myself, or should I hire a professional?
A5: The installation of epoxy natural stone flooring can be complex and requires careful preparation and attention to detail. While some DIY enthusiasts may feel confident in undertaking this project themselves, it is generally recommended to hire a professional installer who has experience working with natural stone materials and epoxy adhesives. This will help ensure a successful installation and minimize the risk of costly mistakes or damage to the materials.