How To Glue Engineered Wood Flooring On Concrete
Related Images about How To Glue Engineered Wood Flooring On Concrete
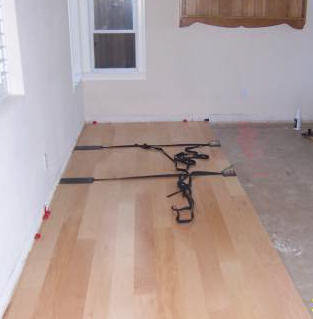
7 Images How To Install Tongue And Groove Wood Flooring On Concrete And Description – Alqu Blog
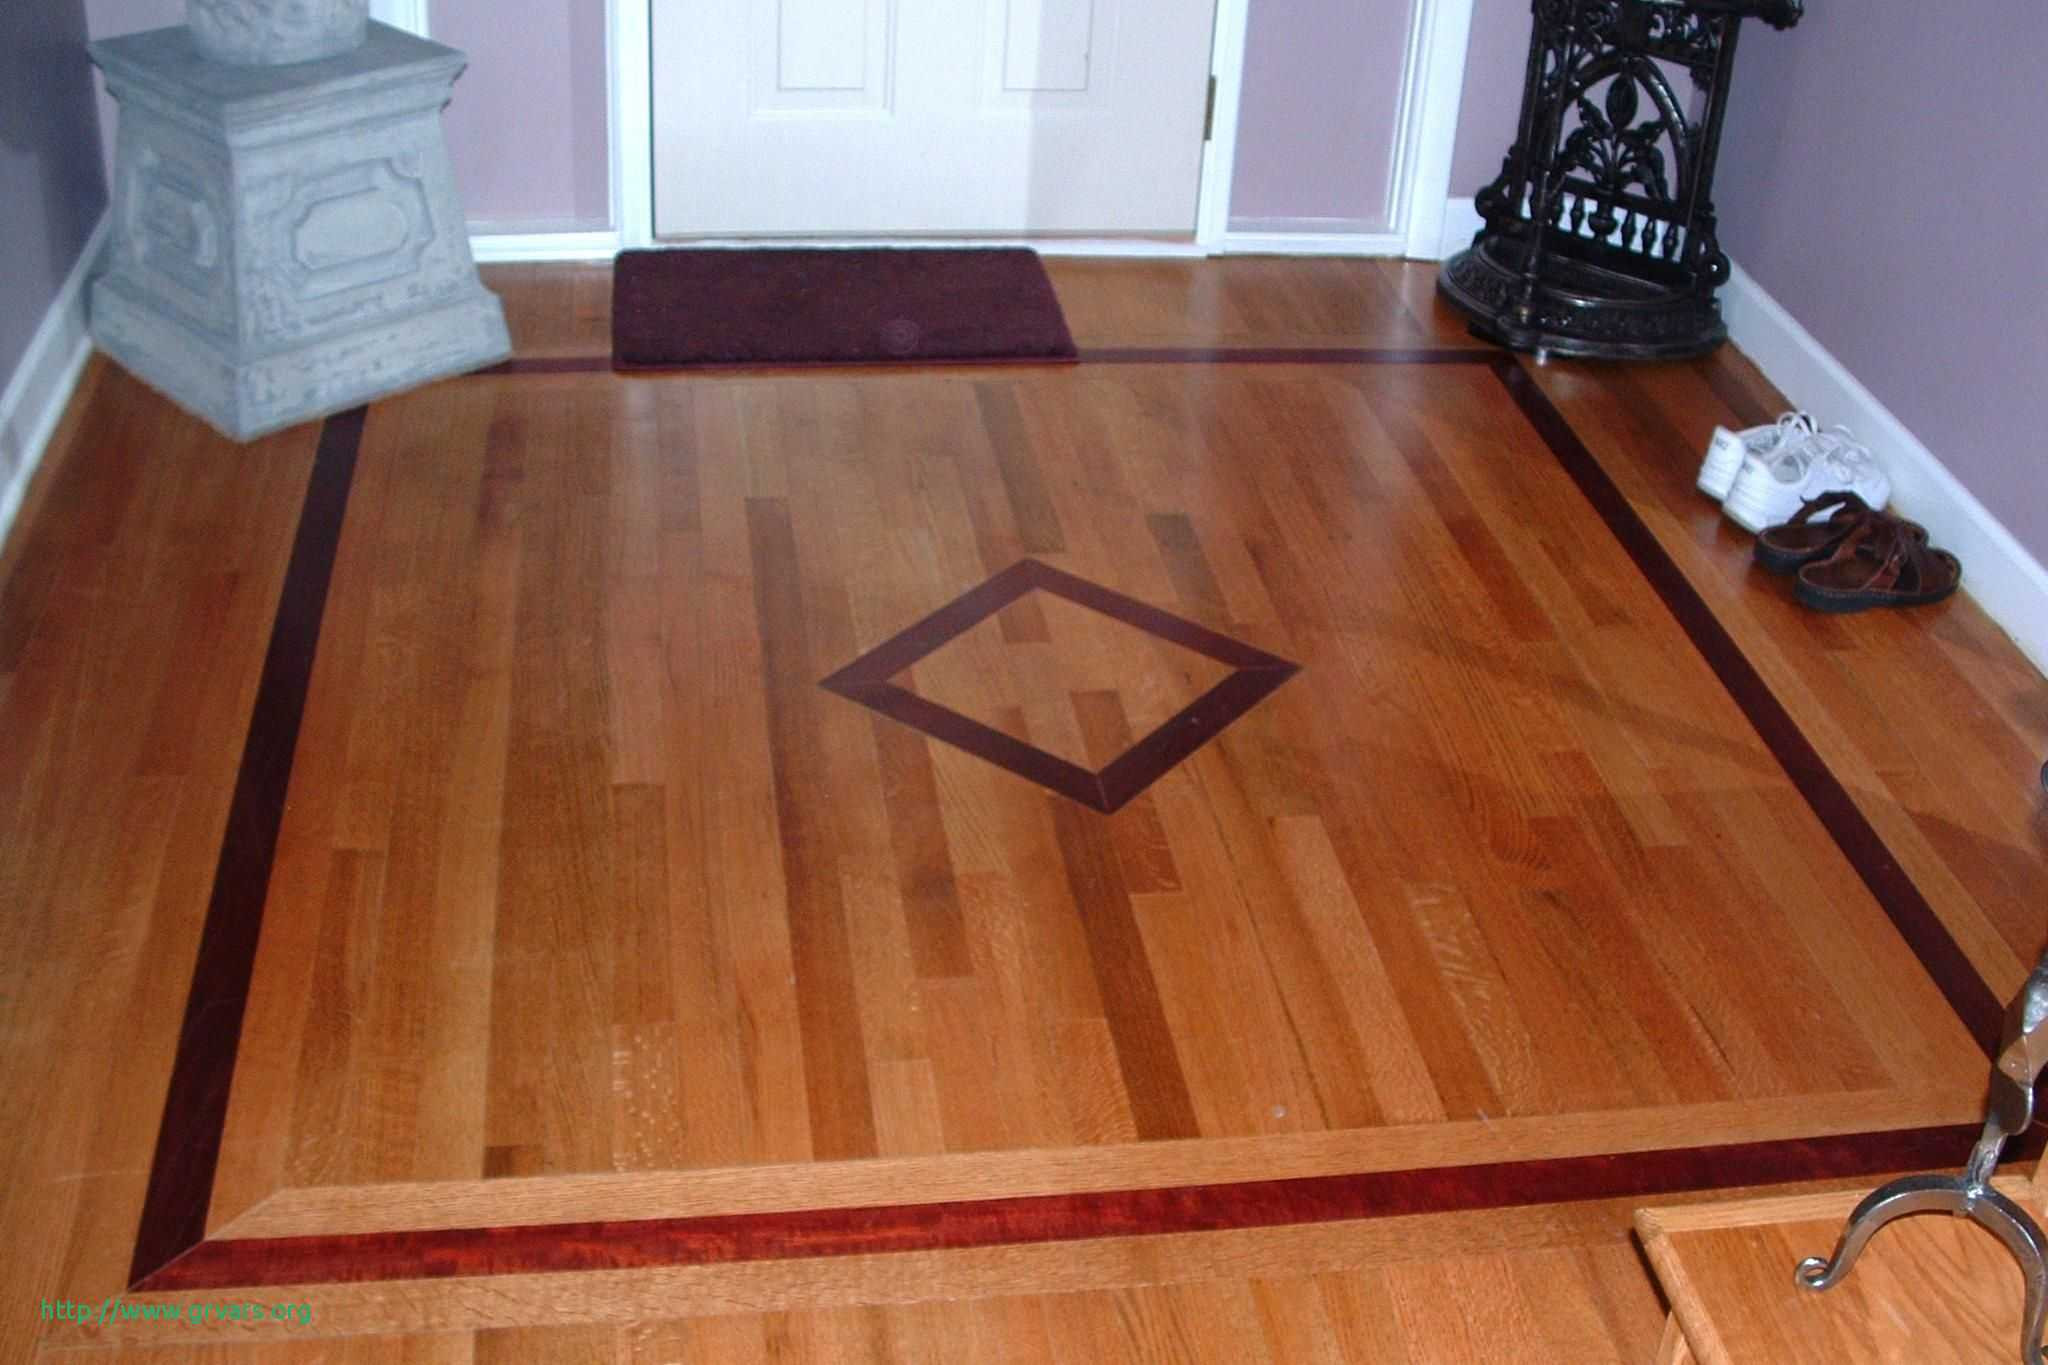
Picking out the right real wood flooring is crucial if you want to get the foremost durability and longevity for your money. These gains inspire a lot of residence owners to make use of laminate wood flooring while remodeling the homes of theirs. Today, wood flooring is now being done in special and custom designs like borders, mixed media, painting, hand-distressing, medallions, stain and exotic wood.
Gluing Wood To Concrete Floor Wood Flooring

Just before we get going with our how you can lay wood flooring manual, you will need to make certain your wood flooring continues to be left in the room you intend to install it in for no less than 48 hours before you begin the method of laying. The statement likewise says, of all flooring solutions you can buy, wood flooring which comes from trees, are the one renewable raw material available.
How To Glue Vinyl Flooring To Concrete – what is vinyl plank flooring
There are 4 different types which resemble the planks you would usually come across on real wood flooring. When Starting off consistently start on the lengthiest squarest wall installing 3 rows in concert to provide you with a foundation, using wedges to provide you with the 10mm required development gap. You will find plenty of different choices for example oak, birch, maple, steamed beech, hornbeam, walnut, acacia, alder, cherry, elm, beech and ash.
Wood Flooring Glued To Concrete – wood flooring design

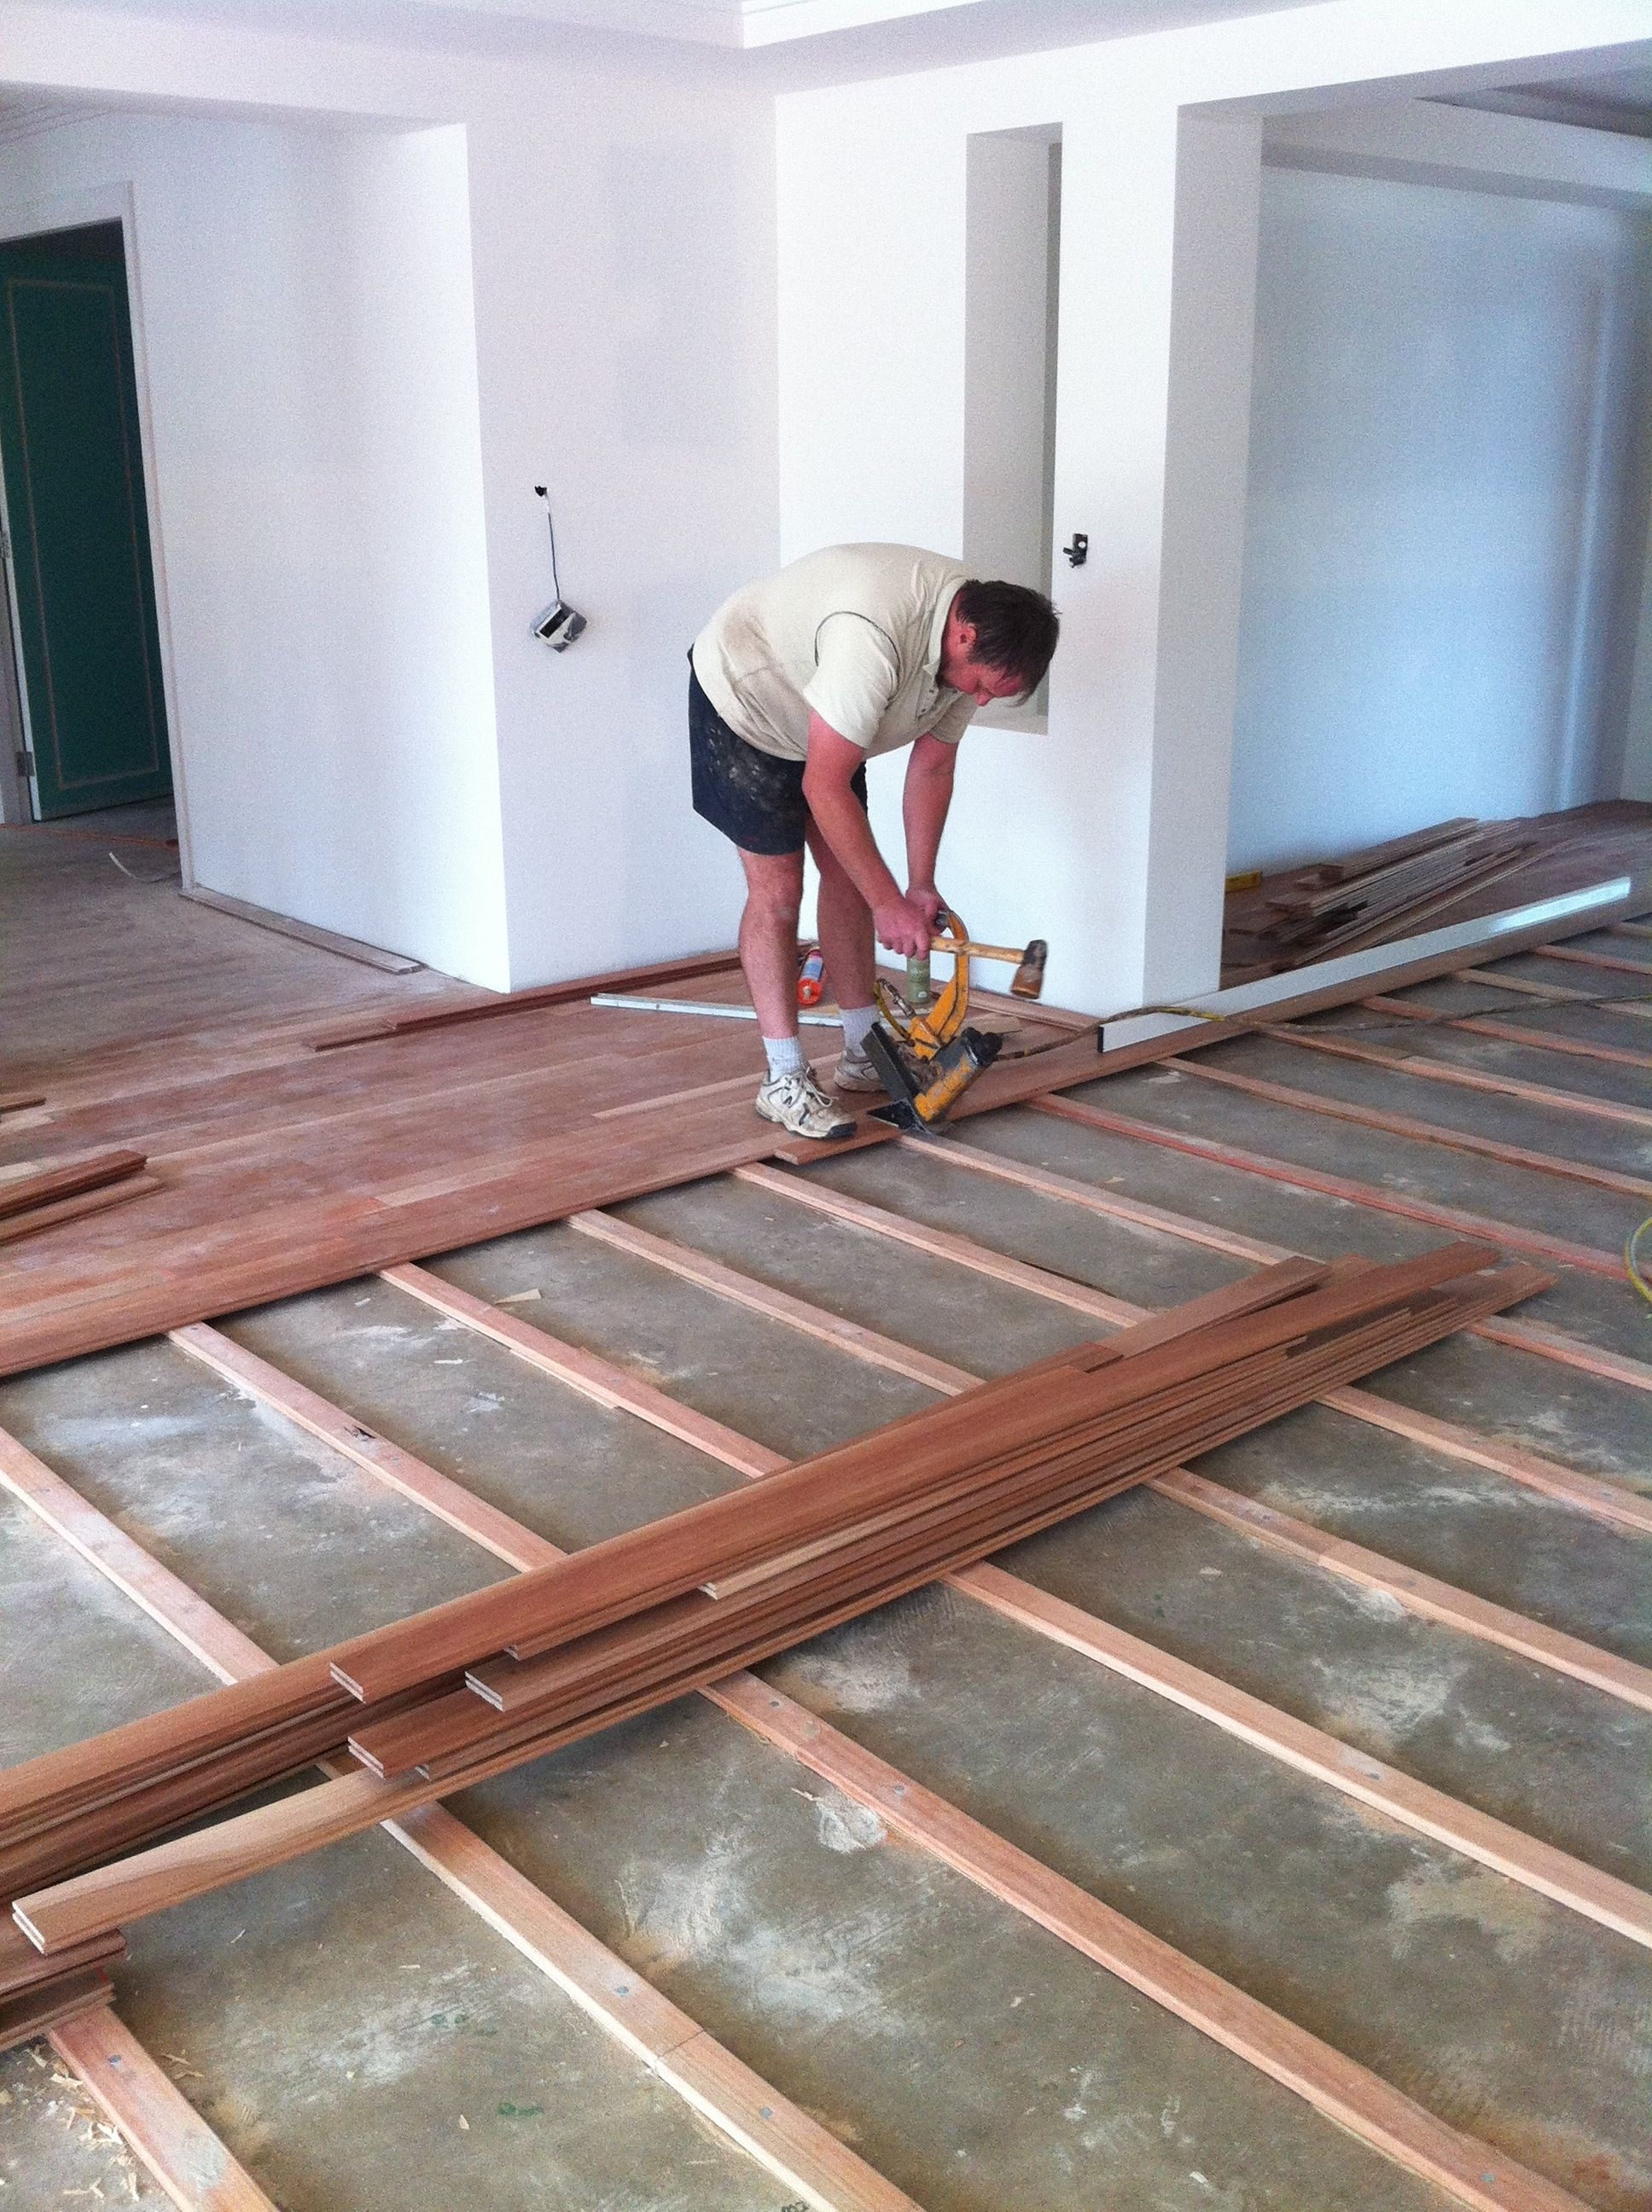
Glue Wood Flooring to a Concrete Slab – Fine Homebuilding

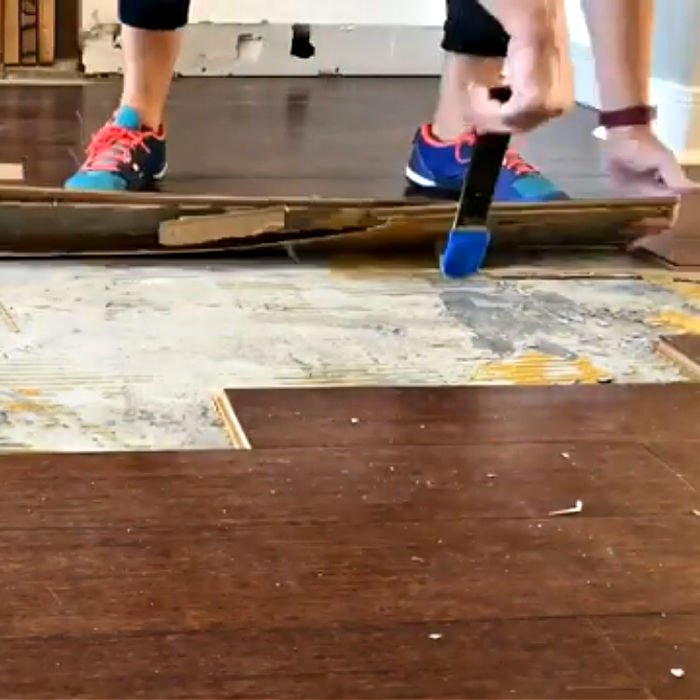
Removing Glued Down Engineered Hardwood Flooring From Concrete Floor Roma
Hardwood Floor Glued To Concrete Slab – Carpet Vidalondon

How To Install Hardwood Floors On Concrete
Choosing Between Solid Or Engineered Prefinished Hardwood Flooring Wood Floors Plus

Best Flooring For Basements Ambient Bamboo Floors

Tesoro – Luxwood Luxury Engineered Planks – Sanibel Shell – Floorzz

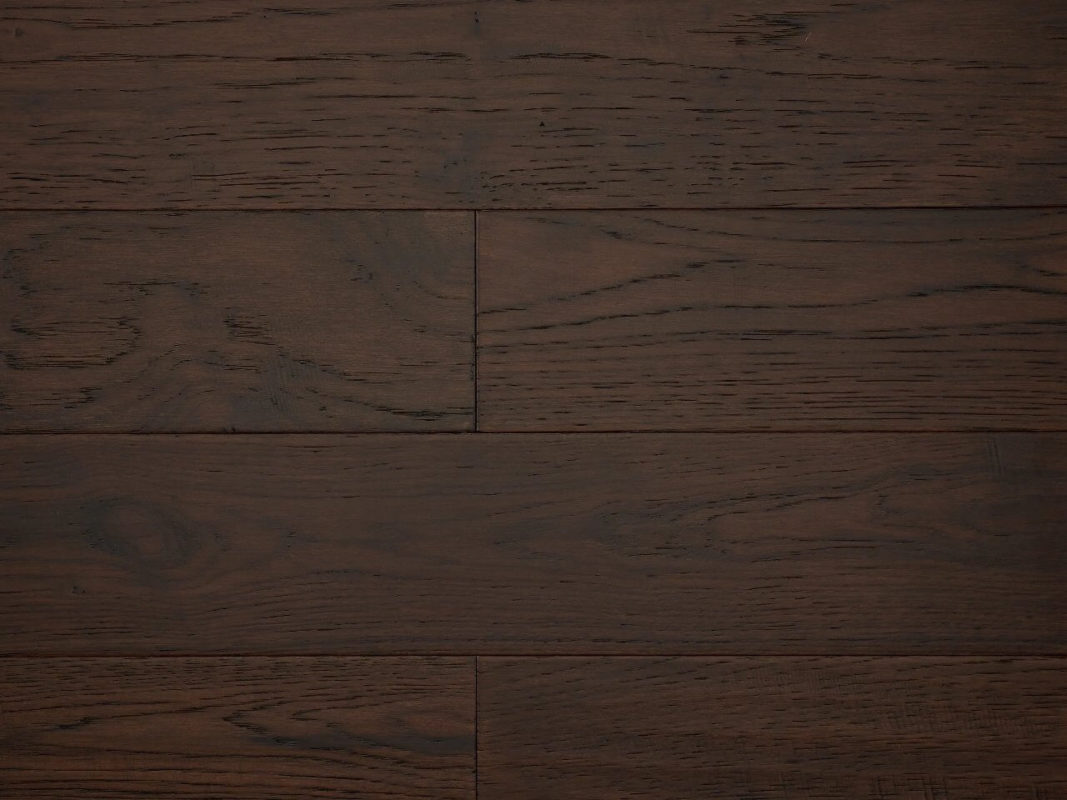
NAF ENGINEERED HARDWOOD HICKORY – Flooring Liquidators
itavi.ca, itavi, www. Itavi.ca, www. Itavi.com, www. Itavi.org interior and exterior design

itavi.ca, itavi, www. Itavi.ca, www. Itavi.com, www. Itavi.org interior and exterior design

Related Posts:
- Wood Floor Modern Kitchen
- Wood Floor Garage Plans
- Real Wood Flooring In Kitchen
- Wood Floor Cork Underlayment
- Streak Free Wood Floor Cleaning
- Solid Wood Flooring White Washed Oak
- Engineered Wood Flooring Durability
- Wood Flooring Types Hardness
- Engineered Wood Flooring Formaldehyde Emission
- Wood Floors For Beach House
Title: How to Glue Engineered Wood Flooring on Concrete: A Comprehensive Guide
Introduction:
Engineered wood flooring offers a durable and aesthetically pleasing option for homeowners looking to enhance the beauty of their spaces. Installing this type of flooring on concrete requires specific techniques, including the use of adhesive. In this comprehensive guide, we will walk you through the step-by-step process of gluing engineered wood flooring on concrete, providing valuable tips and answering frequently asked questions along the way.
I. Preparing the Concrete Subfloor:
Before you begin gluing engineered wood flooring onto concrete, it is crucial to prepare the subfloor properly. Follow these steps to ensure a smooth installation:
1. Clean and Inspect the Concrete Surface:
Thoroughly clean the concrete surface, removing any dust, dirt, or debris that may hinder adhesion. Inspect for cracks or uneven areas, as these should be repaired before proceeding.
2. Moisture Testing:
Perform a moisture test using a moisture meter or plastic sheet test to determine if excessive moisture is present in the concrete. If moisture levels are high, consider using a moisture barrier or addressing the underlying issue before continuing with installation.
3. Leveling the Subfloor:
Use a self-leveling compound to address any uneven areas on the concrete floor. Follow manufacturer instructions carefully for mixing and applying the compound.
II. Selecting the Right Adhesive:
Choosing the appropriate adhesive is crucial for a successful installation. Consider these factors when selecting an adhesive for your engineered wood flooring:
1. Type of Adhesive:
Opt for a high-quality adhesive specifically designed for engineered wood flooring installations on concrete surfaces. Some common options include urethane-based adhesives and polyvinyl acetate (PVA) adhesives.
2. Compatibility with Engineered Wood Species:
Ensure that the adhesive is compatible with your specific type of engineered wood flooring by consulting with manufacturers or professionals if necessary.
3. Moisture Resistance:
If you anticipate moisture issues, such as high humidity or potential water exposure, choose an adhesive with moisture-resistant properties to prevent damage to the flooring over time.
III. Applying the Adhesive:
Now that the subfloor is ready and the adhesive selected, it’s time to apply the glue and install the engineered wood flooring:
1. Preparing the Adhesive:
Follow the manufacturer’s instructions carefully for preparing the adhesive. Proper mixing and consistency are essential for optimal performance.
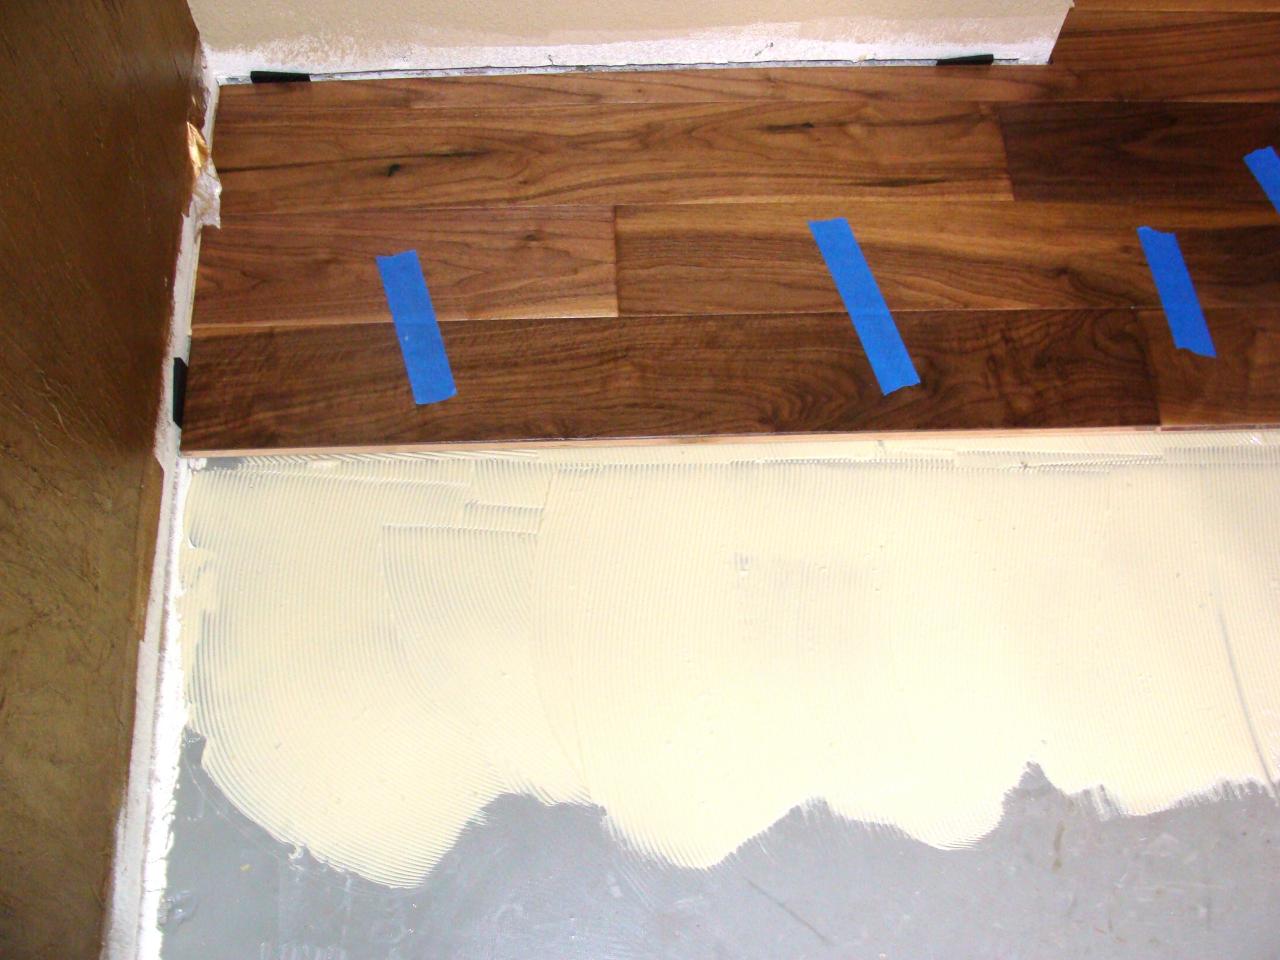
2. Applying the Adhesive:
Using a trowel, spread a thin, even layer of adhesive on the concrete subfloor. Work in small sections, ensuring complete coverage while avoiding excessive build-up.
3. Notching Technique:
Consider using a notching technique on the adhesive to increase its bonding capacity. By creating parallel grooves with a trowel or notched trowel, you enhance the contact between the adhesive and the wood flooring.
4. Placing and Aligning Flooring:
Carefully place each engineered wood plank onto the glued surface, ensuring proper alignment with adjacent planks. Use spacers to maintain consistent expansion gaps as recommended by manufacturers.
5. Securing the Planks:
Use a tapping block and rubber mallet to secure each plank firmly in place. This helps eliminate any gaps between planks and ensures a snug fit.
IV. Post-Installation Considerations:
After completing the installation process, there are a few crucial steps to take to ensure long-lasting results:
1. Allowing Sufficient Drying Time:
Follow manufacturer recommendations regarding drying time before allowing Foot traffic on the newly installed engineered wood flooring. This is important to ensure that the adhesive has fully cured and the flooring is securely bonded to the subfloor.
2. Cleaning and Maintenance:
Regularly clean the engineered wood flooring using a manufacturer-approved cleaner to remove dirt and debris. Avoid using harsh chemicals or abrasive cleaners that can damage the finish of the flooring.
3. Protecting from Moisture:
Take steps to protect the engineered wood flooring from moisture, such as using doormats at entrances to trap dirt and moisture, promptly cleaning up any spills or water leaks, and maintaining proper humidity levels in the room.
4. Monitoring for Damage:
Periodically inspect the engineered wood flooring for any signs of damage, such as scratches, dents, or warping. Address any issues promptly to prevent further damage and maintain the integrity of the flooring.
5. Following Manufacturer Guidelines:
Always refer to the manufacturer’s guidelines and recommendations for cleaning, maintenance, and repairs specific to your engineered wood flooring. These guidelines may vary depending on the type of wood species and finish used.