How To Epoxy Garage Floor DIY
Related Images about How To Epoxy Garage Floor DIY
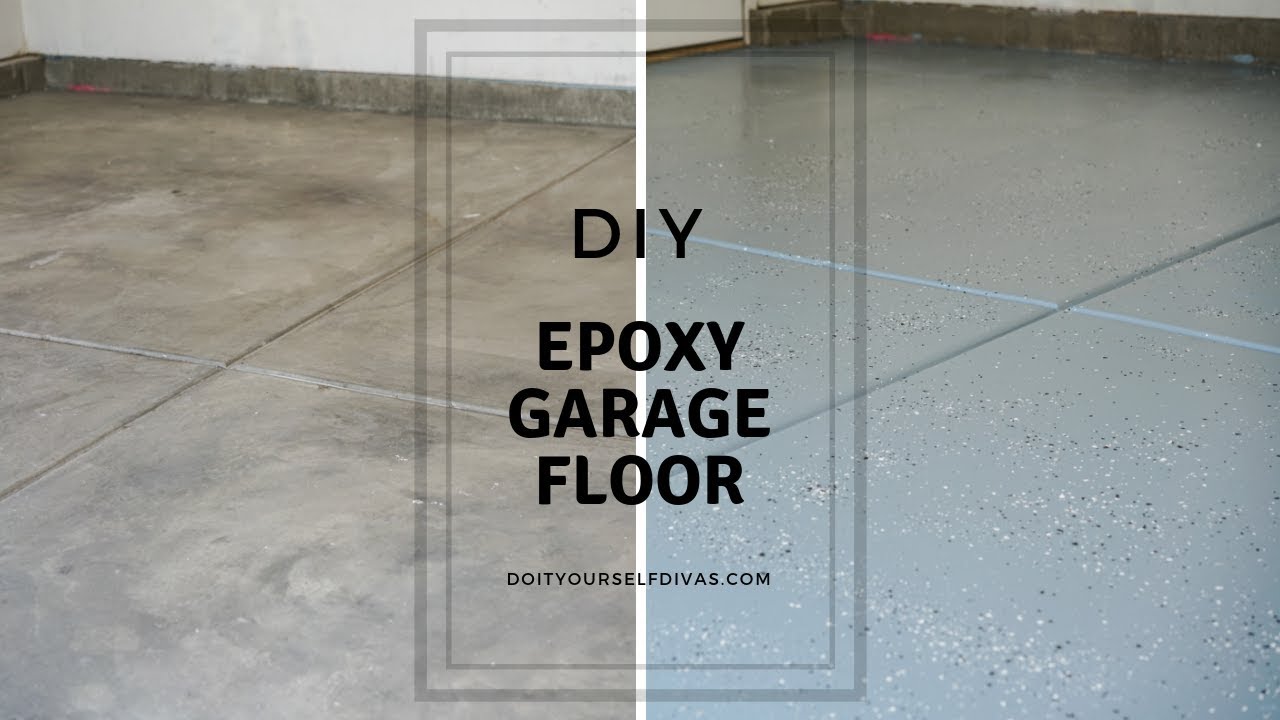
DIY Garage Floor Coating – Domestic Imperfection
This option revolves around the facts that epoxy flooring is tremendously durable, requires minimum maintenance and is eco friendly. This would diminish any wastage & save you money. The professionals know every single aspect of the surfacing and they can easily use the most up technology for making use of the epoxy paint over the floors of yours.
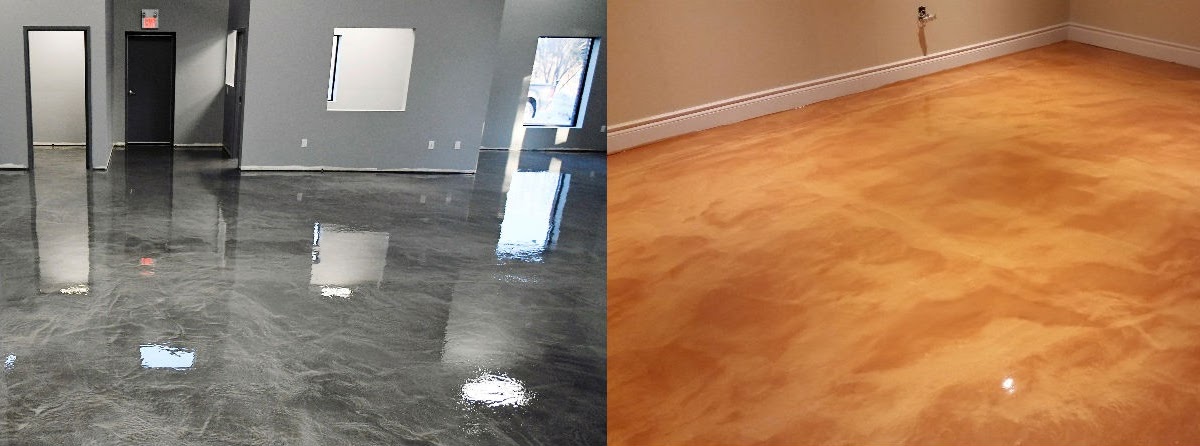
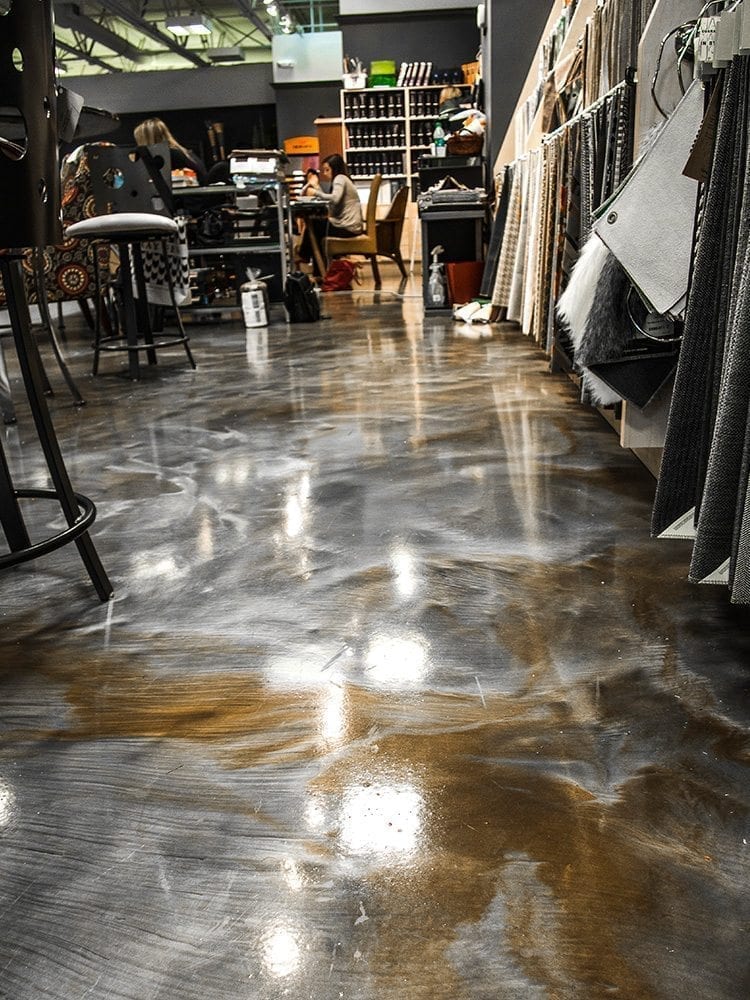
Learn How To Create Stunning Metallic Epoxy Floors

There are many sorts of epoxy, and the choice of yours should be based on how much traffic goes by on your flooring from every day, how often you will have to touch up, as well as, the cost of every feature. If you use epoxy flooring for people tough places, you are able to rest certain that not only can the surface look good for a long time, but will take use and tear like no other flooring material.
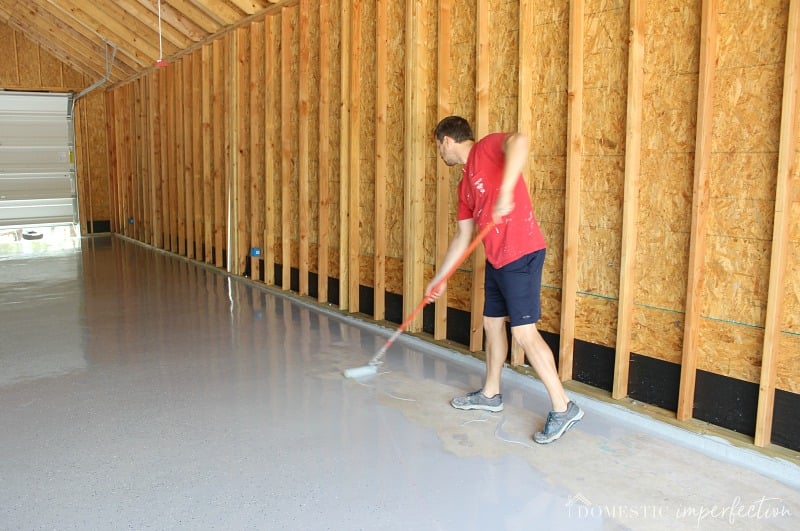
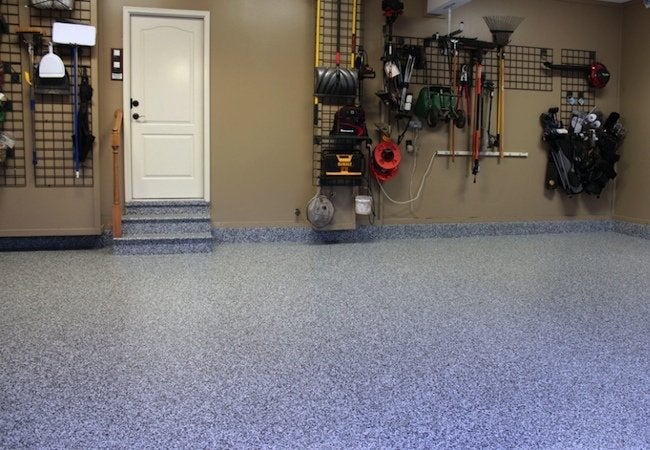
DIY Epoxy Garage Floor – A Step by Step Tutorial Epoxy floor diy, Diy flooring, Garage floor epoxy

Epoxy floors are available in all of the types of styles and varieties. On the flip side, if you've a brand new slab, wait for no less than a month for the flooring to be thoroughly dry just before epoxy program. Even the epoxy paints could be granted desired textures also. There are a great deal of rewards in using epoxy as being a floor coating. The price of an epoxy flooring is comparable to that of other flooring types.
How To Do It Yourself Epoxy Floor – DIY Garage Floor Epoxy Concrete Epoxy Epoxy Flooring Do It
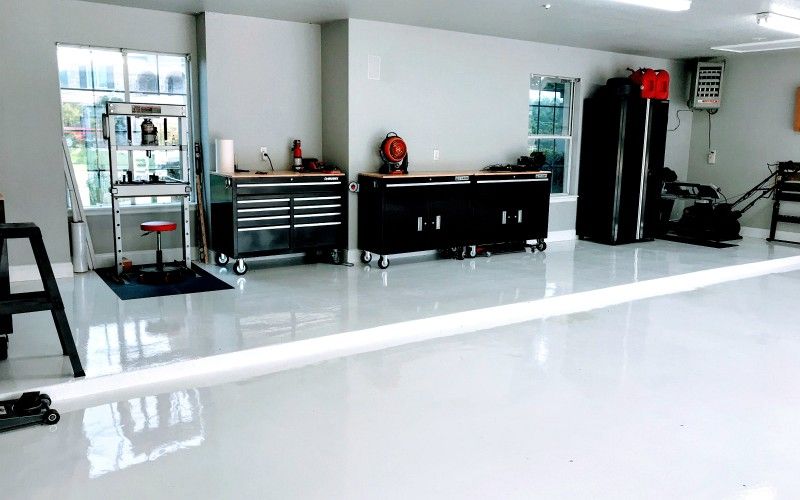
We Review a Stunning White Epoxy Garage Floor by ArmorPoxy All Garage Floors
DIY Epoxy Garage Floors Garage floor epoxy, Garage floor, Garage floors diy

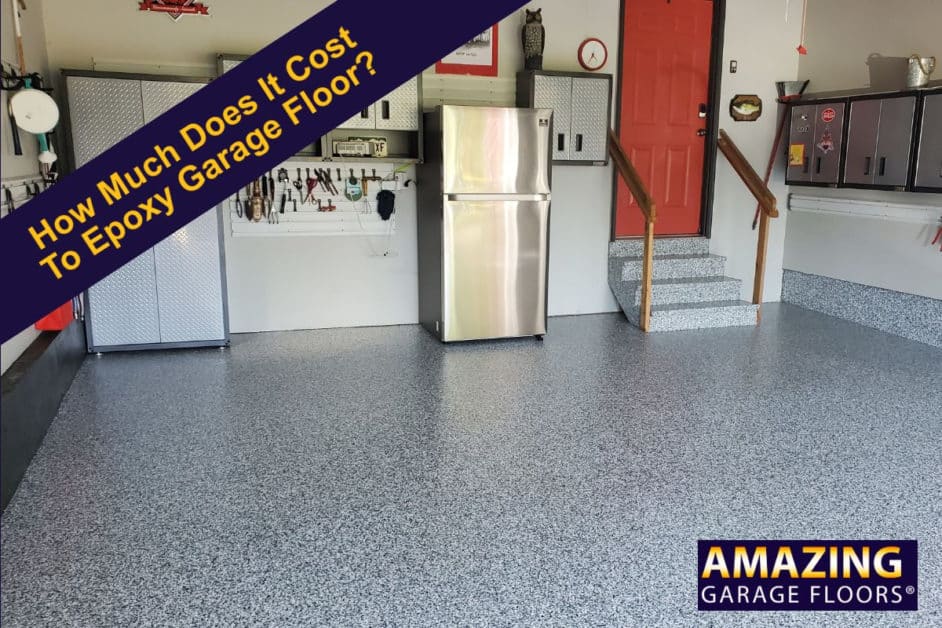
How Much Does It Cost To Epoxy Garage Floor? – Amazing Garage Floors
DIY Epoxy Garage Floor Tutorial DIY Epoxy Garage Floor Tutorial – How to make yo#diy #epoxy #

Epoxy Flooring For Garage & Commercial Floors

How To Sand and Seal a Concrete Floor – Sander’s Guide

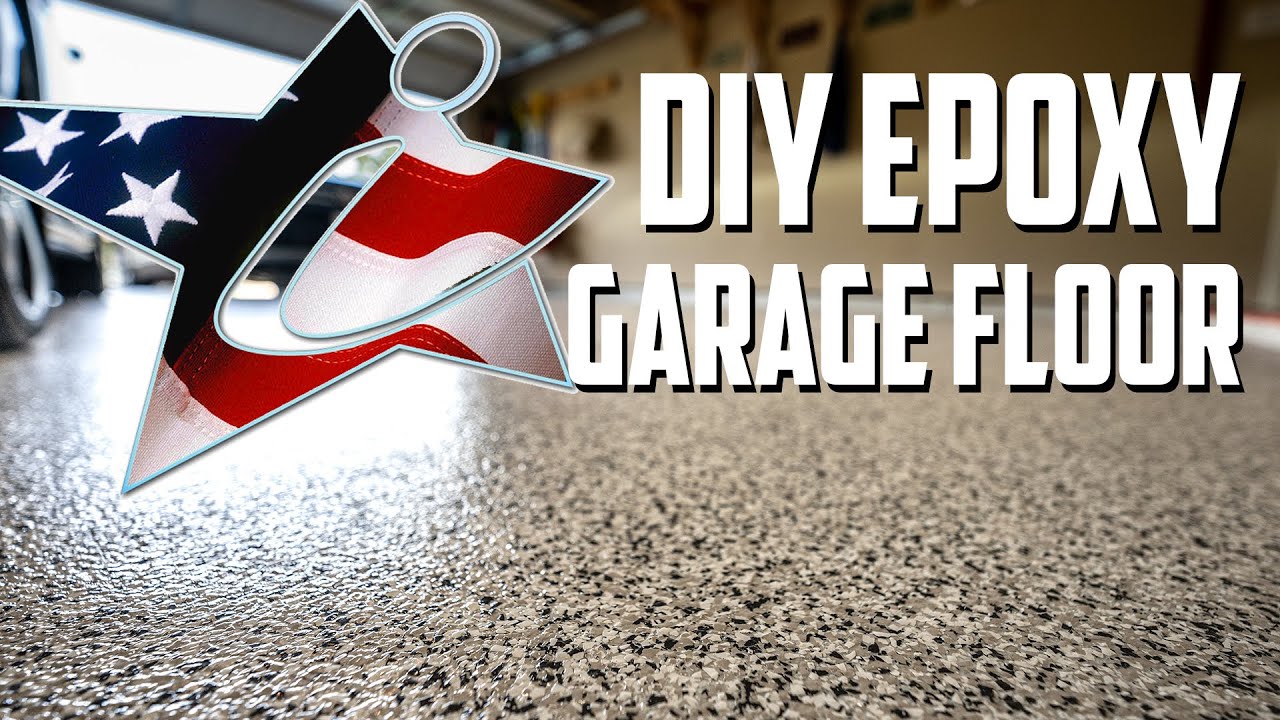
Garage Floor Epoxy DIY Makeover with iCoat Systems – YouTube
How to Epoxy-Coat Your Garage Floor – Bob Vila
Making a 3D Epoxy Metallic Floor Step by Step Floor Epoxy
Parents of a Dozen: How to Epoxy a Garage Floor

Related Posts:
- Epoxy Resin Floor Finish
- Commercial Grade Floor Epoxy
- Clear Self Leveling Floor Epoxy
- Epoxy Over Laminate Flooring
- Quikrete Floor Epoxy Reviews
- Outdoor Epoxy Resin Flooring
- Epoxy Floor Decals
- Epoxy Terrazzo Flooring Installation
- How To Remove Epoxy Paint From Concrete Garage Floor
- Epoxy Flooring Baton Rouge
How To Epoxy Garage Floor DIY
Epoxy coating a garage floor can transform the look of your garage and add value to your home. It is a relatively easy DIY project that anyone can do with a little bit of knowledge and the right tools. This article will provide step-by-step instructions on how to epoxy your garage floor, as well as tips for proper preparation and maintenance of the epoxy coating.
Preparing the Surface for Epoxy Coating
Before you begin the epoxy coating process, it is important to properly prepare the surface of your garage floor. This includes removing any existing paint, grease, dirt, oil, or other debris. If there are any cracks or holes in the floor, these should be filled in using a concrete patching compound prior to beginning the epoxy coating process. Once the surface is properly prepared, it should be power washed to remove any remaining debris that may have been missed during cleaning.
Applying an Epoxy Coating Primer
Once the surface has been properly prepared, a primer coat should be applied to create an even base for the epoxy coating. An epoxy primer should be applied in two thin coats with a paint roller and allowed to dry completely between each coat. Once the primer has dried completely, it should be lightly sanded to create a smooth surface for applying the epoxy coating.
Mixing and Applying The Epoxy Coating
The next step in epoxying your garage floor is to mix and apply the epoxy coating itself. Before mixing, make sure that all of your supplies are clean and free from dirt or debris that could affect the quality of the finished product. Once everything is ready, mix together equal parts of epoxy resin and hardener according to package instructions and pour into a paint tray. Use a long-handled roller to apply two even coats of epoxy onto your garage floor, allowing each coat to dry before applying additional coats of either clear or colored finish coats.
Adding Colorant And Decorative Chips
If desired, you may also add colored pigment or decorative chips (known as flakes) into your final coat of epoxy for added visual appeal. For colorant, simply mix in a small amount of colorant with your final coat of epoxy according to package instructions. For decorative chips or flakes, sprinkle them onto wet epoxy while it is still wet and press down lightly into place with a roller or brush. Allow the entire surface to dry completely before walking on it or parking vehicles on top of it.
Caring For Your Epoxied Garage Floor
Once your new epoxied garage floor is dry and ready for use, there are several steps you can take to ensure its longevity:
•Sweep regularly using a soft broom or vacuum cleaner equipped with soft bristles.
•Clean spills immediately using mild detergent and warm water with a mop or sponge.
•Avoid driving heavy vehicles such as trucks onto your new floor if possible; lighter vehicles such as cars are acceptable if necessary.
•Regularly check for any signs of wearing or cracking in order to address problems as soon as they arise; if needed, touch up problem areas with additional coats of non-fading finish coat every one to two years .
By following these steps, you can ensure that your new epoxied garage floor will remain in great condition for years to come.