How To Do Bathroom Floor

Related Images about How To Do Bathroom Floor
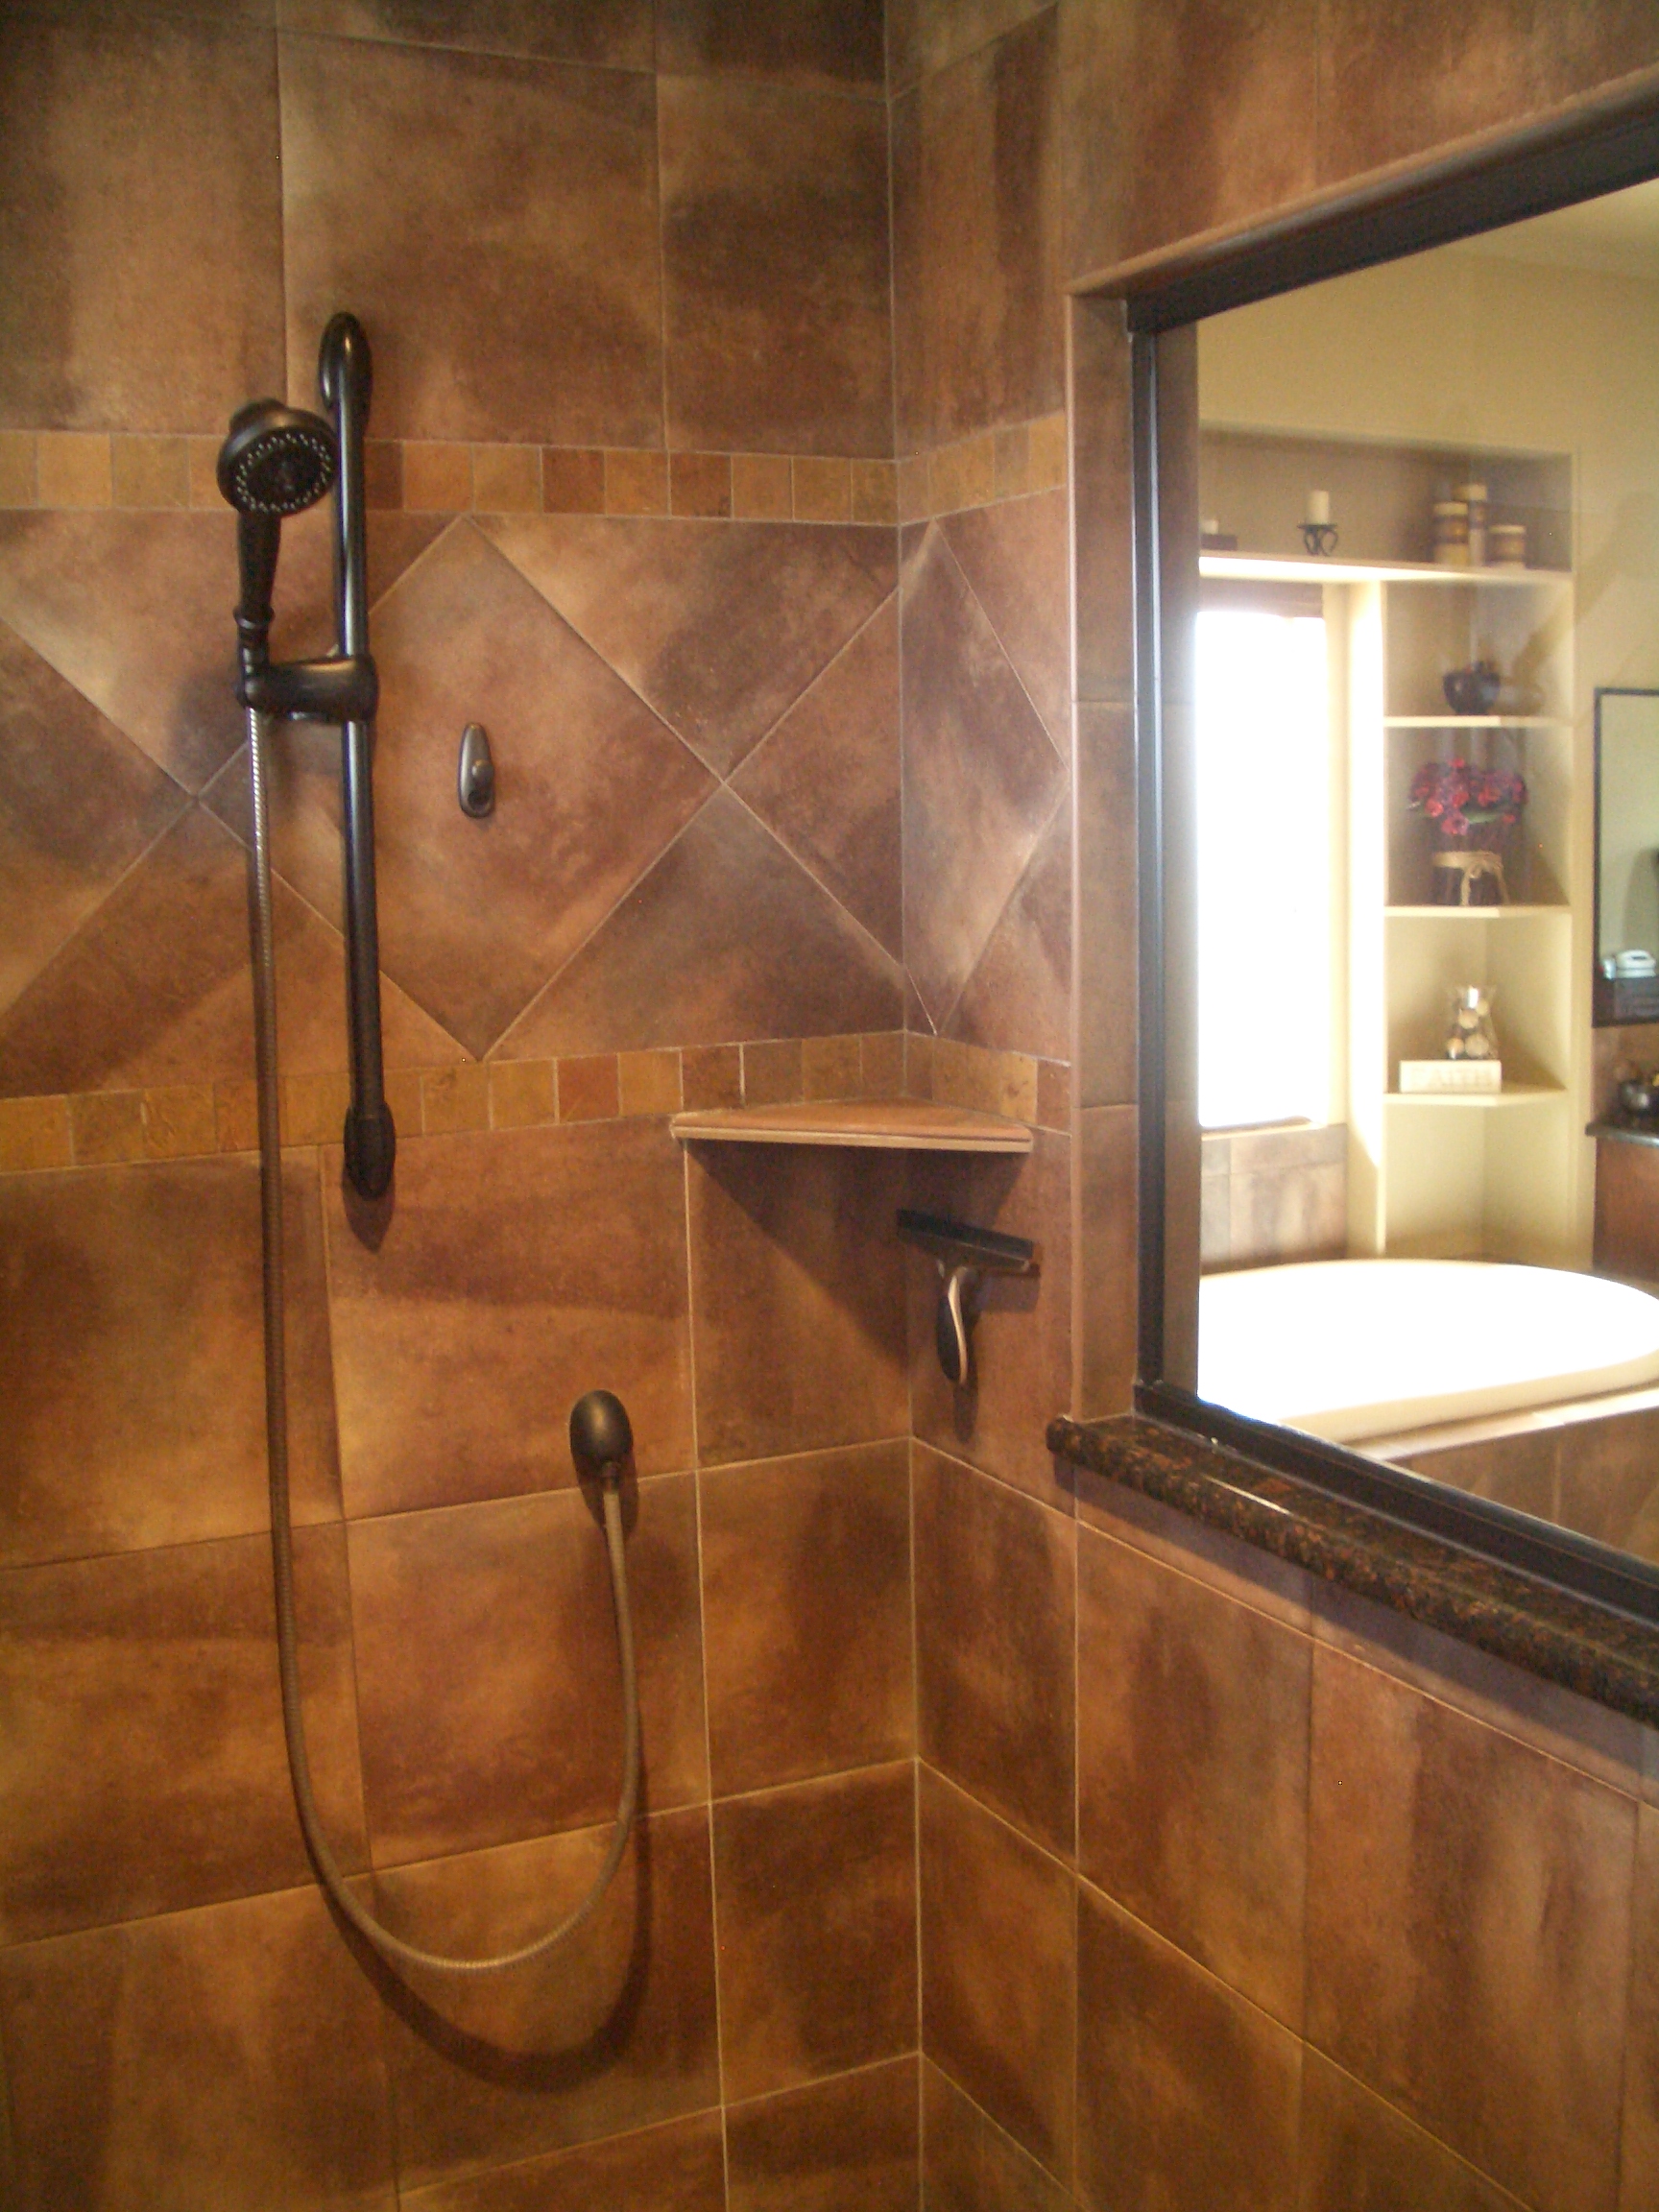
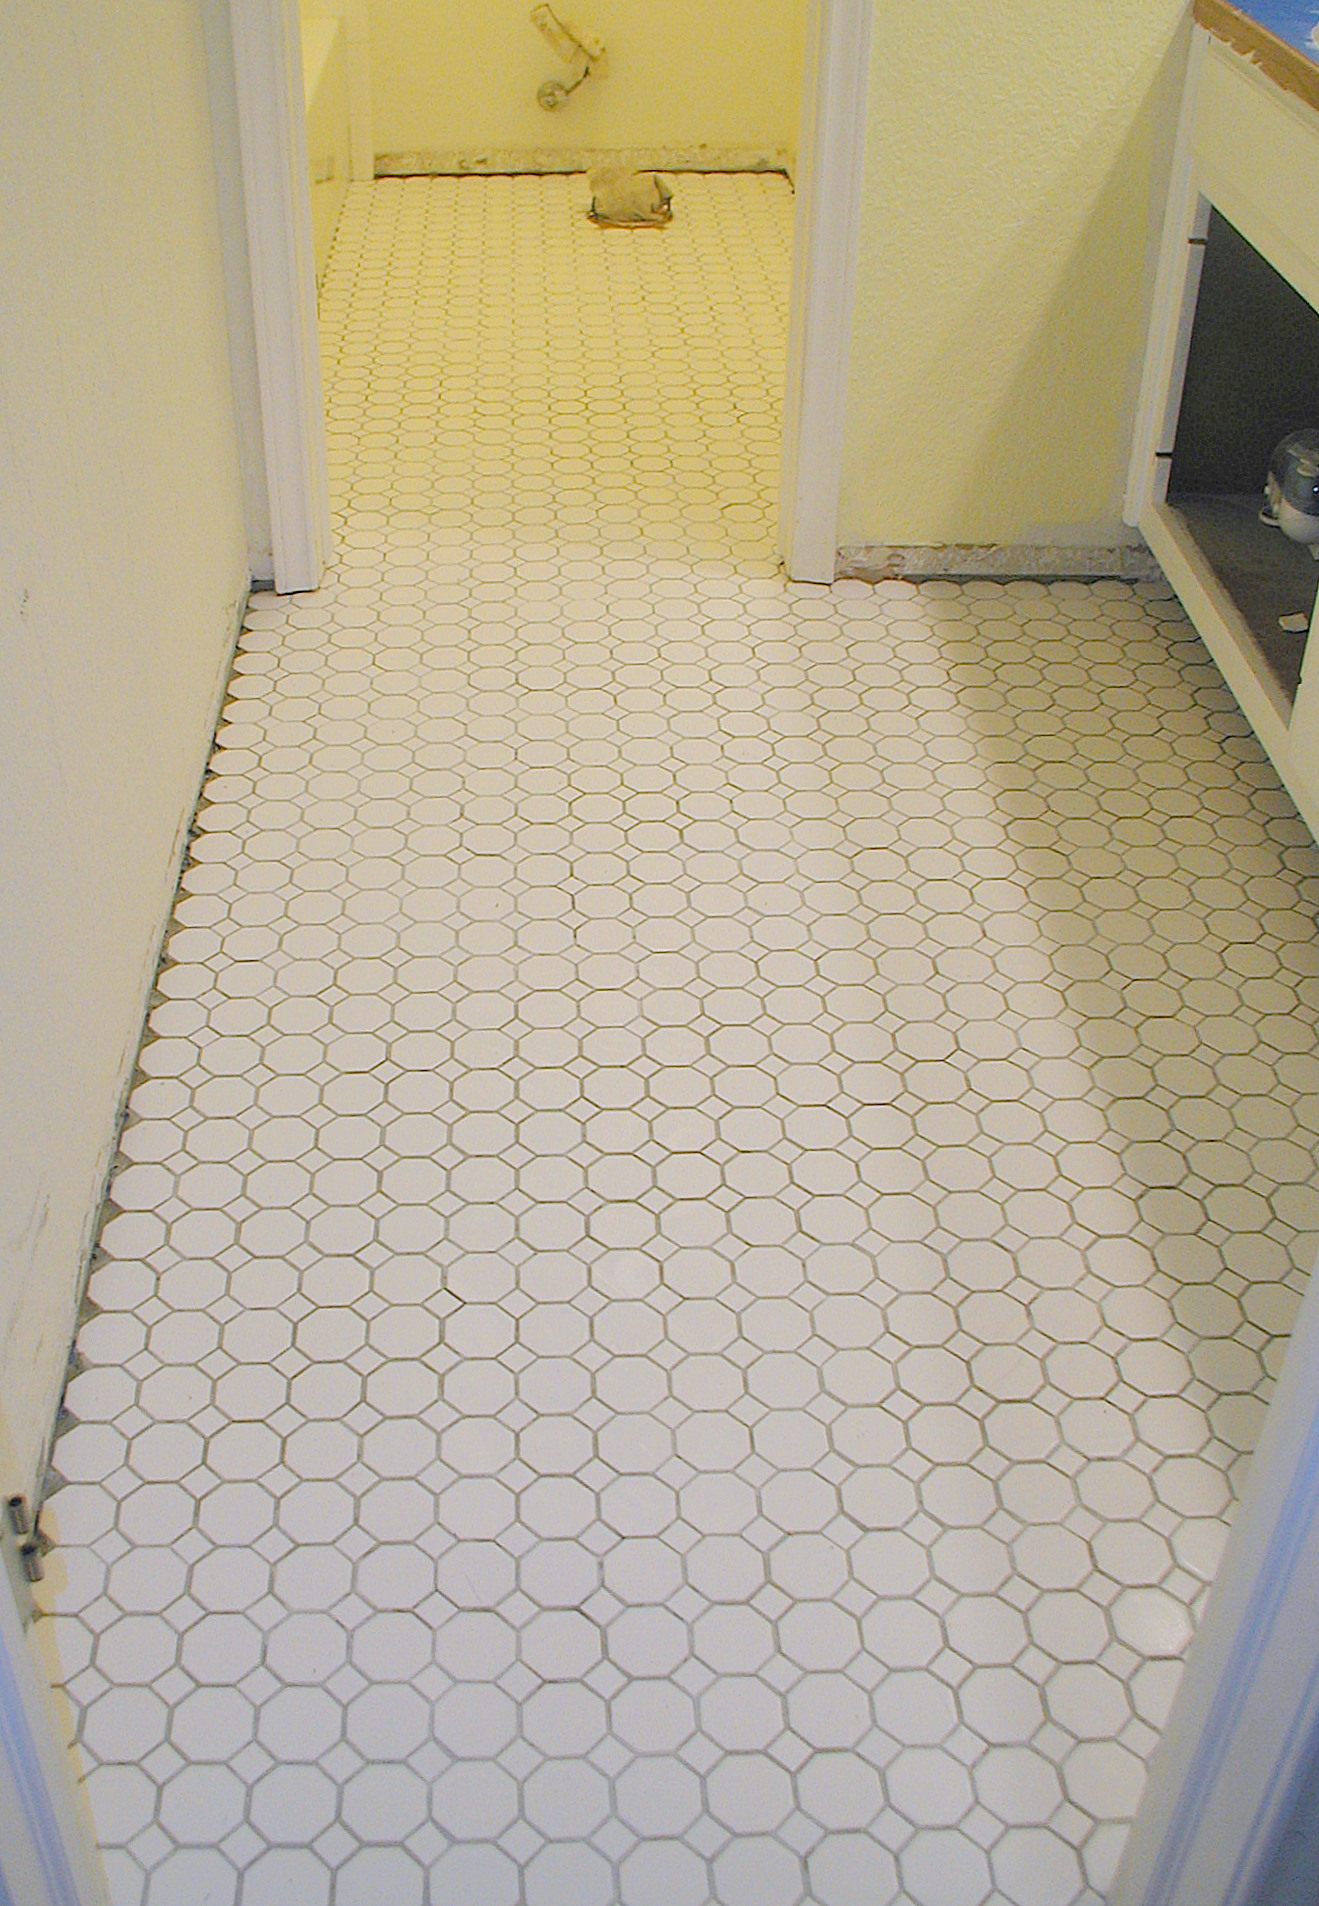
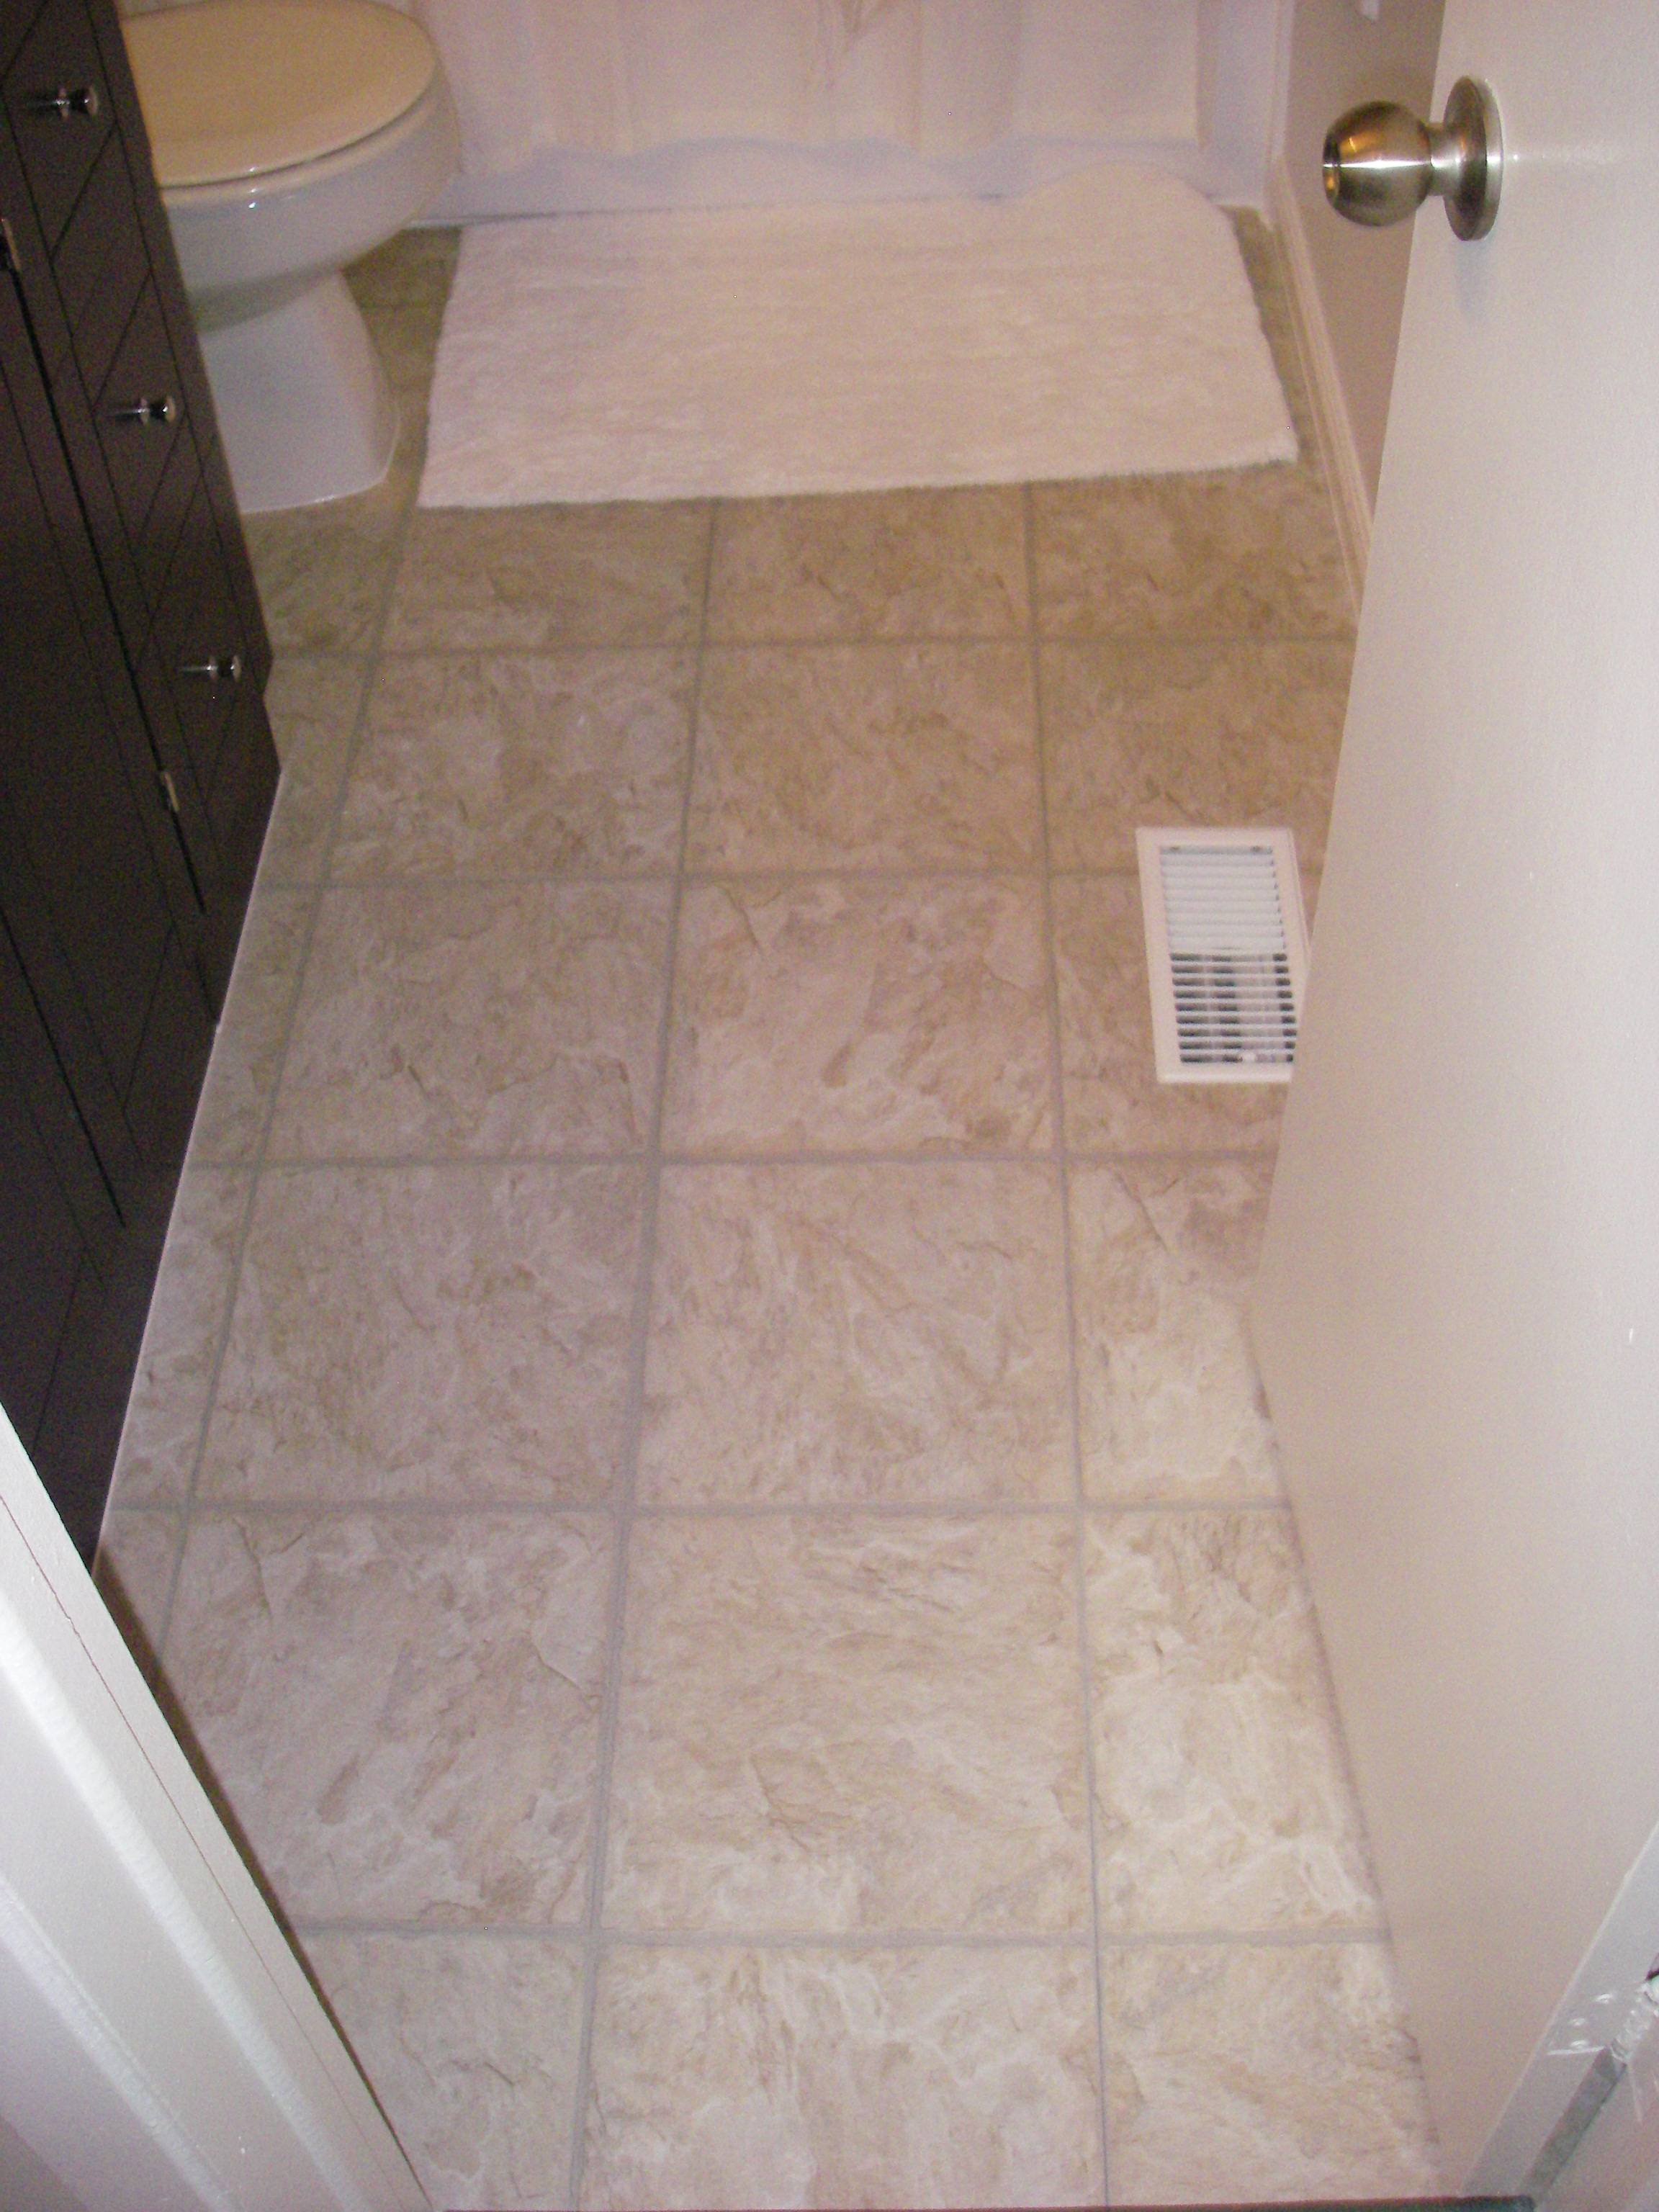
8 Cool Ways to Get a Gorgeous Bathroom Floor Hometalk
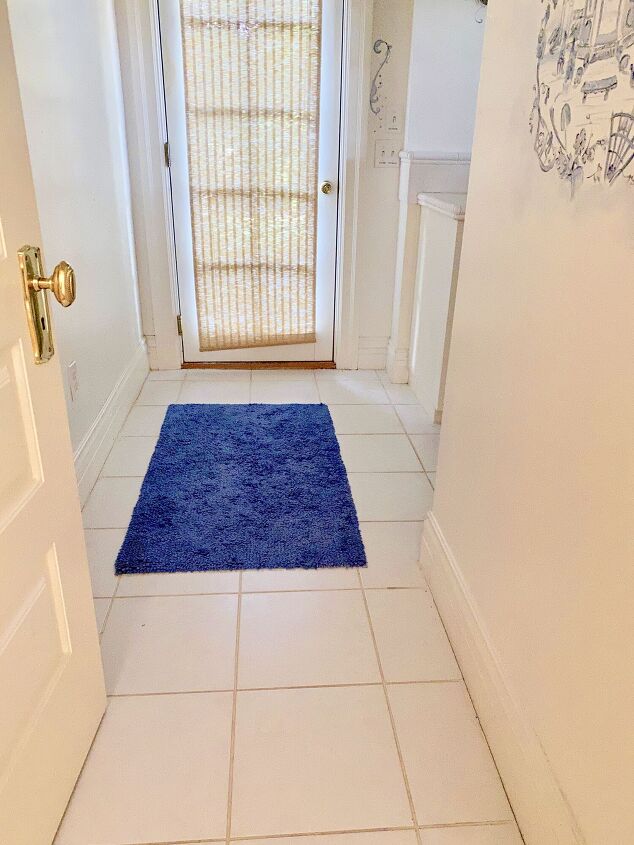
It is up to you to let the imagination flow of yours and pick flooring that best suits the bathroom of yours. This is better than the other three options because moisture finds it difficult to penetrate through that kind of bath room flooring. The greatest thing about utilizing bathroom floor vinyl tiles is you are able to do it yourself. The most common bathroom floor tiles ideas is using ceramic flooring.
Bathroom design ideas – colors and patterns Interior Design Ideas AVSO.ORG
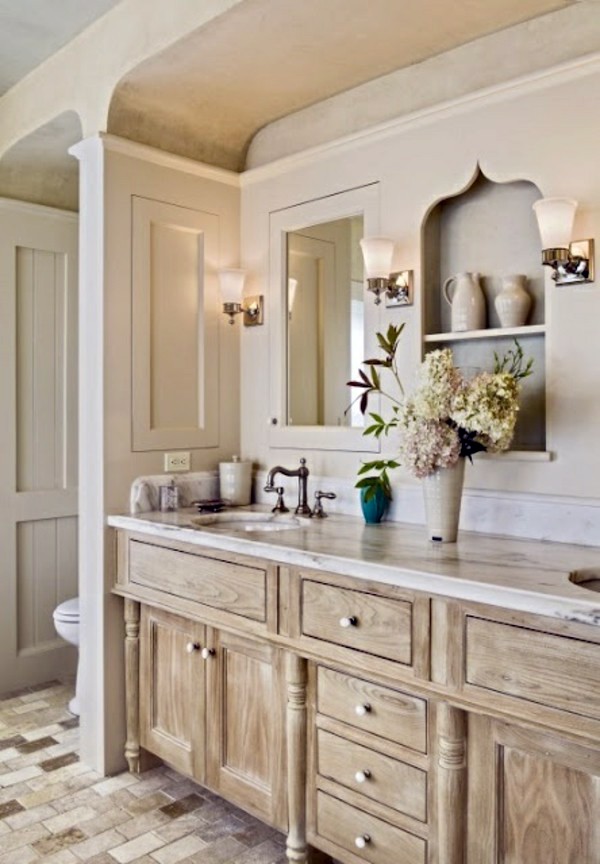
These tiles are available in colors that are various and are Eco friendly as well. Finally, in case you're after quality as well as design for your luxury bathroom designs, stone flooring. Sky blue, red, green or yellow grout provides color along with a part of entertaining to the bathroom.
Just noticed this on my bathroom floor : pics
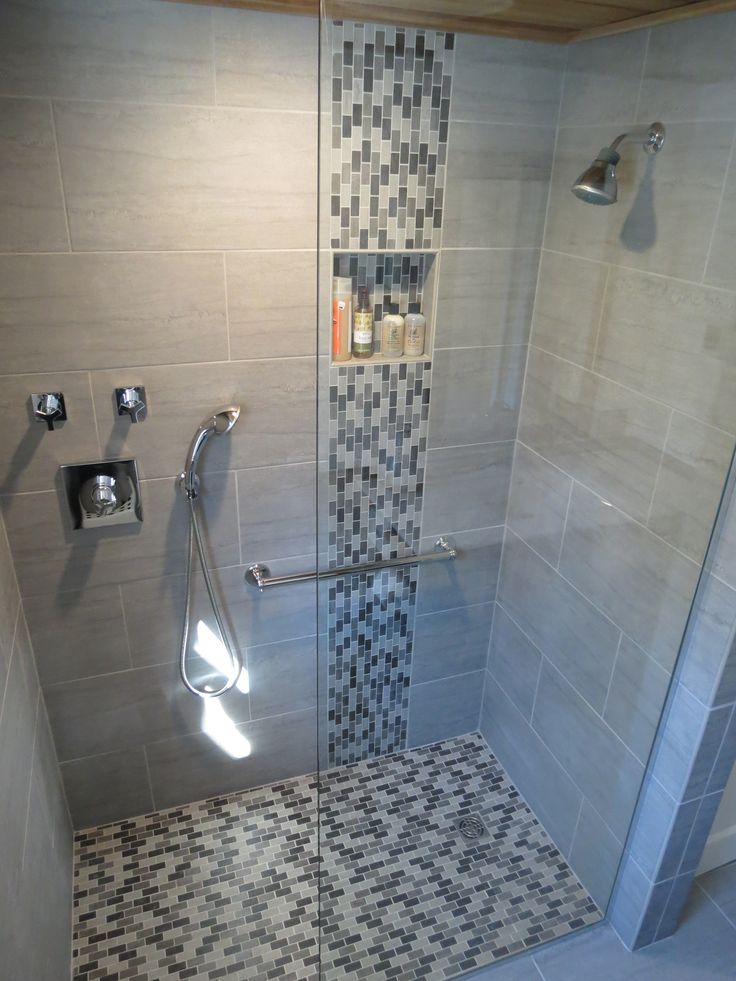
The tiles you pick out for the bath room determine its general appearance and ambience. This can provide the bathroom tiles color of yours, texture and style. They come in different textures and give a good grip so you do not slip easily on a damp floor. As an example, fragile floral prints on the tiles provides your bathroom a great Victorian feel.
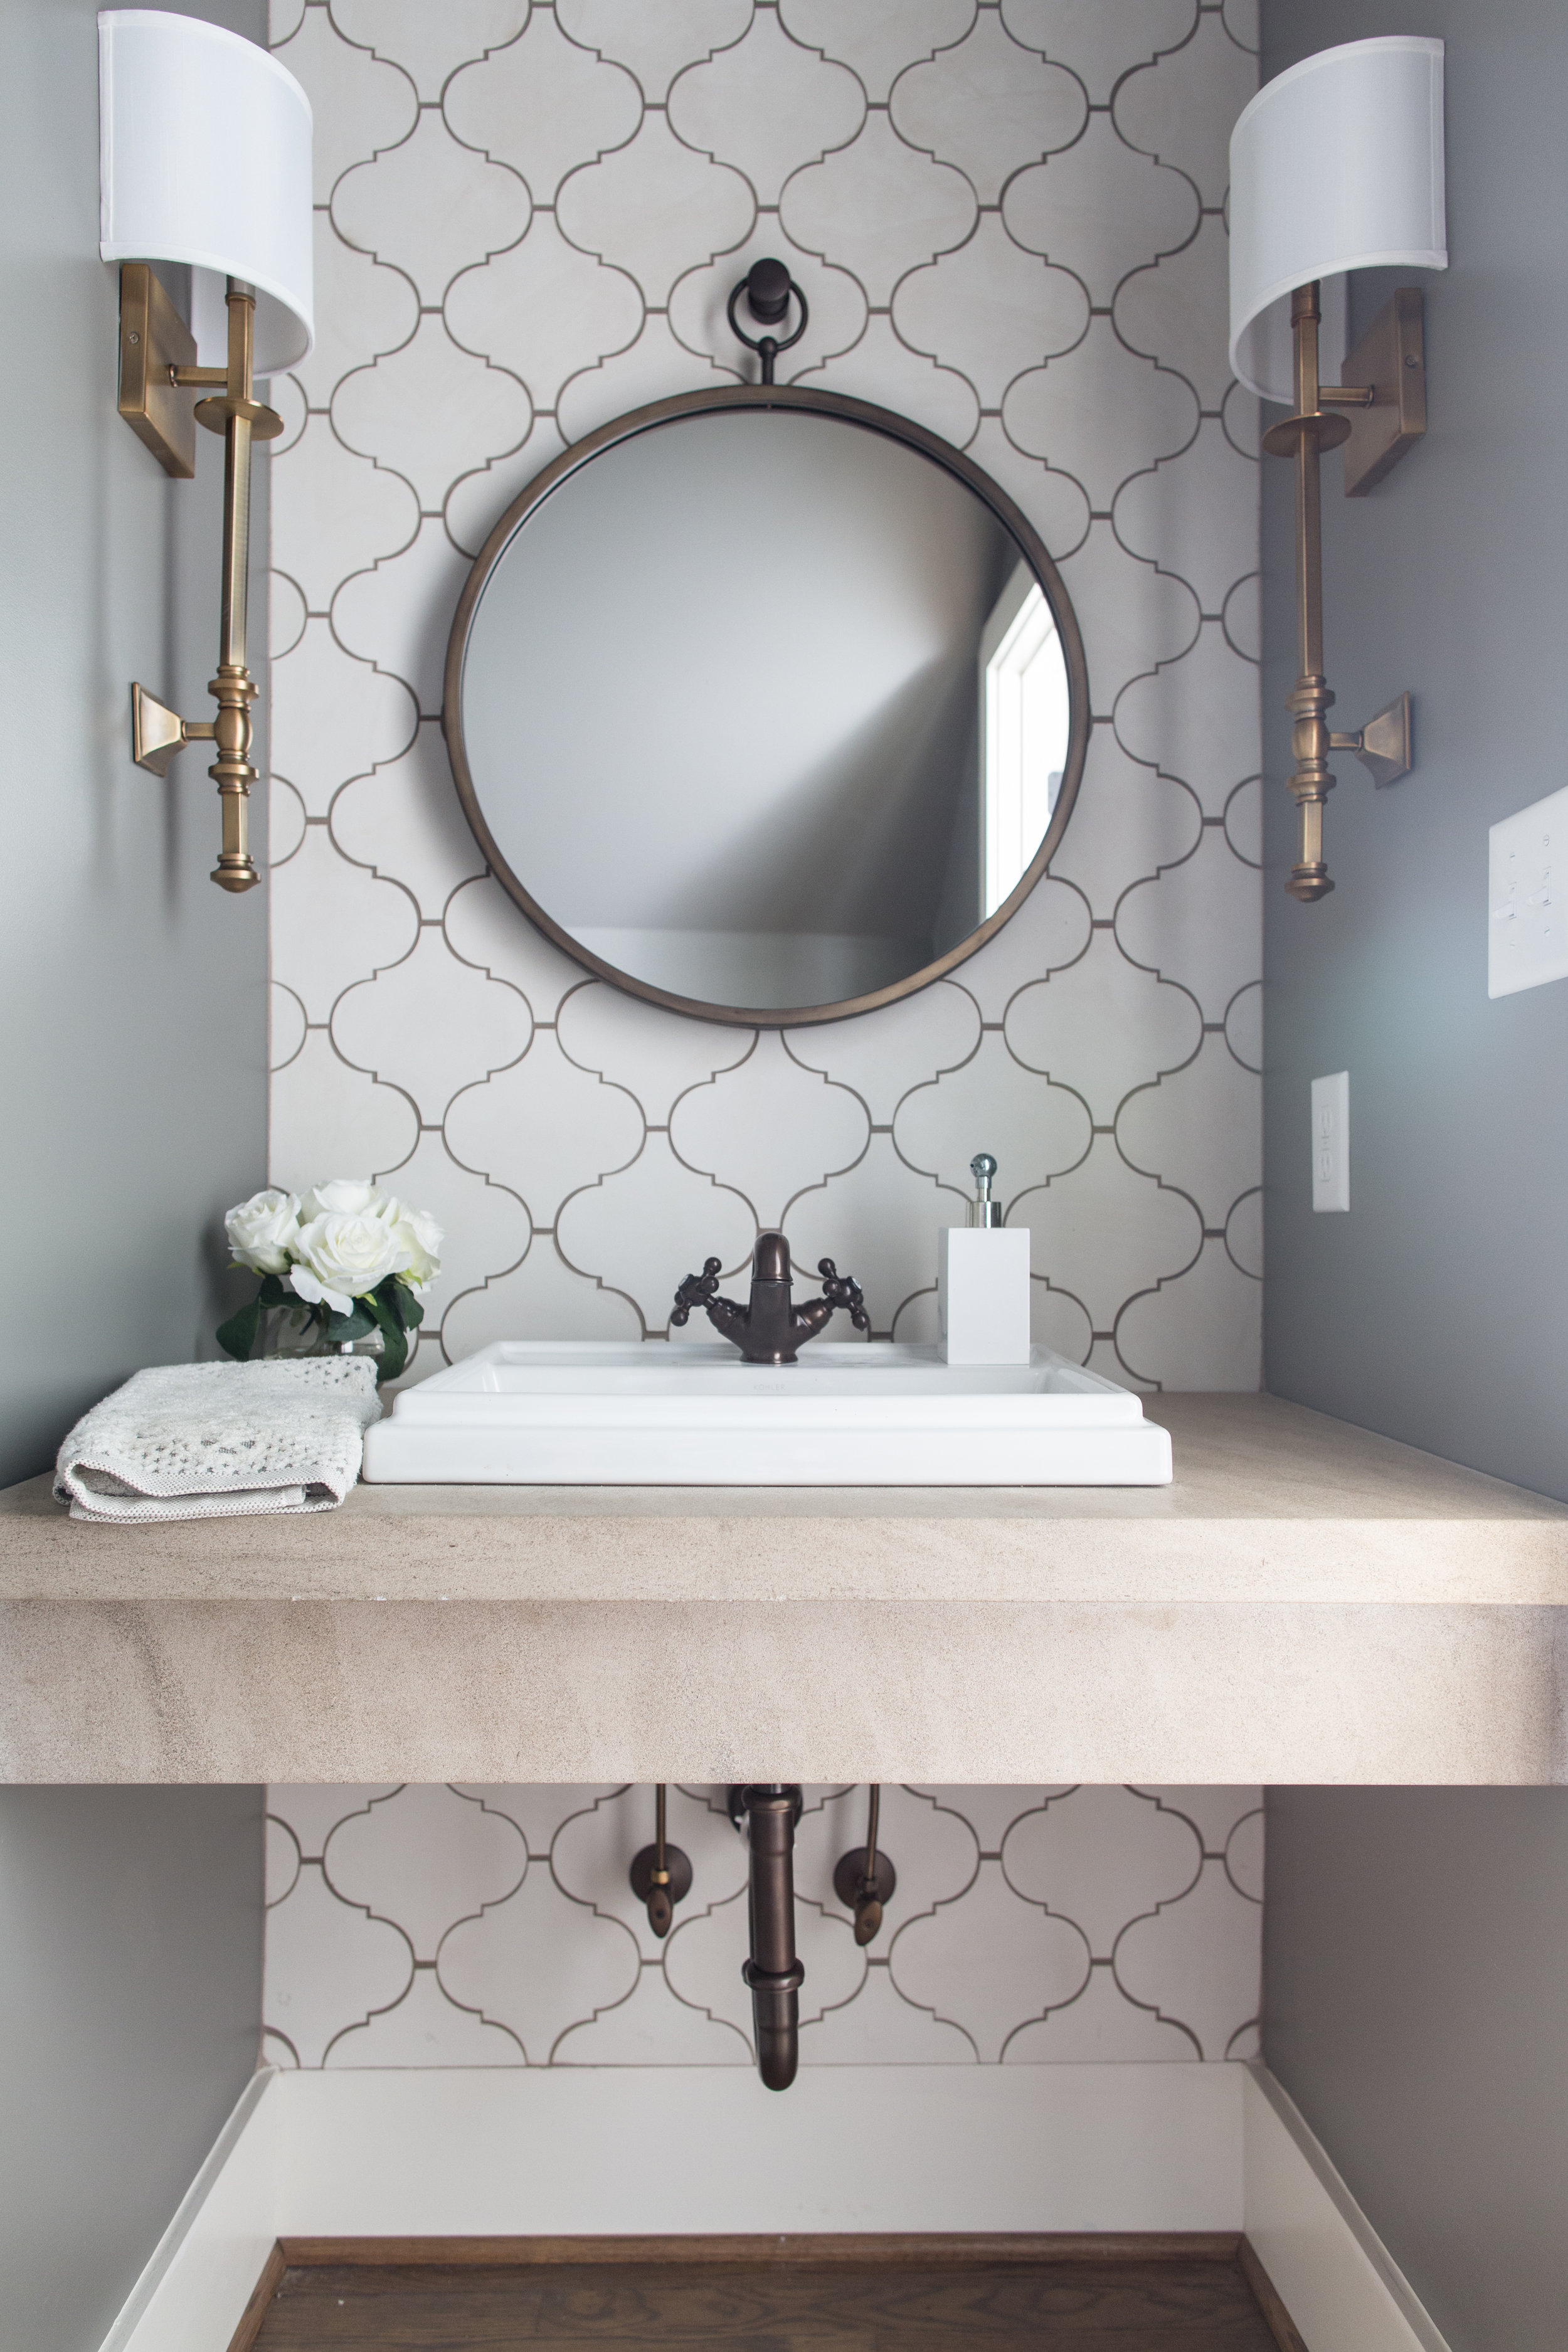
Choosing the Right Bathroom Color Scheme To Show Your Excellent Taste – HomesFeed
![]()
A Suite Idea

35 grey mosaic bathroom tiles ideas and pictures 2020
Take a look at all of this for something else entirely. Bathroom Remodel Flooring (With images

30 magnificent ideas and pictures decorative bathroom floor tile 2020
Replacing a Bathroom Floor – YouTube

How to Remove Tile Flooring – The Navage Patch

30 stunning pictures and ideas of vinyl flooring bathroom tile effect
Elegant Powder Room Ideas And Tips For The Perfect Design
31 stunning pictures and ideas of vinyl flooring bathroom tile effect 2020
Related Posts:
- Bathroom Floor Tiles Price
- Cement Tile For Bathroom Floor
- Bathroom Floor Sky Painting
- Caught Me On The Bathroom Floor
- Heated Tile Floor Cost Per Square Foot
- Dirty Bathroom Floor
- Replace Bathroom Floor And Subfloor
- How To Make Bathroom Floor Waterproof
- Easy Bathroom Flooring Options
- Cheap Bathroom Floor Cabinets
How To Do Bathroom Floor: A Comprehensive Guide
Doing a bathroom floor is a great way to spruce up your bathroom and give it a new look. But the process can be intimidating if you don’t know what you’re doing. That’s why we’ve put together this comprehensive guide to help you do your bathroom floor right. We’ll walk you through the entire process, from prepping the floor to applying the finish. Read on to learn how to do your bathroom floor like a pro!
Preparing Your Bathroom Floor
The first step in doing your bathroom floor is to prepare the area. This includes clearing out the room, removing any furniture or other items, and taking up any existing floor coverings. Depending on the type of flooring you’re installing, you may also need to remove moldings and baseboards as well.
Next, inspect the subfloor for any damage or weak spots that need to be repaired before continuing. If there are any issues, use wood filler or patching compound to fix them before moving on. Once everything is prepped and ready, it’s time to start installing the new flooring!
Choosing The Right Flooring
When choosing a new bathroom floor, there are several things to consider. First, think about what type of material will best suit your needs and budget. Popular options include vinyl, ceramic tile, laminate, or hardwood. Each has its own benefits and drawbacks, so make sure to research each option before making a decision.
You should also consider how much traffic the floor will get in order to choose an appropriate thickness for your chosen material. And don’t forget about moisture levels—your bathroom should have some sort of waterproofing in order to prevent water damage over time.
Installing Your New Floor
Once you’ve chosen your material and purchased it from your local hardware store, it’s time to start installing. Start by laying down a vapor barrier if necessary—this will help prevent moisture from seeping into the flooring material and damaging it over time.
Next, lay down adhesive if applicable and begin placing pieces of flooring into place. Be sure to use spacers between each piece so that they fit together snugly without leaving gaps. Once all pieces have been laid down, you can cut off any excess using a utility knife or another tool that’s appropriate for your chosen material.
Applying The Finish
Once all pieces of flooring have been installed, it’s time to apply the finish. This step is especially important when working with hardwood floors in order to protect them from water damage over time. Start by applying two coats of sealant using a roller or brush (depending on what type of sealant you purchased). Allow each coat to dry completely before applying the next one for best results.
Once both coats are applied and dried completely, you can apply a finish such as wax or polyurethane if desired. Allow this final layer of protection plenty of time to dry before putting furniture back into the room or walking on it with bare feet. With that done, congrats— You’ve just completed your new bathroom floor installation!
Doing Your Own Bathroom Floor Installation
Installing a new floor in your bathroom can be a great way to update the space and give it a fresh, new look. While it’s always best to have a professional do the job if you have the time and skill, it’s possible to do it yourself. Here’s a step-by-step guide on how to properly install your own bathroom floor.
Preparing The Area
The first step in doing your bathroom floor is to prepare the area. This includes clearing out the room, removing any furniture or other items, and taking up any existing floor coverings. Depending on the type of flooring you’re installing, you may also need to remove moldings and baseboards as well.
Next, inspect the subfloor for any damage or weak spots that need to be repaired before continuing. If there are any issues, use wood filler or patching compound to fix them before moving on. Once everything is prepped and ready, it’s time to start installing the new flooring!
Choosing The Right Flooring
When choosing a new bathroom floor, there are several things to consider. First, think about what type of material will best suit your needs and budget. Popular options include vinyl, ceramic tile, laminate, or hardwood. Each has its own benefits and drawbacks, so make sure to research each option before making a decision. You should also consider how much traffic the floor will get in order to choose an appropriate thickness for your chosen material. And don't forget about moisture levels—your bathroom should have some sort of waterproofing in order to prevent water damage over time.
Installing Your New Floor
Once you’ve chosen your material and purchased it from your local hardware store, it’s time to start installing. Start by laying down a vapor barrier if necessary—this will help prevent moisture from seeping into the flooring material and damaging it over time. Next, lay down adhesive if applicable and begin placing pieces of flooring into place. Be sure to use spacers between each piece so that they fit together snugly without leaving gaps. Once all pieces have been laid down, you can cut off any excess using a utility knife or another tool that’s appropriate for your chosen material.
< br/ >
< br/ >< br/ > Once all pieces of flooring have been installed, it’s time to apply the finish. This step is especially important when working with hardwood floors in order to protect them from water damage over time. Start by applying two coats of sealant using a roller or brush (depending on what type of sealant you purchased). Allow each coat to dry completely before applying the next one for best results.< br/ >< br/ >
< br/ >< br/ > Once both coats are applied and dried completely, you can apply a finish such as wax or polyurethane if desired. Allow this final layer of protection plenty of time to dry before putting furniture back into the room or walking on it with bare feet. With that done, congrats—you’ve just completed your new bathroom floor installation!