How To Clean Tile Grout Kitchen Floor

Related Images about How To Clean Tile Grout Kitchen Floor
Removing Tile Grout in a Few Simple Steps
/Remove-tile-grout-in-a-few-simple-steps-1822630_final-f482cb1bc6364c2187d6423867fc578a.png)
The flooring in your kitchen is by far the greatest feature in your kitchen that can certainly make your kitchen stand out and as such when creating a new kitchen or remodeling a current one, you have to dedicate some time to researching the correct kitchen flooring so that you can pick the appropriate one for the home of yours.
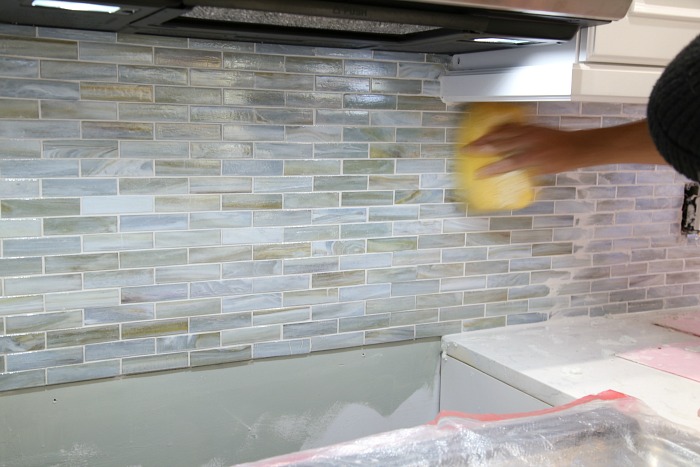
Installing a Paper Faced Mosaic Tile Backsplash
Wood kitchen flooring delivers some of the largest number of choices of any flooring content on the market nowadays. There is kitchen laminate flooring that's a perfect blend of attractive appearance of low cost and sturdy wood, low maintenance advantages of laminate. Special attention, however, has being done when preserving the condition of laminate flooring since it's extremely vulnerable to scratches as well as dirt.
20180107_105815 Kitchen splashback tiles, Kitchen splashback, Kitchen tile

Ceramic flooring is commonly used in homes and kitchens. These locations need flooring that is tough, simple to clean, and passes the test of your time. However when you are signing up for a home remodeling project, you easily learn how much thought and care has to go towards making judgments about this crucial component of your making room.
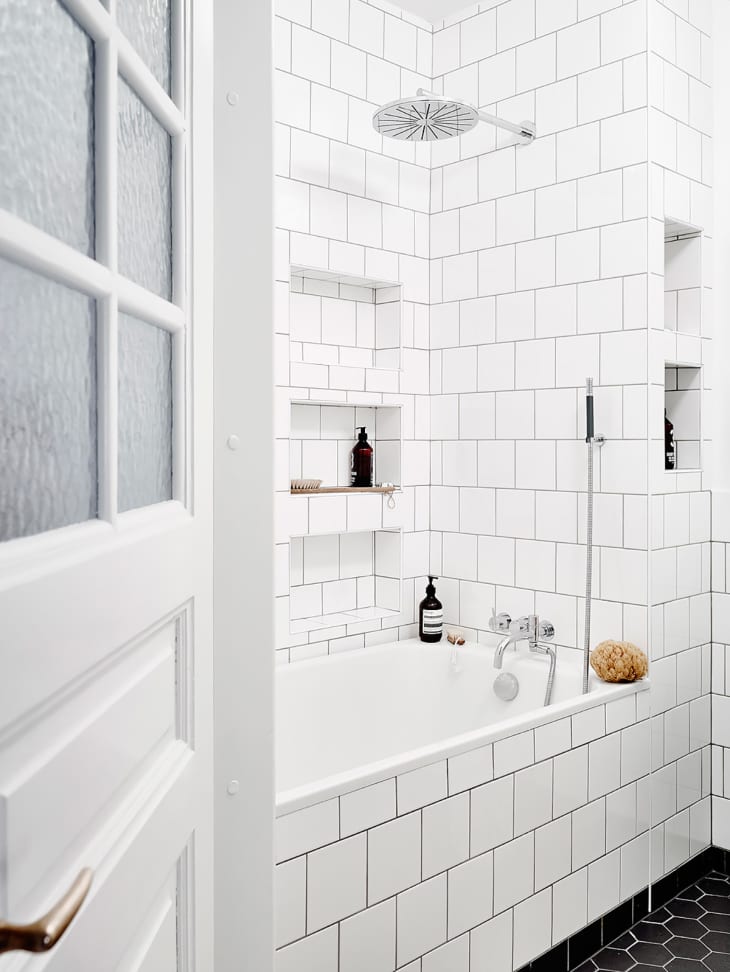
White Square Tiles: A Great Alternative to Subway Tile Apartment Therapy
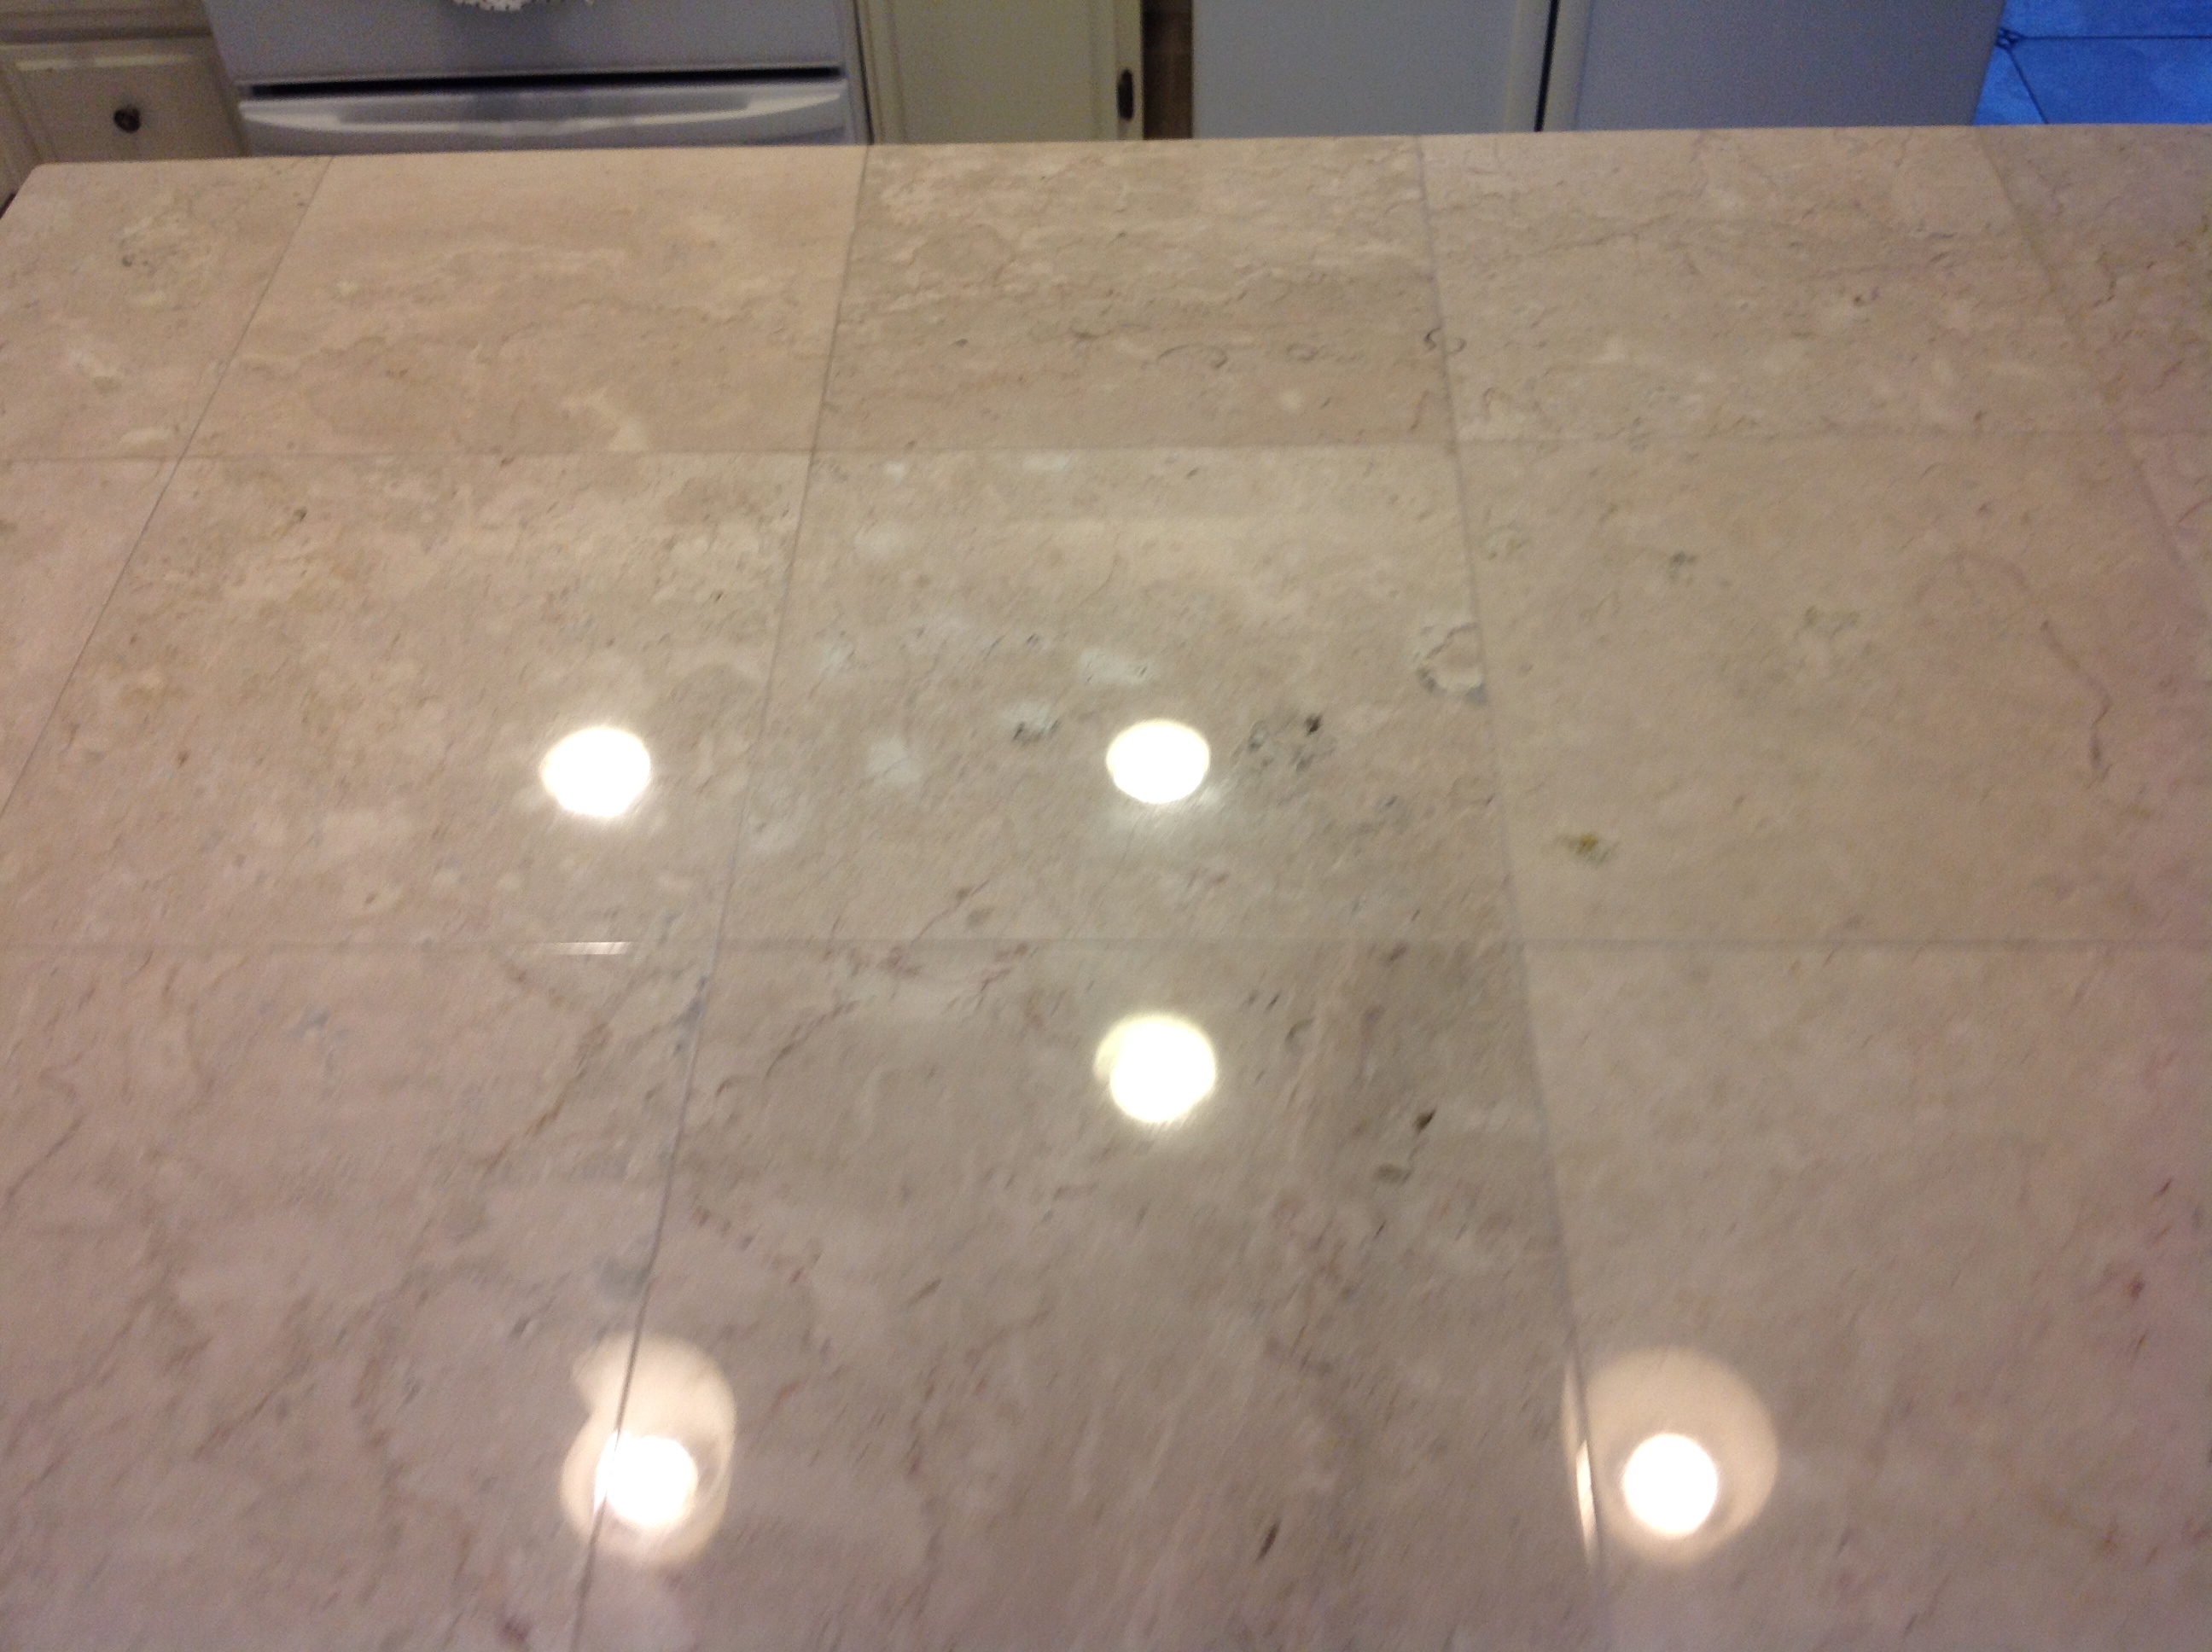
San Francisco Marble tile Countertop Polishing & Grout Cleaning
White 12 x 12 Floor Tile with Black Grout in Offset Installation Pattern Bathroom & Powder R

Shop Tile Designs on Instagram Penny round mosaic, Blue penny tile, Penny tiles bathroom

Related Posts:
- What Is The Most Desirable Kitchen Floor Plan
- How To Lay Out A Kitchen Floor Plan
- Best Hardwood Floor Finish For Kitchen
- Wickes Kitchen Floor Tiles
- Kitchen Floor Replacement Options
- 20 X 10 Kitchen Floor Plans
- Kitchen Floor Plans By Size
- Kitchen Floor Storage Cabinets
- Kitchen Cabinets Flooring And Countertops
- Bamboo Kitchen Flooring Ideas
How To Clean Tile Grout Kitchen Floor
Tile grout is a common feature in many kitchens, and over time it can become dirty and discolored. Cleaning tile grout can be a daunting task, but with the right tools and techniques, you can restore your kitchen floor to its original shine. In this article, we will provide you with a step-by-step guide on how to clean tile grout in your kitchen floor effectively.
I. Gather the Necessary Tools and Supplies
Before you start cleaning your tile grout, make sure you have all the necessary tools and supplies. Here are some items you will need:
1. Scrub Brush: Choose a brush with stiff bristles that can effectively remove dirt and grime from the grout lines.
2. Grout Cleaner: There are various grout cleaners available in the market, such as commercial products or DIY solutions like vinegar and baking soda. Choose one that suits your preference.
3. Protective Gear: It is important to protect yourself while cleaning. Wear gloves to protect your hands and safety goggles to shield your eyes from any splashes.
4. Bucket: A bucket will be useful for mixing the cleaning solution or collecting dirty water during the cleaning process.
5. Old Toothbrush: An old toothbrush can be handy for reaching tight corners or small areas where a larger brush might not fit.
6. Microfiber Cloth: Use a microfiber cloth to wipe away excess moisture and leave a streak-free finish on your tiles after cleaning.
II. Prepare the Area
Before you start cleaning, it is important to prepare the area properly to avoid any unnecessary mess or damage. Follow these steps:
1. Clear the Floor: Remove any furniture or movable objects from the kitchen floor to create an unobstructed space for cleaning.
2. Sweep or Vacuum: Use a broom or vacuum cleaner to remove loose dirt, dust, and debris from the surface of the tile floor.
3. Test the Grout Cleaner: Before applying the grout cleaner to the entire floor, test it on a small inconspicuous area to ensure it does not damage or discolor your tiles or grout.
III. Apply the Grout Cleaner
Once you have prepared the area, it’s time to apply the grout cleaner and start cleaning the tile grout. Follow these steps:
1. Mix the Cleaning Solution: If you are using a commercial grout cleaner, follow the instructions on the packaging to mix the solution properly. If you prefer a DIY solution, you can mix equal parts of vinegar and water or make a paste using baking soda and water.
2. Apply the Cleaner: Using a brush, apply the grout cleaner directly onto the grout lines. Make sure to cover all areas evenly and let it sit for a few minutes to allow the cleaner to penetrate and loosen any dirt or stains.
3. Scrub the Grout: Take your scrub brush and start scrubbing along the grout lines using firm pressure. Work in small sections and focus on areas with heavy staining or buildup. Use circular motions or back-and-forth strokes to agitate the cleaner and dislodge any stubborn dirt.
4. Rinse with Water: Once you have scrubbed each section, rinse off the cleaning solution with clean water. You can use a damp sponge or mop to wipe away any excess cleaner and dirt.
IV. Deep Clean Stubborn Stains
In some cases, regular cleaning may not be enough to remove stubborn Stains from the grout. If you encounter tough stains, follow these steps for a deep clean:
1. Make a Paste: Mix baking soda and water to create a thick paste. The consistency should be similar to toothpaste.
2. Apply the Paste: Using an old toothbrush, apply the baking soda paste directly onto the stained grout lines. Make sure to cover the entire area of the stain.
3. Let it Sit: Allow the baking soda paste to sit on the stain for at least 15-20 minutes. This will give it time to penetrate and break down the stubborn dirt or grime.
4. Scrub Again: After the paste has had time to work, use the toothbrush to scrub the stain again. Apply firm pressure and use circular motions or back-and-forth strokes to agitate the paste and lift the stain.
5. Rinse with Water: Once you have scrubbed the stained area, rinse off the baking soda paste with clean water. Use a damp sponge or mop to wipe away any residue.
6. Repeat if Necessary: If the stain is still visible, repeat steps 1-5 until it is completely removed.
V. Dry and Seal the Grout
After cleaning and removing stains from your tile grout, it is important to dry and seal it properly to maintain its cleanliness and prevent future staining. Follow these final steps:
1. Dry Thoroughly: Use a microfiber cloth or towel to dry the grout lines completely. Make sure there is no excess moisture left behind.
2. Apply Grout Sealer: Using a grout sealer, apply a thin and even coat over the entire grout lines. Follow the instructions on the sealer packaging for application techniques and drying time.
3. Allow to Cure: Let the grout sealer cure for the recommended amount of time before allowing any foot traffic or moisture on the tiled area.
By following these steps, you can effectively clean and remove stains from your tile grout. Remember to always test any cleaning solution or method on a small inconspicuous area first to ensure it does not damage or discolor your tiles or grout.