How To Apply Rustoleum Garage Floor Epoxy

Related Images about How To Apply Rustoleum Garage Floor Epoxy
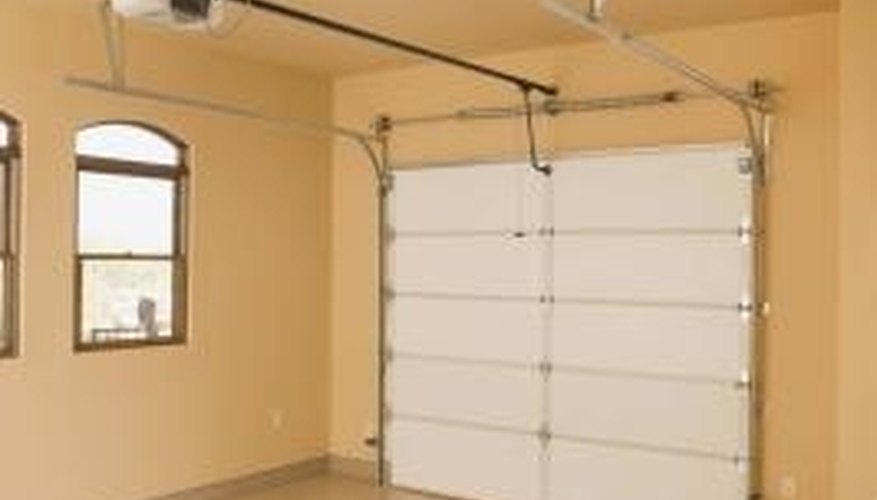
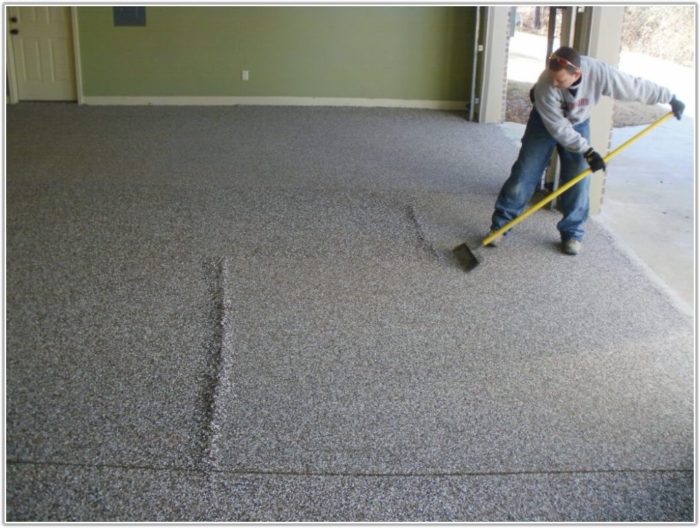
Garage Floor Makeover with Rust-Oleum EPOXYSHIELD
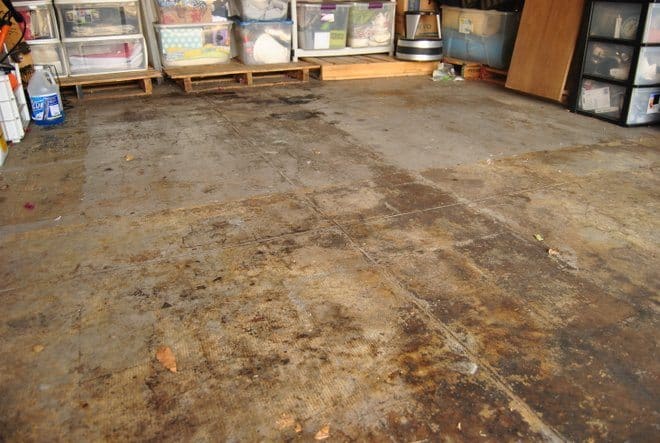
Providing your garage floor color plenty of time to become dry is vital to its durability and life expectancy. With the proper safety, the concrete floors can last a long time. Some of them are actually: epoxy garage area floor coating, vinyl garage area floor coating, interlocking garage floor coating, roll over flooring layer etc. All of them need a level, surface that is clean to work properly.
Garage Floor Makeover with Rust-Oleum EPOXYSHIELD
To calculate the right amount of a rubberized garage floor can be a tough task but one that's extremely vital in case you're planning on this impressive home improvement project. Broken floors affect the garage's efficiency as well as look. Lastly, garage floor tiles are actually an excellent option for a custom look. Covers are usually linked with mats.
Rustoleum Garage Floor Epoxy – Flooring : Home Decorating Ideas #qWVkgMmVAG

A lot of people chose to only cover the area of the garage floors of theirs that they use parking their car. You can not assume all storage area flooring is actually the same, and one of the primary differences between them is actually difficulty of install. And a significant amount of people settle for floor mats just since it is the simplest one to install. One more option would be floor epoxy.
How to Apply New Epoxy Over an Older Epoxy Floor Coating All Garage Floors
How to Apply RockSolid Metallic Garage Floor Finish (With images) Garage floor finishes

Garage Floor Makeover with Rust-Oleum EPOXYSHIELD
Garage Floor Makeover with Rust-Oleum EPOXYSHIELD
The Benefits of Vinyl Composite Tile (VCT) Garage Flooring All Garage Floors

How to Prepare a Garage Floor for Rust-Oleum Epoxy Garden Guides
How to Apply Epoxy Paint to a Workshop Floor – Page 3 of 3 – A Concord Carpenter
Professionally-applied-metallic-epoxy-garage-floor
Rustoleum Garage Floor Epoxy Colors – Flooring : Home Decorating Ideas #pKl3NqK64j
DIY RockSolid Garage Floor a Step-by-Step Tutorial to This Epoxy Project

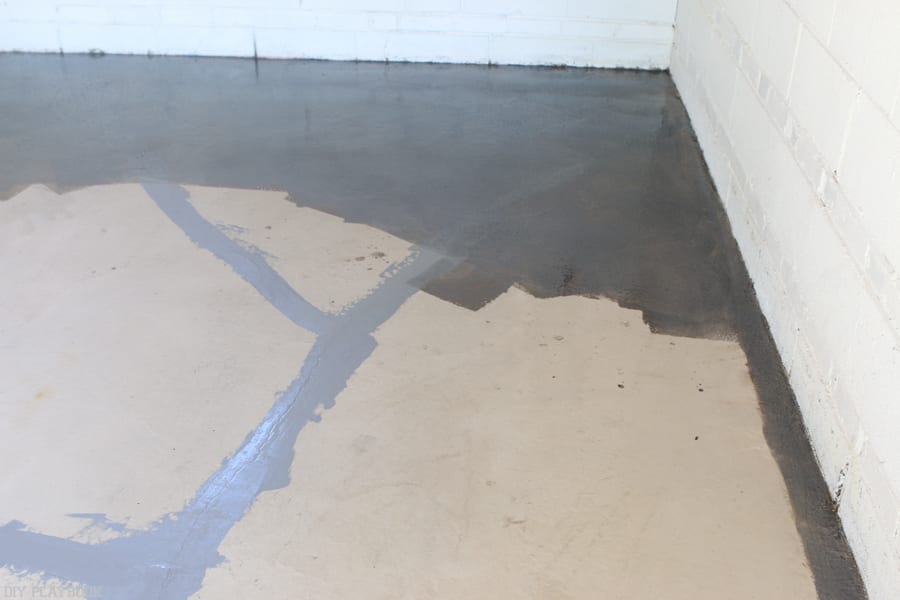
Sealing Garage Floor DIY Project with Epoxy The DIY Playbook
Related Posts:
- Valspar Garage Floor
- Self Levelling Garage Floor Paint
- Valspar Epoxy Garage Floor Paint
- Garage Floor With Flakes
- Garage Floor Sealer Vs Epoxy
- Bondall Garage Floor Paint Review
- How To Polish Concrete Garage Floor
- Garage Floor Paint Do It Yourself
- Drymate Garage Floor Mat Review
- Modular Interlocking Garage Floor Tiles
How To Apply Rustoleum Garage Floor Epoxy
If you’re looking to transform your dull and worn-out garage floor into a sleek and durable surface, Rustoleum garage floor epoxy is the perfect solution. This high-performance coating offers excellent protection against stains, chemicals, and abrasion, while also providing a beautiful finish that will enhance the overall appearance of your garage. In this article, we will guide you through the step-by-step process of applying Rustoleum garage floor epoxy, ensuring that you achieve professional-looking results.
Preparation:
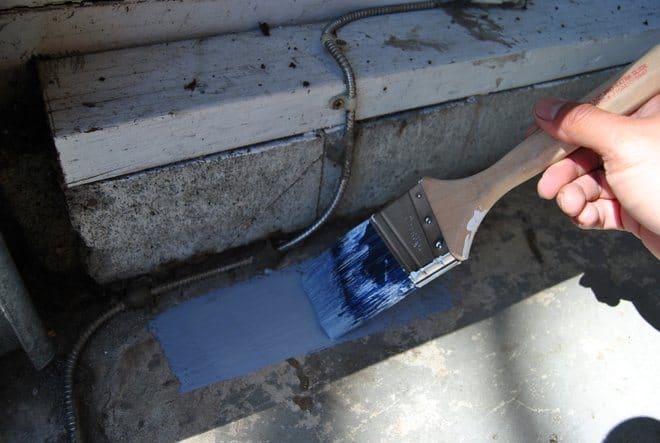
Before you begin applying Rustoleum garage floor epoxy, it’s essential to properly prepare the surface. This involves thoroughly cleaning the floor to remove any dirt, grease, or oil stains. Start by sweeping the entire area to remove loose debris. Next, use a heavy-duty degreaser and a stiff brush to scrub away any stubborn stains or contaminants. Rinse the floor thoroughly with clean water and allow it to dry completely before moving on to the next step.
FAQs:
1. Can I apply Rustoleum garage floor epoxy over an existing coating?
No, it is not recommended to apply Rustoleum garage floor epoxy over an existing coating. The old coating may prevent proper adhesion and result in a subpar finish. It is best to remove any existing coatings or sealers before applying Rustoleum epoxy.
2. How long does the surface need to dry after cleaning?
The drying time can vary depending on factors such as humidity and temperature. It is recommended to wait at least 24-48 hours for the surface to dry thoroughly before proceeding with the application of Rustoleum garage floor epoxy.
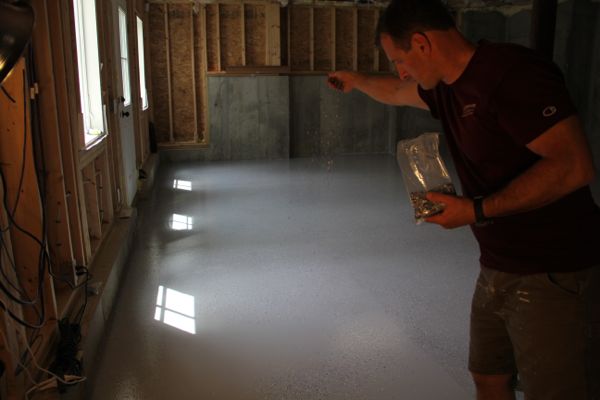
Applying Primer:
After the surface has dried completely, it’s time to apply a primer coat using Rustoleum Garage Floor Epoxy Primer. This primer helps promote adhesion between the concrete and the epoxy topcoat, ensuring long-lasting durability.
Start by stirring the primer thoroughly to ensure a consistent mixture. Using a high-quality paintbrush or roller, apply an even coat of primer to the entire garage floor. Work in sections to ensure that you cover the entire surface without overlapping. Allow the primer to dry for at least 4-6 hours before moving on to the next step.
FAQs:
1. Can I skip the primer coat and apply Rustoleum garage floor epoxy directly?
While it is technically possible to apply Rustoleum garage floor epoxy without a primer coat, it is not recommended. The primer helps improve adhesion and ensures a more durable finish. Skipping the primer may result in a weaker bond between the epoxy and the concrete, leading to premature peeling or chipping.
2. Can I use a paint sprayer for applying the primer?
Yes, you can use a paint sprayer for applying Rustoleum Garage Floor Epoxy Primer. However, it is important to follow the manufacturer’s instructions for dilution and application settings. Spraying the primer can provide a more even and efficient coverage, especially for larger areas.
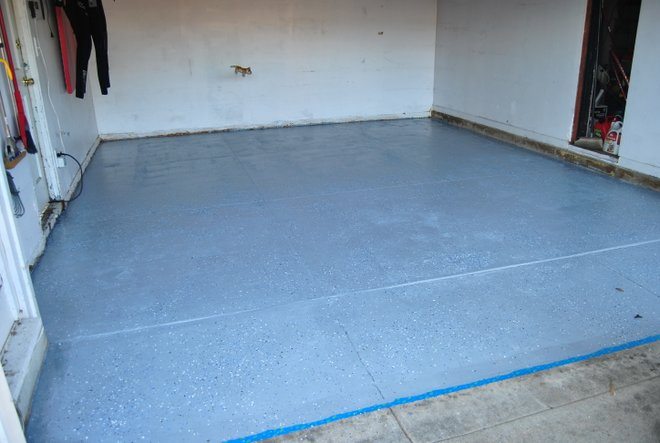
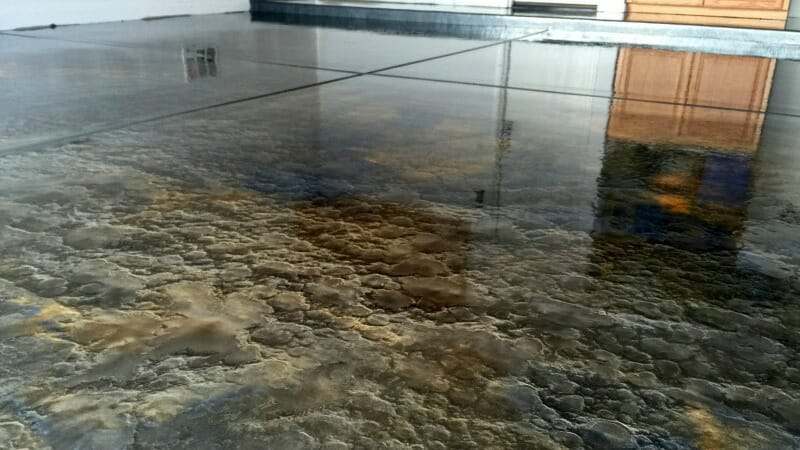
Mixing and Applying Rustoleum Garage Floor Epoxy:
Once the primer has dried, it’s time to mix and apply Rustoleum Garage Floor Epoxy. This two-part epoxy system consists of a base coat and a topcoat, which work together to create a robust and attractive finish.
Start by thoroughly mixing Part A (base coat) with Part B (activator) according to the manufacturer’s instructions. It is crucial to follow the recommended mixing ratios and Application guidelines for the best results. Use a mixing paddle or drill with a mixing attachment to ensure a thorough and consistent mixture.
Once the epoxy is mixed, pour it onto the garage floor in small sections. Use a high-quality paint roller or brush to spread the epoxy evenly, working in one direction to avoid creating air bubbles. Be sure to apply a thick, even coat to ensure full coverage.
As you work, periodically check for any missed spots or uneven areas and touch them up as needed. It’s important to work quickly but carefully, as the epoxy can begin to set within a certain time frame.
After applying the base coat, allow it to dry for the recommended amount of time specified by the manufacturer before applying the topcoat. This typically ranges from 12-24 hours, but can vary depending on temperature and humidity conditions.
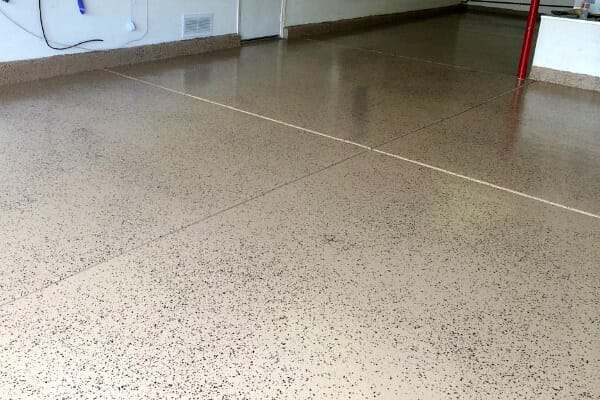
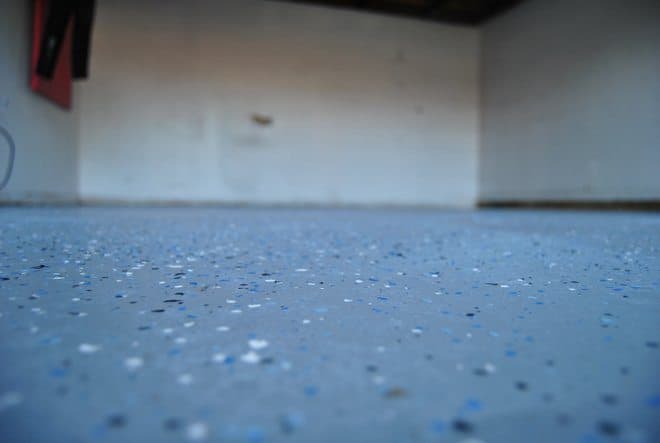
Once the base coat is dry, mix and apply the topcoat in the same manner as the base coat. The topcoat adds an extra layer of protection and enhances the aesthetic appearance of the floor. Again, be sure to follow the manufacturer’s instructions for mixing and application.
After applying the topcoat, allow it to dry completely before subjecting it to foot traffic or placing any objects on the floor. This typically takes around 24-48 hours, but can vary depending on environmental conditions.
FAQs:
1. Can I apply multiple coats of Rustoleum garage floor epoxy?
Yes, you can apply multiple coats of Rustoleum garage floor epoxy for added durability and thickness. However, it’s important to allow each coat to dry properly before applying the next one.
2. How long does Rustoleum garage floor epoxy last?
Rustoleum garage floor epoxy is designed to provide long-lasting durability and protection for your garage floor. When properly applied and maintained, it can last for several years before needing reapplication.
3. How do I clean and maintain my Rustoleum garage floor epoxy?
To clean your Rustoleum garage floor epoxy, use a mild detergent and warm water. Avoid using harsh chemicals or abrasive cleaners, as they can damage the epoxy finish. Regular sweeping and occasional mopping are usually sufficient to keep the floor looking its best.
In summary, preparing the floor, applying a primer coat, and properly mixing and applying Rustoleum garage floor epoxy are essential steps for achieving a durable and attractive finish. Following the manufacturer’s instructions and allowing sufficient drying time between coats will help ensure a successful application.