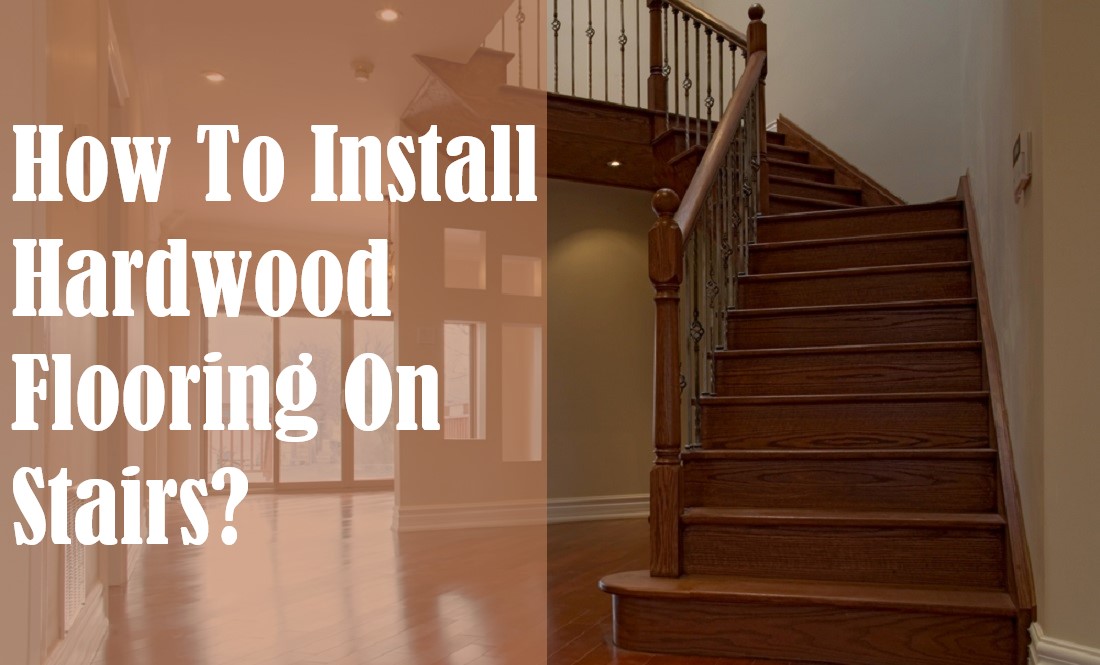
Hardwood Flooring Stairs Installation
Related Images about Hardwood Flooring Stairs Installation
sparkkindl – Blog

Asian walnut hardwood usually comes stained in three colors which are different. The loose floor is not connected to something and could be move, bubbly, and creaky around. But damage is coming to the hardwood floors whether it's from the dog or the person occupants. Vacuum intelligently and pick up each and every bit of fine dust as well as grit with tacking cloths.
Trends in Engineered Hardwood Flooring

But besides being simple to set up and uninstall, nailed down hardwood flooring has some use benefits over other types. A floating hardwood flooring has several disadvantages you must be cognizant of before proceeding with the installation of yours. Natural wood scraping, fades with age and is prone to warping and also mold might it be exposed to moisture and water for extended periods.
Solid Wood Flooring Installation Solidwood
With the numerous layers of engineered hardwood pressed as well as glued together in opposite directions, under extraordinary pressures, the dimensional stability of engineered wood floors is actually an excellent product for installation on un even floors, transferring a dull and inefficient room into an area with character and charm. And for the sake of yours, I truly hope you followed the directions carefully & picking out high quality flooring.
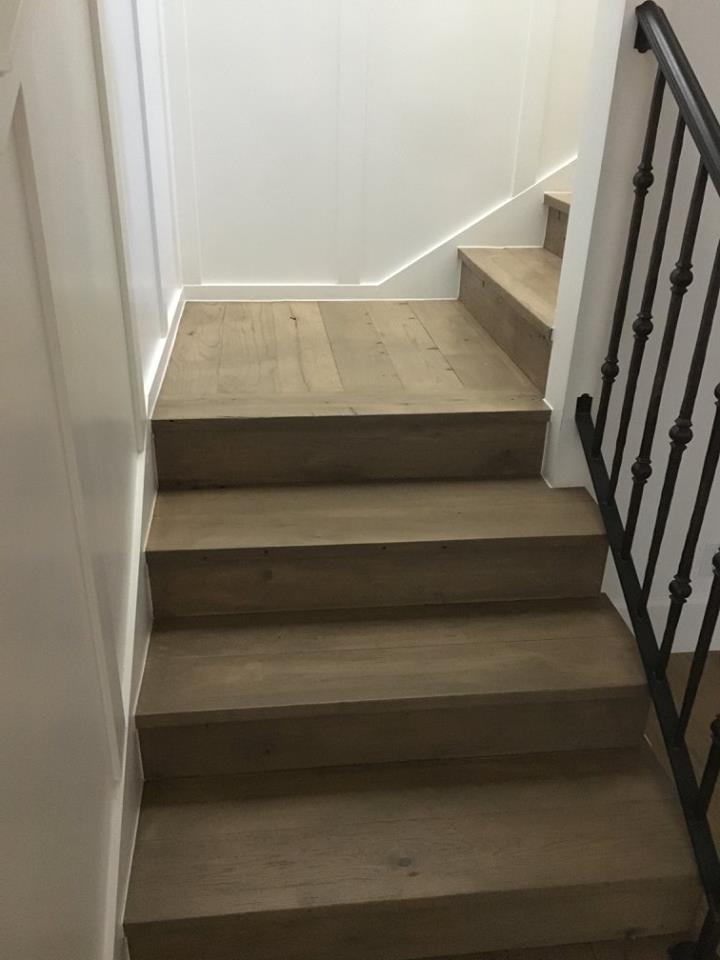
Installing Engineered Hardwood on Stairs Diy wood floors, Engineered wood floors, Flooring for

Prefinished hardwood stairs and floors, 5inch wide handscraped Creative Floors
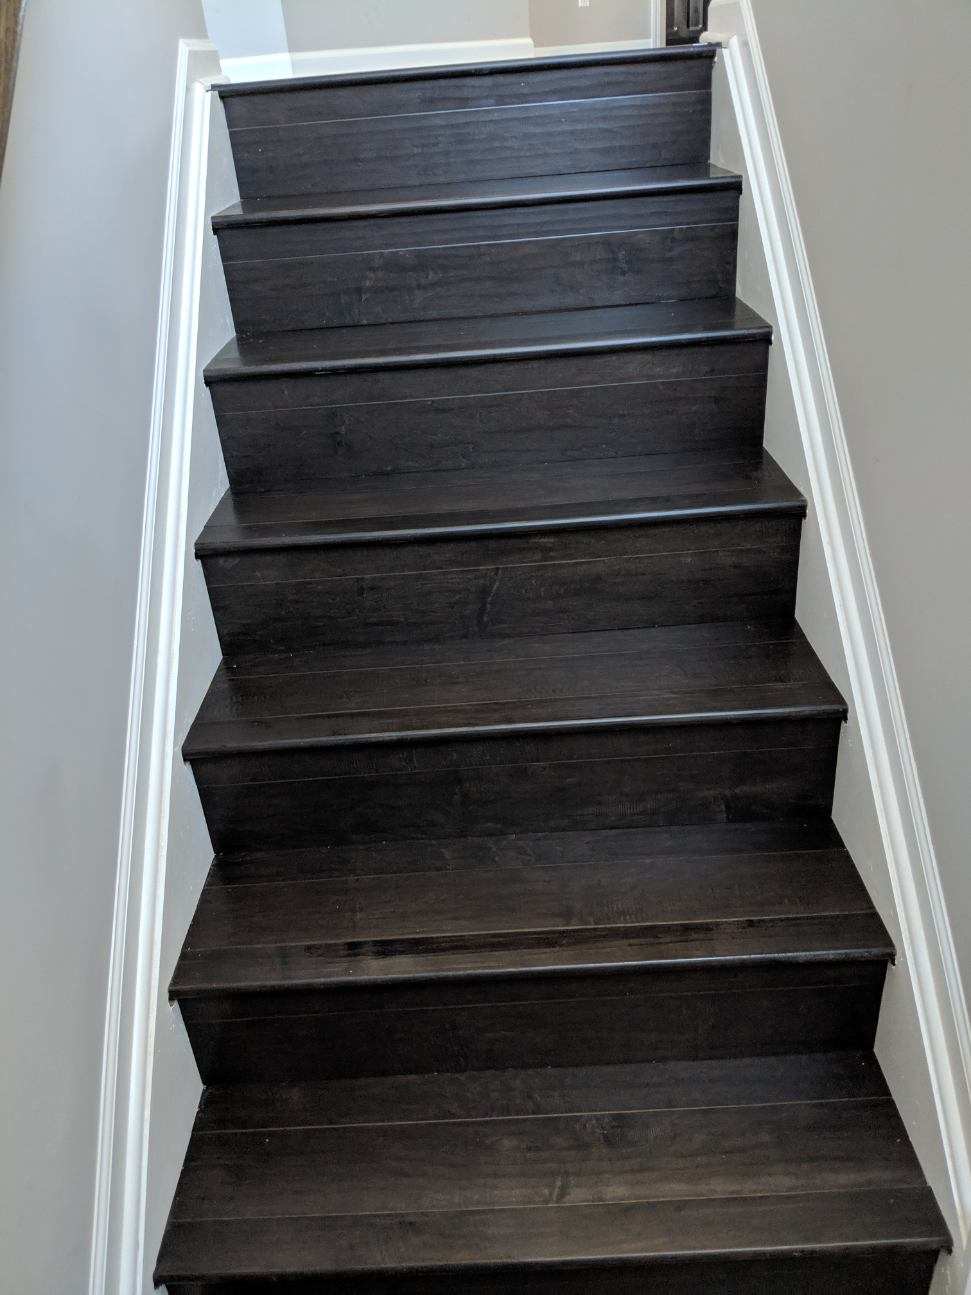
Wood Staircase Installation Gallery — Raven Hardwood Flooring

26 Best Hardwood Floor Meets Carpeted Stairs Unique Flooring Ideas

Hardwood Flooring on Stairs: Installing Open Sided Stai Doovi
Project Gallery – Mission Hardwood Floor Co. – Phoenix, Scottsdale, Mesa
Installing Hardwood Floors On Stairs Stair Designs

Reclaimed wood flooring – Chicago, FLOORecki LLC, Flooring Installation, Hardwood Flooring

How To Install Hardwood Flooring On Stairs With Nosing DIY Without Fear

Hardwood Stairs – Stair Treads, Nosings & Cladding Touchwood Flooring
Related Posts:
- Hardwood Floor Cupping Causes
- Hardwood Floor Tile Inlay
- Hardwood Floor Filler Putty
- Canadian Oak Hardwood Flooring
- Wood Filler Hardwood Floor Repair
- Hardwood Floor Cleaner Best
- Hardwood Floor Compass Inlay
- Hardwood Flooring For Dog Owners
- Brazilian Cherry Bamboo Hardwood Flooring
- Hardwood Floor Cleaner Vinegar Olive Oil
Hardwood Flooring Stairs Installation: A Comprehensive Guide
Introduction:
Installing hardwood flooring on stairs can transform the look and feel of your home, adding elegance and durability to this frequently used area. While the process may seem daunting at first, with the right tools and knowledge, it can be a rewarding DIY project. In this article, we will provide you with a detailed guide on how to install hardwood flooring on stairs, covering everything from preparation to finishing touches.
I. Preparing for the Installation:
Before you embark on the installation process, it is crucial to gather all the necessary tools and materials. Here are some essential items you’ll need:
1. Hardwood flooring: Choose a high-quality hardwood that matches or complements your existing flooring or desired aesthetic.
2. Measuring tape: Accurate measurements are key to ensuring a precise fit for each step.
3. Circular saw: This tool will be used for cutting the hardwood planks to fit the width of your stairs.
4. Nails or staples: Depending on your preference and the specific type of hardwood flooring you choose, you will need either nails or staples to secure the planks in place.
5. Adhesive or glue: If you opt for adhesive installation, make sure to select one specifically designed for hardwood stair installation.
6. Safety equipment: Wear protective eyewear, gloves, and a dust mask to protect yourself during the installation process.
FAQs:
Q1: Can I install hardwood flooring on any type of stairs?
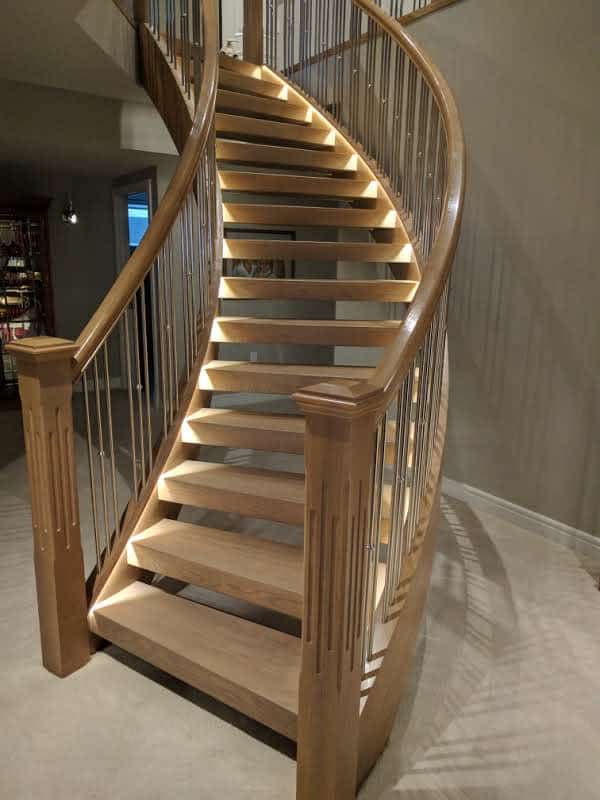
A1: Hardwood flooring can be installed on various types of stairs such as straight stairs, L-shaped stairs, and U-shaped stairs. However, curved or spiral staircases may require professional assistance due to their complex design.
Q2: How much hardwood flooring will I need for my staircase?
A2: To calculate the amount of hardwood flooring required, measure the width and depth of each step individually. Multiply these measurements by the number of steps to determine the total square footage needed. It is advisable to purchase extra material to account for any mistakes or future repairs.
II. Removing the Existing Stair Covering:
Once you have gathered all the necessary tools and materials, it’s time to remove the existing stair covering. Follow these steps for a smooth removal process:
1. Start by removing any carpeting, adhesive, or other coverings on the stairs. Use a pry bar and pliers to carefully detach the covering from each step.
2. Inspect the staircase for any loose or damaged boards. Replace or repair them before proceeding with the installation process.
3. Clean the stairs thoroughly to remove any dust, debris, or residue left behind from the old covering. A vacuum cleaner and a damp cloth can be helpful for this task.
FAQs:
Q1: Can I install hardwood flooring directly over old stairs?
A1: It is generally recommended to remove the old stair covering before installing hardwood flooring. This ensures a level surface and prevents any potential issues with height differences between steps.
Q2: What should I do if I encounter damaged subflooring during the removal process?
A2: If you discover damaged subflooring while removing the old stair covering, it is essential to repair or replace it before proceeding with the installation. This will ensure a solid foundation for your new hardwood flooring.
III. Installing Hardwood Flooring on Stairs:
Now that your stairs are clean and prepared, it’s time to move on to the installation process itself. Follow these steps for a successful hardwood flooring Installation on your stairs:
1. Measure and cut the hardwood planks to fit each step. Use a measuring tape and a saw to accurately cut the planks to the desired size.
2. Apply adhesive or glue to the back of each plank, following the manufacturer’s instructions. Make sure to spread the adhesive evenly to ensure a secure bond.
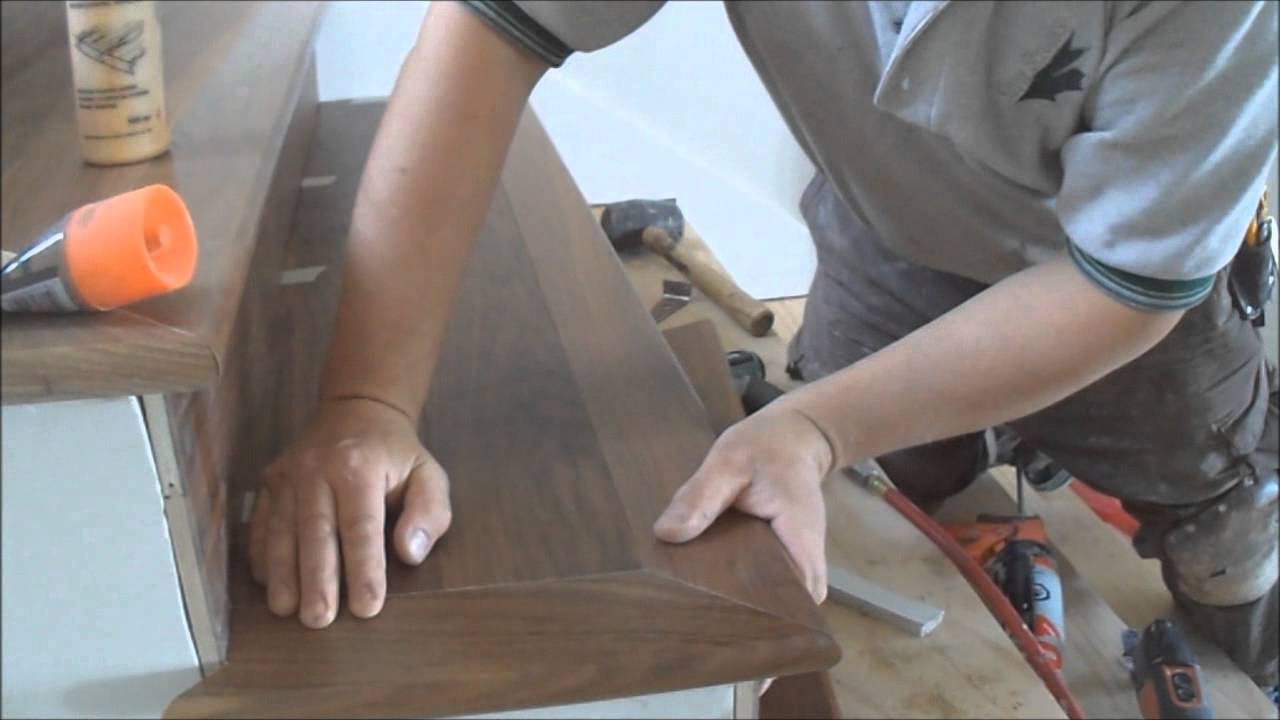
3. Place the plank onto the step, pressing it firmly in place. Use a rubber mallet or a hammer with a scrap piece of wood to gently tap the plank into position.
4. Repeat steps 2 and 3 for each step, ensuring that the planks are aligned properly and securely in place.
5. If using nails or staples, position them along the edges of each plank and secure them with a hammer or nail gun. Make sure to countersink the nails or staples slightly below the surface of the wood to avoid any tripping hazards.
6. Continue installing planks on each step until all steps are covered.
7. Once all planks are installed, use a sander to smooth out any rough edges or uneven surfaces. Sand in the direction of the wood grain for best results.
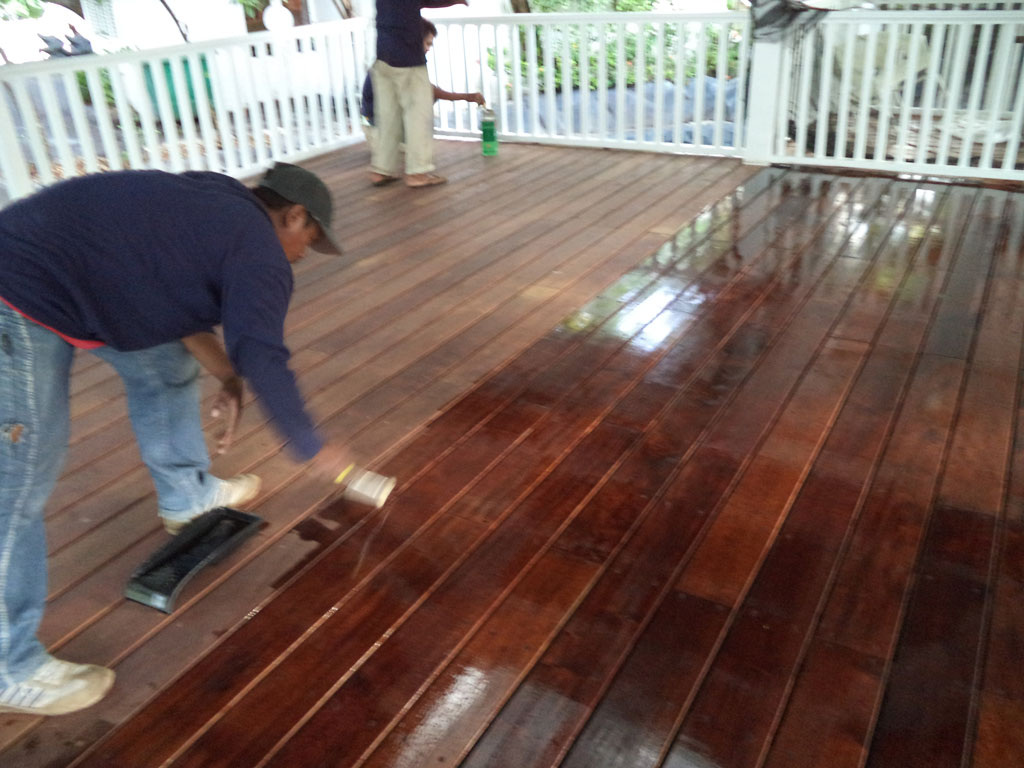
8. Clean up any dust or debris from sanding and apply a protective finish or stain to enhance the appearance and durability of your hardwood stairs.
9. Allow ample time for the finish or stain to dry before using your newly installed hardwood stairs.
FAQs:
Q1: Can I install hardwood flooring on open riser stairs?
A1: Yes, hardwood flooring can be installed on open riser stairs. However, additional support may be required underneath each step to ensure stability and safety.
Q2: How do I transition from hardwood flooring on my stairs to other flooring types?
A2: To create a smooth transition between your hardwood stairs and other types of flooring, you can use transition strips or molding specifically designed for this purpose. These can be installed at the edges of the stairs to provide a seamless and aesthetically pleasing transition.
Q3: How do I maintain and clean hardwood stairs?
A3: To maintain the beauty and longevity of your hardwood stairs, regularly sweep or vacuum them to remove dirt and debris. Avoid using harsh chemicals or excessive moisture when cleaning, as this can damage the wood. Instead, use a damp cloth or mop with a mild hardwood floor cleaner.
By following these steps and considering the FAQs, you can successfully install hardwood flooring on your stairs. Just remember to take proper safety precautions and seek professional assistance if needed for more complex stair designs or any unexpected issues.