Hardwood Flooring Stairs DIY

Related Images about Hardwood Flooring Stairs DIY
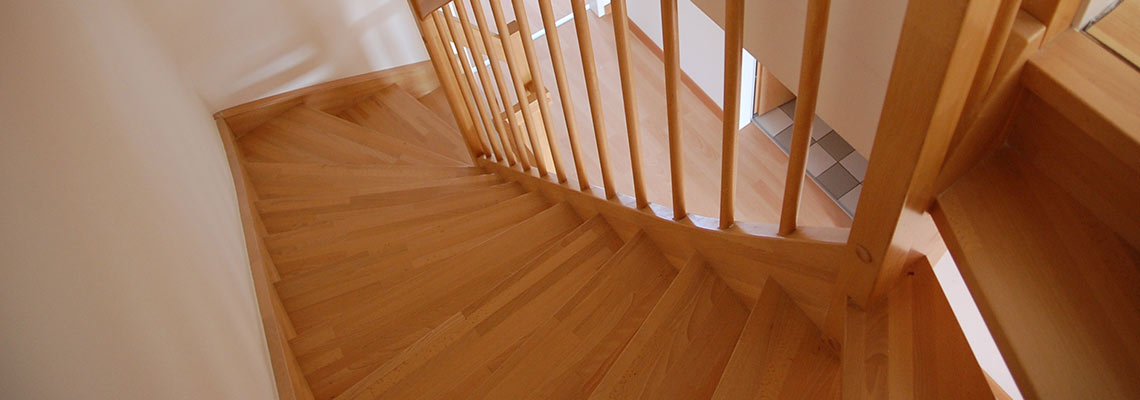
4991646b32b67c8e6be7b4fa76770f56.jpg 600×800 pixels New homes, Wood floors, Stairs

Hardwood floors treatment, consequently, means sweeping and dusting regularly – once a week, at least, and also subsequent to any event which leaves dirt and grime and grit behind. These are easy helpful tips on hardwood flooring maintenance. Engineered hardwood flooring is a mix of many levels of wood veneers and an artificial material that are laminated together to form each plank of flooring.
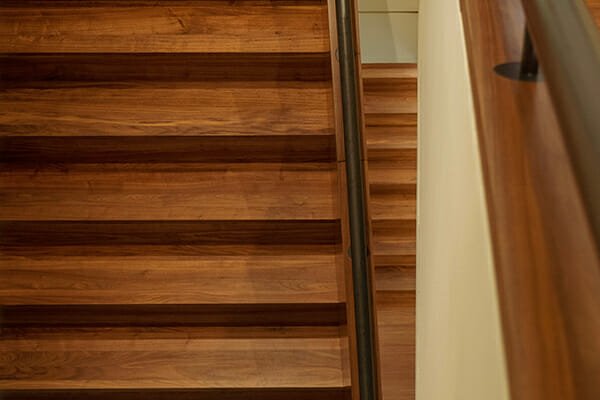
Can You Put Hardwood Flooring on Stairs? East Coast Flooring of Florida
When you've a hardwood floor, the rewards are apparent every day, and there are always local professionals available to allow you to re-imagine the layout of yours, tweak some imperfections, or repair damages. Although the bamboo as well as laminate sorts are easier to put in, nothing beats the longevity as well as natural attractiveness of hardwood floors. High quality contractors do have gear that will reduce the dust from sanding procedure.
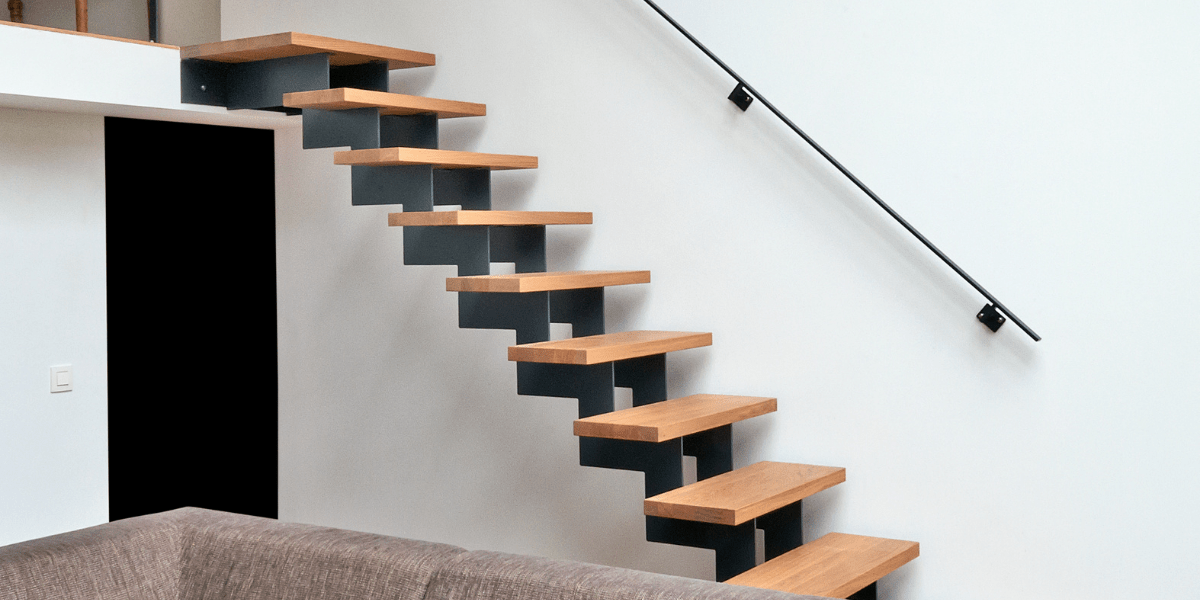
Wooden flooring installed to Stairs in 2021 Floor installation, Wooden flooring, Stairs

Although, there is a bit of truth to this particular theory, based on the range of flooring information, failure to offer ample safety to any floor is going to result in damage as well as deterioration of the flooring surface at an accelerated speed with potential replacement in as little as 5 years. In yesteryear, presumptions have stated which all the maintenance that's recommended for a wood floor is actually lightweight sweeping and mopping.
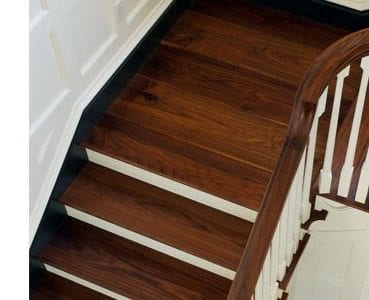
Beautiful Patterned Stair Runner on Dark Stained Stairs with Dark Hardwood Floor… in 2020 New

Upstairs Hallway With Dark Hardwood Flooring and Modern Wood Chair Overlooking Bold, Colorful

How to Match Hardwood Flooring to Stairs Sanding UK
Can you put Hardwood Flooring on Stairs? Wood Floors Cleaner
Hardwood Floors And Carpet Stairs : Hello There Stair Runner Stairway Design Stair Runner Carpet

Stunning striped grey stair runner by Bowloom Ltd. www.bowloom.co.uk Home, Gray stair runner

Porcelain wood look tile stairs Flooring for stairs, Diy staircase, Laminate flooring on stairs

Wood Flooring And Stairs – Flooring – DIY Chatroom Home Improvement Forum

Hardwood Floors & Stairs – YouTube

Design Ideas for Stairs to Match your Custom Hardwood Floors
Tile Transition To Carpet Stairs Carpet stairs, Textured carpet, Stair runner carpet

Related Posts:
- Hardwood Floor Cupping Causes
- Hardwood Floor Tile Inlay
- Hardwood Floor Filler Putty
- Canadian Oak Hardwood Flooring
- Wood Filler Hardwood Floor Repair
- Hardwood Floor Cleaner Best
- Hardwood Floor Compass Inlay
- Hardwood Flooring For Dog Owners
- Brazilian Cherry Bamboo Hardwood Flooring
- Hardwood Floor Cleaner Vinegar Olive Oil
Title: Mastering the Art of DIY Hardwood Flooring Stairs: A Comprehensive Guide
Introduction:
Hardwood flooring stairs add a touch of elegance and durability to any home. While hiring professionals to install them is an option, many homeowners are opting for the cost-effective and rewarding experience of doing it themselves. With the right tools, materials, and a step-by-step approach, you can transform your staircase into a stunning focal point that enhances the overall aesthetic appeal of your home. In this article, we will walk you through each stage of the DIY hardwood flooring stairs process, providing detailed instructions, tips, and answers to frequently asked questions.
I. Planning and Preparation:
Before embarking on your hardwood flooring stairs project, thorough planning and preparation are crucial to ensure successful results.
1. Assessing the Existing Stairs:
Start by evaluating the condition of your existing stairs. Determine whether they require any repairs or modifications before installing the hardwood flooring. Addressing any structural issues beforehand will save you time and effort later.
2. Calculating Materials:
Accurate measurement is essential for ordering the right amount of materials. Measure each tread’s width, length, height, and depth to calculate how much hardwood flooring material you will need. Remember to account for waste due to cutting and potential errors.
3. Choosing Hardwood Flooring:
Selecting the appropriate type of hardwood flooring for stairs is vital to ensure both beauty and durability. Consider factors such as wood species, grade, finish, and color that best match your interior design style while prioritizing durability for high-traffic areas like stairs.
FAQs:
Q1: Can I use engineered hardwood flooring for my stairs?
A1: Yes, engineered hardwood flooring can be used for stairs. However, ensure that the wear layer is thick enough to withstand foot traffic.
Q2: Should I choose prefinished or unfinished hardwood flooring for my stair project?
A2: Prefinished hardwood flooring offers convenience as it comes already finished. On the other hand, unfinished hardwood flooring allows for greater customization and ease of repair.
II. Removing Existing Flooring:
To achieve a flawless finish, it is crucial to remove any existing flooring on your stairs before installing the new hardwood.
1. Safety Precautions:
Prioritize safety during this phase by wearing protective gear, such as gloves and goggles, to shield yourself from dust and debris. Use caution when removing carpeting or other flooring materials to avoid injury.
2. Removing Carpeting:
If your stairs are covered with carpet, start by cutting the carpet into manageable sections using a utility knife. Lift each section carefully, ensuring no nails or staples remain attached to the tread or riser.
3. Removing Other Flooring Materials:
For non-carpeted stairs, such as those covered with vinyl or laminate flooring, use a pry bar or chisel to gently remove the material from each tread and riser. Take care not to damage the underlying structure.
FAQs:
Q1: Can I install hardwood flooring directly over old carpeting?
A1: No, it is not recommended to install hardwood flooring over old carpeting. The carpet should be removed entirely to ensure proper installation and prevent moisture issues.
Q2: Do I need to remove the existing nosing before installing hardwood flooring?
A2: It depends on personal preference and the condition of the existing nosing. If you wish to maintain a consistent look throughout your stairs, removing the nosing may be necessary.
III. Preparing Staircase for Installation:
Once you have Removed the existing flooring on your stairs, you will need to prepare the staircase for the installation of hardwood flooring. This involves several steps:
1. Inspecting and Repairing the Stairs:
Thoroughly inspect each step and riser for any damage or structural issues. Repair or replace any damaged or loose components to ensure a solid foundation for the new hardwood flooring.
2. Cleaning the Stairs:
Remove any dust, debris, or adhesive residue from the stairs using a broom, vacuum cleaner, or damp cloth. Ensure that the surface is clean and free of any obstacles that may interfere with the installation process.
3. Measuring and Marking:
Measure the width and depth of each step accurately to determine the dimensions of the hardwood flooring pieces needed. Mark these measurements on each step to serve as a guide during installation.
4. Acclimating the Hardwood Flooring:
Allow the hardwood flooring material to acclimate to the environment by leaving it in the room where it will be installed for at least 48 hours. This helps prevent warping or shrinking after installation.
FAQs:
Q1: Can I install hardwood flooring directly on concrete stairs?
A1: Yes, hardwood flooring can be installed on concrete stairs using adhesive or mechanical fasteners specifically designed for this purpose.
Q2: Do I need to sand or level the stairs before installing hardwood flooring?
A2: It depends on the condition of your stairs. If there are noticeable imperfections or unevenness, sanding or leveling may be necessary to ensure a smooth and even surface for the hardwood flooring.
IV. Installing Hardwood Flooring on Stairs:
Once the staircase is prepared, you can start the installation process for the hardwood flooring on your stairs. Follow these steps:
1. Applying Adhesive:
Apply a high-quality adhesive to each step and riser using a trowel or recommended application method. Make sure to spread the adhesive evenly to ensure proper bonding.
2. Installing Hardwood Flooring Pieces:
Carefully place each hardwood flooring piece onto the prepared steps, ensuring a snug fit and aligning them with the marked measurements. Press down firmly to secure the pieces in place.
3. Nailing or Stapling:
If necessary, use a nail gun or stapler to further secure the hardwood flooring pieces to the steps and risers. Follow manufacturer instructions and recommendations for proper nailing or stapling techniques.
4. Repeating the Process:
Continue applying adhesive, installing hardwood flooring pieces, and securing them until all steps are covered. Take care to maintain a consistent pattern and alignment throughout the installation process.
5. Finishing Touches:
Once all hardwood flooring pieces are installed, clean any excess adhesive and ensure that all edges are smooth and flush with the steps. Allow sufficient drying time before using the stairs.<