Garage Floor Prep For Epoxy
Related Images about Garage Floor Prep For Epoxy
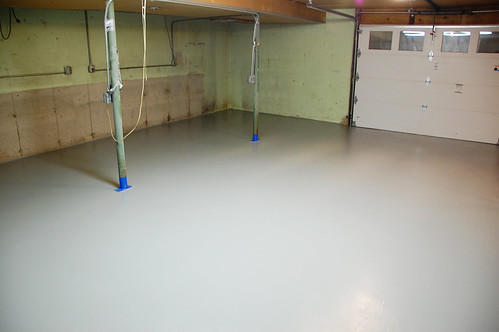
How to Prep Your Garage Floor for an Epoxy Coating
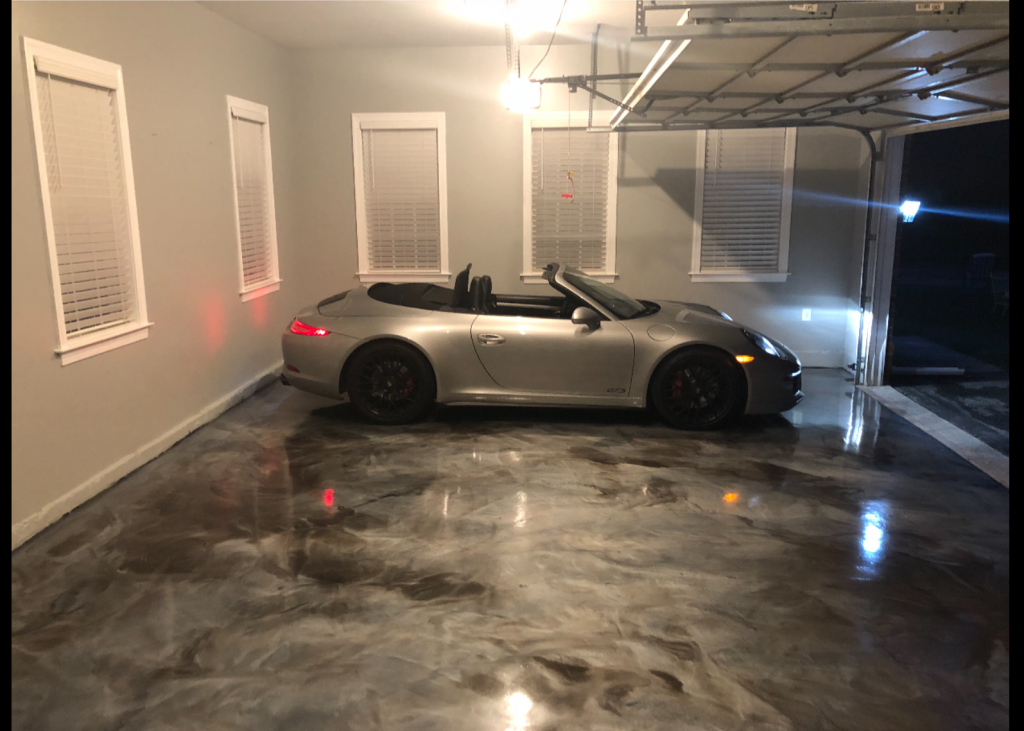
Garage flooring coatings are starting to be well known because of to protective and visual advantages that it offers. If you have a cracked cement garage flooring or maybe stains – you are able to make it start looking new by making use of an excellent storage area flooring area. Cheap garage floor tiles can break and warp under heavy loads. A lot of the garage floors available come in several patterns and are usually rolled out from the back of this garage to the front side.
Best Garage Floor Epoxy – Garage Floor Epoxy Coating Tutorial
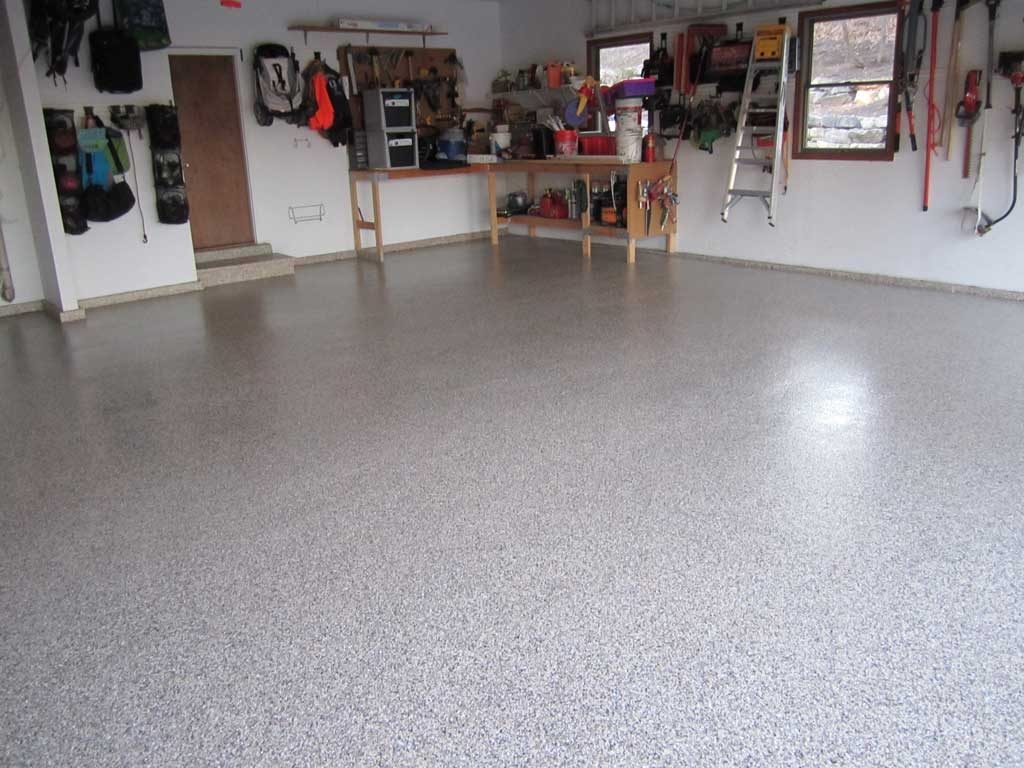
You are able to in addition touch up spots that become way too dirty or tarnished in period. Others choose using a mat to cover their work area, and some prefer the look of a mat that encompasses the whole floor room. The appeal of flexible garage flooring is you can acquire a hefty automobile with it while not breaking or perhaps cracking the floor.
How To Apply Garage Floor Epoxy Like a Pro
/7184880388_7a10367e16_k-587ae00d5f9b584db399e346.jpg)
You do not want to purchase too much & spend your hard earned cash but additionally you do not want to buy too small and end up short on the project. If perhaps you have an experienced garage with heavier website traffic, you need to make it possible for the color or maybe coat to dry out for 24 hours if no more. It was also expensive to adequately cover the floors.
How to Prep a Garage Floor For Epoxy – Home Stratosphere

How to Epoxy-Coat Your Garage Floor – Bob Vila

How Are Epoxy Garage Floors Applied? – Elite Epoxy Floors
10 Great Garage Flooring Solutions

Applying Garage Floor Epoxy 3 acres & 3000 square feet
Garage floor re-do-Epoxy

Garage Floor Epoxy How-To – YouTube

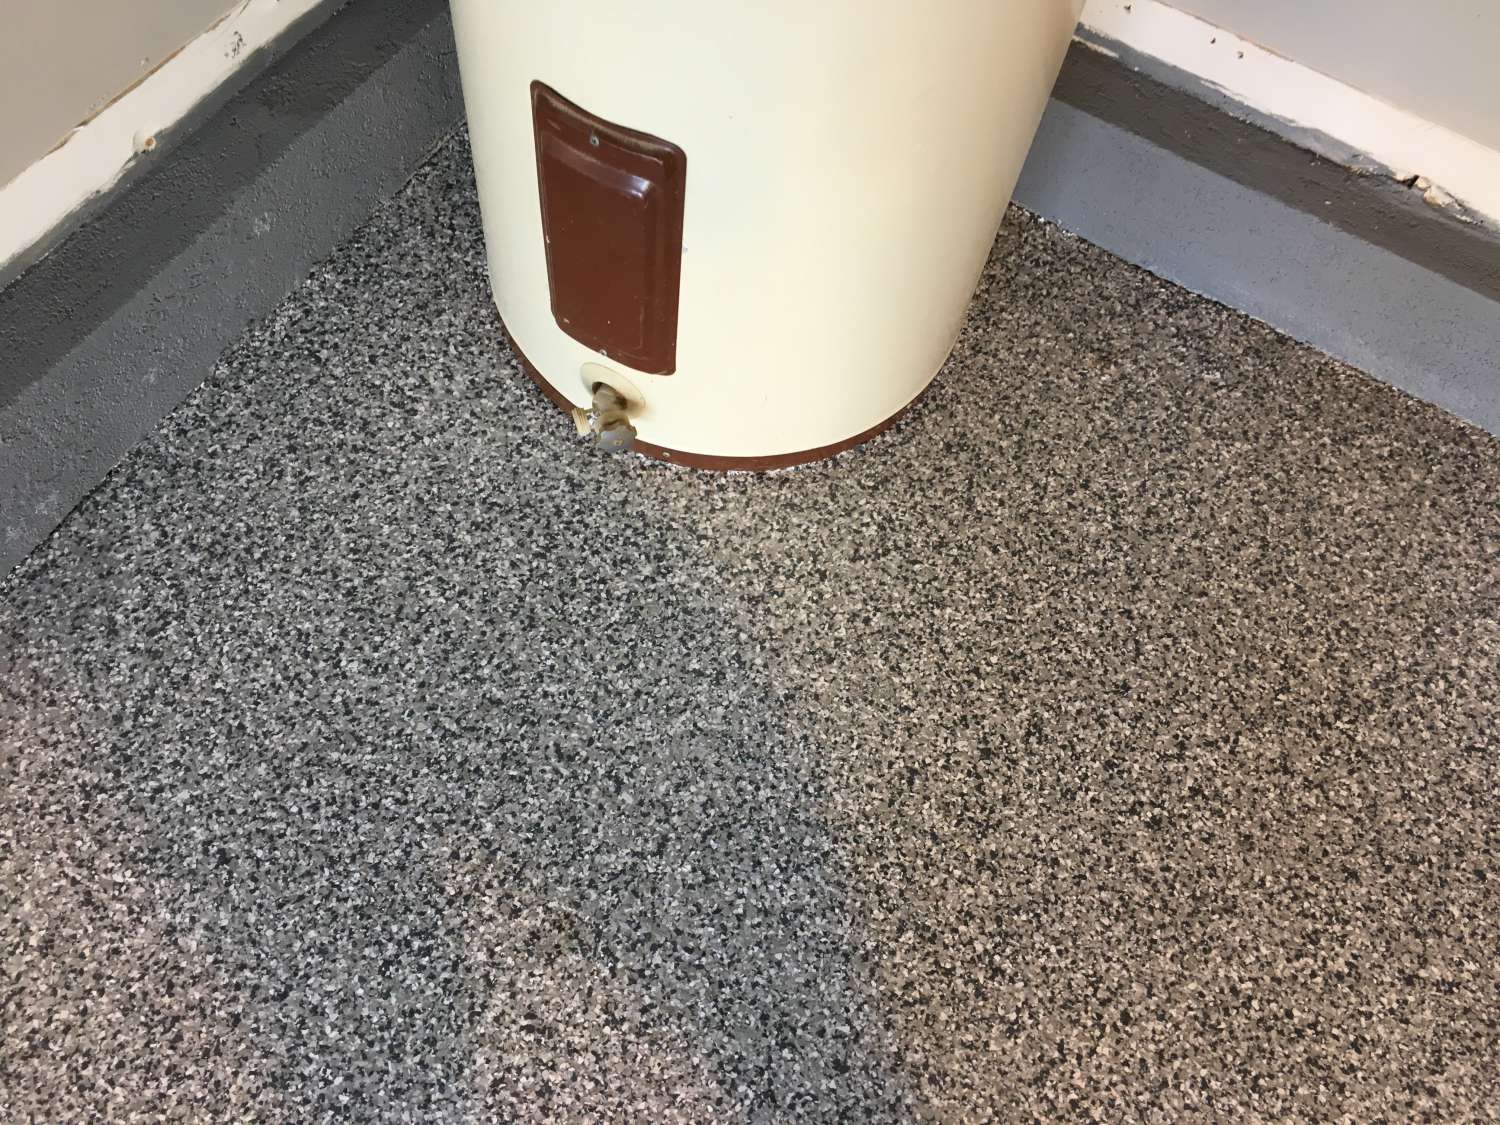
Gravel Flake Floor – The Epoxy Floor Company
How to Epoxy-Coat a Garage Floor Garage floor epoxy, Garage floor, Epoxy floor

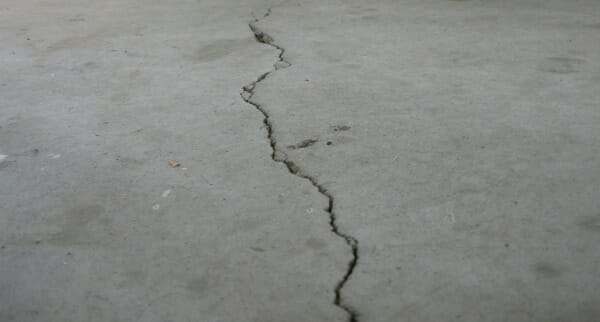
How to Repair Garage Floor Cracks and Pitting All Garage Floors
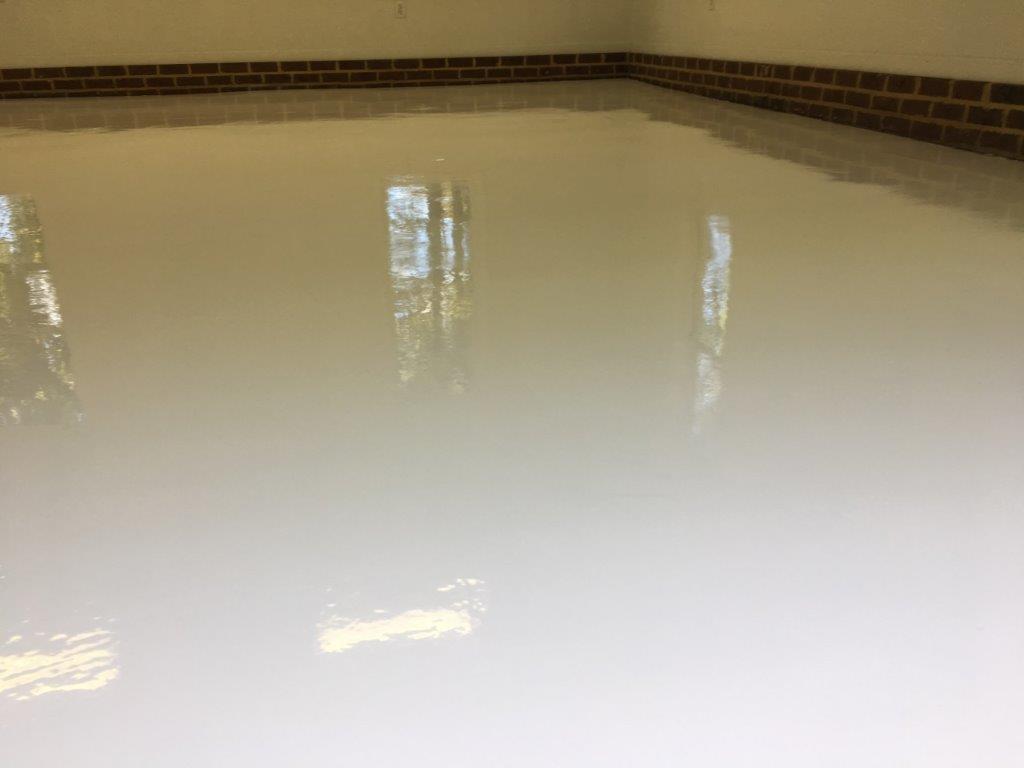
Pure white epoxy floor – The Epoxy Floor Company
Related Posts:
- Valspar Garage Floor
- Self Levelling Garage Floor Paint
- Valspar Epoxy Garage Floor Paint
- Garage Floor With Flakes
- Garage Floor Sealer Vs Epoxy
- Bondall Garage Floor Paint Review
- How To Polish Concrete Garage Floor
- Garage Floor Paint Do It Yourself
- Drymate Garage Floor Mat Review
- Modular Interlocking Garage Floor Tiles
Garage Floor Prep for Epoxy: A Comprehensive Guide
Introduction:
When it comes to transforming your garage into a functional and aesthetically pleasing space, applying an epoxy coating to the floor can make a world of difference. Not only does epoxy provide a durable and long-lasting finish, but it also enhances the overall look of your garage while protecting the concrete surface from stains, cracks, and wear. However, before you embark on this exciting project, proper preparation is key to ensure the best results. In this comprehensive guide, we will take you through each step of garage floor prep for epoxy, providing detailed instructions and answering some frequently asked questions along the way.
I. Clearing and Cleaning the Garage:
Before you begin any work on your garage floor, it is important to clear out all items and debris from the area. This includes removing vehicles, tools, storage boxes, and any other objects that may obstruct your workspace. Once the space is clear, it’s time to give the floor a thorough cleaning.
1. Sweeping and Vacuuming:
Start by sweeping the entire garage floor to remove loose dirt, dust, and debris. Use a broom with stiff bristles or a high-quality shop vacuum cleaner to ensure all particles are removed.
2. Degreasing:
Next, tackle any oil or grease stains that may have accumulated over time. Apply a high-quality degreaser specifically designed for concrete surfaces and let it sit for a few minutes to penetrate the stains. Scrub the affected areas with a stiff-bristle brush or use a pressure washer with an appropriate attachment to remove stubborn stains.
FAQs:
Q1: Can I use regular soap or detergent instead of a degreaser?
A1: While regular soap or detergent may help remove some dirt from your garage floor, they are not as effective at tackling oil and grease stains. It is recommended to use a degreaser specifically formulated for concrete surfaces for the best results.
Q2: Is it necessary to remove all oil and grease stains?
A2: Yes, it is crucial to remove any oil or grease stains from your garage floor before applying epoxy. Failure to do so can result in poor adhesion and compromised durability of the epoxy coating.
II. Repairing Cracks and Imperfections:
Once your garage floor is clean and free from debris, it’s time to address any cracks, pits, or other imperfections that may be present. Repairing these issues ensures a smooth and even surface for the epoxy coating.
1. Filling Cracks:
Start by inspecting the entire floor for any cracks. Use a concrete repair compound or epoxy crack filler to fill in the cracks, following the manufacturer’s instructions. Apply the filler using a putty knife or trowel, making sure to completely fill the crack and level it with the surrounding surface.
2. Patching Pits:
If you come across any deep pits or holes in your garage floor, patch them using a high-quality concrete patching compound. Clean the affected area thoroughly before applying the patching compound according to the manufacturer’s instructions. Smooth out the compound using a trowel or putty knife, ensuring it is level with the rest of the floor.
FAQs:
Q1: Can I use regular cement instead of a concrete repair compound?
A1: While regular cement may provide some temporary relief, it is not as effective as a concrete repair compound specifically designed for repairing cracks and imperfections. Concrete repair compounds offer better ad Hesion, durability, and flexibility, making them the preferred choice for long-lasting repairs.
Q2: How long should I wait for the repair compound to dry before applying epoxy?
A2: The drying time for repair compounds can vary depending on the product and environmental conditions. It is important to follow the manufacturer’s instructions for drying times. Generally, you should allow the compound to dry completely, which can take anywhere from a few hours to a few days, before applying epoxy to ensure proper adhesion and curing.
III. Applying Epoxy Coating:
Once your garage floor is clean and repaired, it’s time to apply the epoxy coating. Epoxy provides a durable and attractive finish that protects your garage floor from stains, chemicals, and wear and tear.
1. Preparing the Epoxy:
Follow the manufacturer’s instructions to prepare the epoxy coating. This usually involves mixing resin and hardener components together. Be sure to use a clean bucket or container and mix thoroughly until the mixture is uniform.
2. Applying the Epoxy:
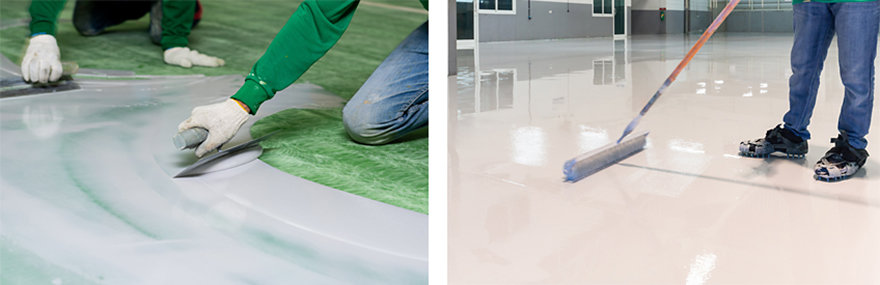
Start by applying a thin coat of epoxy using a roller or brush along the edges of the garage floor. This is known as “cutting in” and helps create clean lines and prevent overlapping when applying the main coat. Then, pour the mixed epoxy onto the floor in manageable sections and spread it evenly using a roller or squeegee. Work in small areas at a time to ensure even coverage.
3. Adding Decorative Chips (Optional):
If desired, you can add decorative chips to enhance the appearance of your garage floor. Sprinkle the chips onto the wet epoxy surface while it is still tacky. Use a clean roller or brush to lightly press the chips into the epoxy and remove any excess.
FAQs:
Q1: How many coats of epoxy do I need to apply?
A1: The number of epoxy coats needed can vary depending on the product and desired level of protection. It is generally recommended to apply at least two coats for optimal durability and coverage. Follow the manufacturer’s instructions for specific recommendations.
Q2: How long should I wait between epoxy coats?
A2: The drying time between epoxy coats can vary depending on the product and environmental conditions. It is important to follow the manufacturer’s instructions for drying times. Generally, you should wait until the first coat is dry to the touch, which can take several hours, before applying subsequent coats.