Floating Engineered Hardwood Flooring Installation

Related Images about Floating Engineered Hardwood Flooring Installation
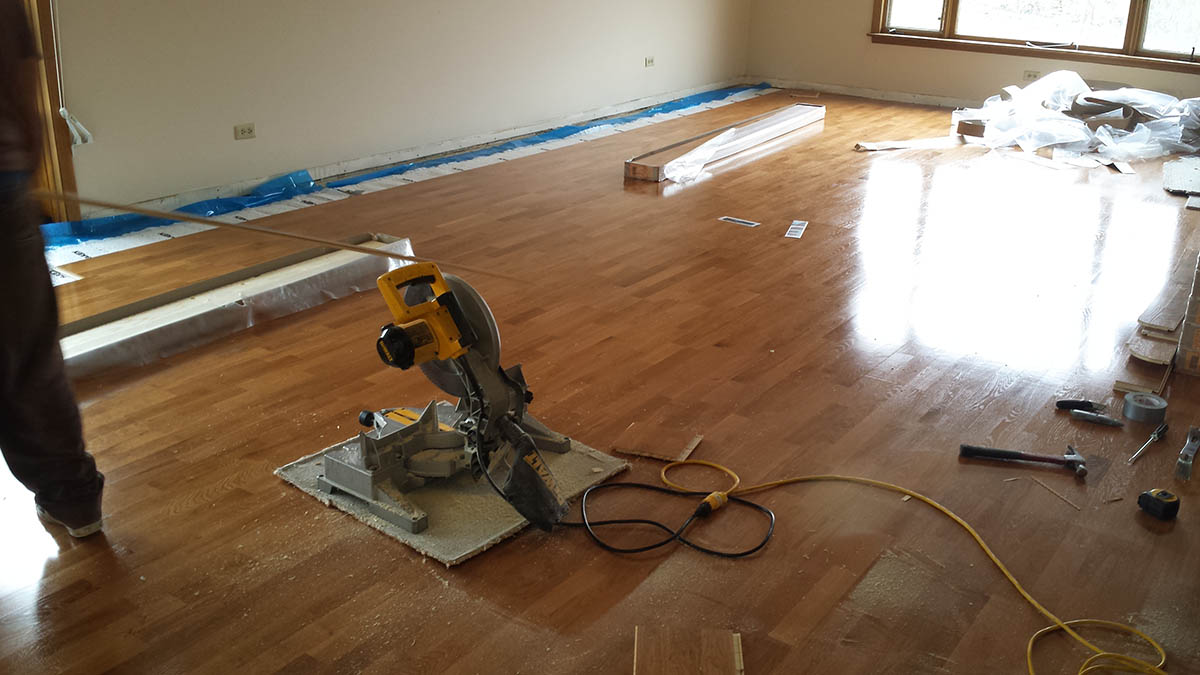
Floating Floor Installation: Part 1 Installing hardwood floors, Engineered hardwood

With basic mechanical capacity as well as use of standard installation equipment, a hardwood floors could effortlessly be very easily installed over a weekend with achievement that boost even the most sublime egos. You can now apply a stain if you desire or you can leave the natural color and look of the wood – like the favorite oak, maple, or perhaps cherry – to be shown.
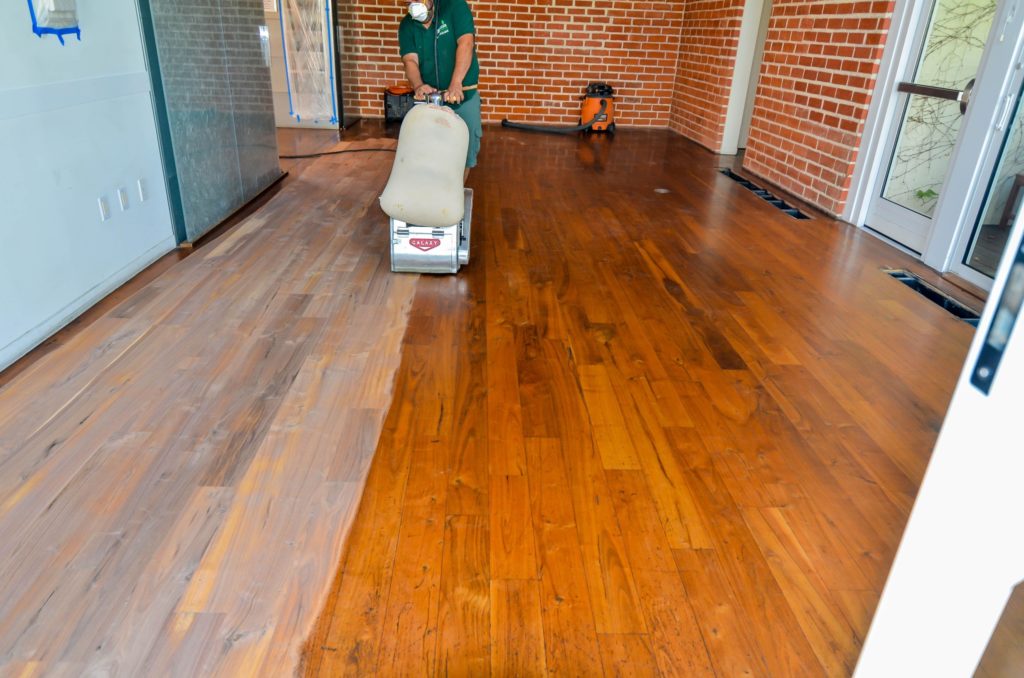
Engineered Flooring Installation – Midwest Hardwood Floors Inc.
Renowned for longevity and overall beauty, hardwood floors have gained in recognition over the years, rapidly becoming the choice inside floor coverings more than once considered usually installed carpet due to the minimal maintenance of hardwood floors and also the beauty which lies inside. Floors of any house is the first thing that becomes apparent after door.
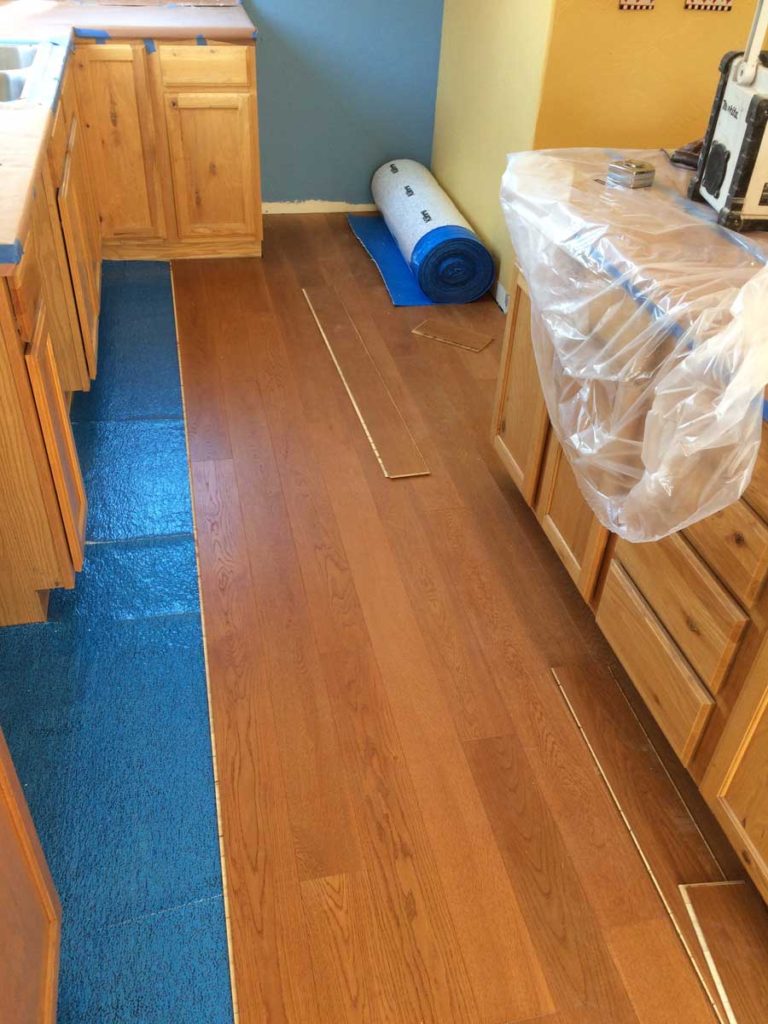
How To Install Floating Hardwood Directly Over Existing Flooring Flooring, Waterproof hardwood

If their toenails are clicking on your hardwoods, it is time to clip them returned. These days, many assortments in hardwood flooring have made the task tough for the owners to pick the very best for the home of theirs. This particular finishing procedure could be done multiple time in the future to reestablish the attractiveness of the floor as it sports over time. That's unless you've got damaging pleasure tendencies.
All You Need To Know About Floating Engineered Wood Flooring

Should I Choose Solid Wood or Engineered Wood Flooring? Durango Custom Works, LLC Durango
Remodelaholic Hardwood Flooring Installation

refinishing walnut engineered floors – Sequoia Flooring
Engineered Timber Flooring and Floating Timber Floors in Brisbane

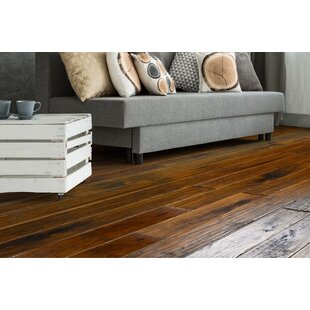
Floating Engineered Wood Flooring Wayfair
DIY Floating Floor Before-and-After An Oregon Cottage

What to Expect From Newly Installed Hardwood Flooring Hardwood Floors Unique Wood Floors

Hickory Dark Chocolate 5” Engineered Hardwood Flooring Modern Home Concepts
Engineered Timber Flooring and Floating Timber Floors in Brisbane

Hardwood Flooring Company in Burbank & Glendale – Solid, Engineered & Laminate wood
Related Posts:
- Hardwood Floor Cupping Causes
- Hardwood Floor Tile Inlay
- Hardwood Floor Filler Putty
- Canadian Oak Hardwood Flooring
- Wood Filler Hardwood Floor Repair
- Hardwood Floor Cleaner Best
- Hardwood Floor Compass Inlay
- Hardwood Flooring For Dog Owners
- Brazilian Cherry Bamboo Hardwood Flooring
- Hardwood Floor Cleaner Vinegar Olive Oil
Floating Engineered Hardwood Flooring Installation: A Comprehensive Guide
The installation of floating engineered hardwood flooring is a great way to add warmth and beauty to any home. Not only is this type of flooring aesthetically pleasing, but it is also incredibly durable and can last for decades with proper care. The process of installing a floating engineered hardwood floor is relatively simple and can be completed by most handy homeowners in one weekend. In this comprehensive guide, we will discuss the basics of the installation process, as well as provide some helpful tips on how to make sure the job is done right.
Tools and Materials Needed
Before beginning the installation process, it is important to make sure that you have all of the necessary tools and materials for the job. Some of the items you will need include:
– Underlayment
– Hammer
– Tape measure
– Utility knife
– Chalk line
– Nails/screws
– Moisture barrier
– Mastic adhesive
– Power saw or jigsaw
– Safety goggles/gloves/mask
– Floating engineered hardwood planks
– Spacers
– Wood putty/filler
– Polyurethane sealant
Preparing the Subfloor and Room for Installation
Before installing your new floating engineered hardwood floor, there are a few steps that must be taken to prepare the subfloor and room for installation. First, you will need to remove any existing carpet, tile, or other flooring material from the subfloor. After that has been completed, you should inspect the subfloor for any areas that may need to be repaired or replaced. This includes checking for any signs of mold or rot as well as ensuring that there are no large cracks in the subfloor. Once these steps have been completed, it is time to install an underlayment and moisture barrier over the subfloor before laying down your new floating engineered hardwood planks. This will help ensure that your new flooring will stay in place and remain stable over time.
Installing the Floating Engineered Hardwood Planks
Once all of your preparation work has been done, it is time to begin installing your new floating engineered hardwood planks. To start, you will need to measure out where each plank should go in order to get an accurate fit. Once you have determined where each plank should go, you can then use a chalk line to mark off each spot on the floor. It is important to remember that when laying down your planks, you should leave a gap of at least ¼ inch (6 mm) between each plank in order to allow for expansion due to temperature changes. After measuring out your planks and marking them off with a chalk line, you can then begin nailing them into place with either a hammer or screw gun depending on what type of fasteners were included with your engineered hardwood planks. Once all of your planks have been nailed into place, you can then use mastic adhesive around the edges in order to give them an extra secure hold on the subfloor.
Finishing Tou Ches
Once all your planks have been installed, it is time to finish the job. You can use a wood putty or filler in order to fill in any gaps or cracks between the planks. This will help ensure that your flooring is even and smooth. After that is done, you can then apply a polyurethane sealant over the entire floor in order to give it an extra layer of protection against moisture and dirt. Once the sealant has dried, your new floating engineered hardwood floor should be ready to enjoy for years to come!