Finishing Hardwood Floors By Hand
Related Images about Finishing Hardwood Floors By Hand
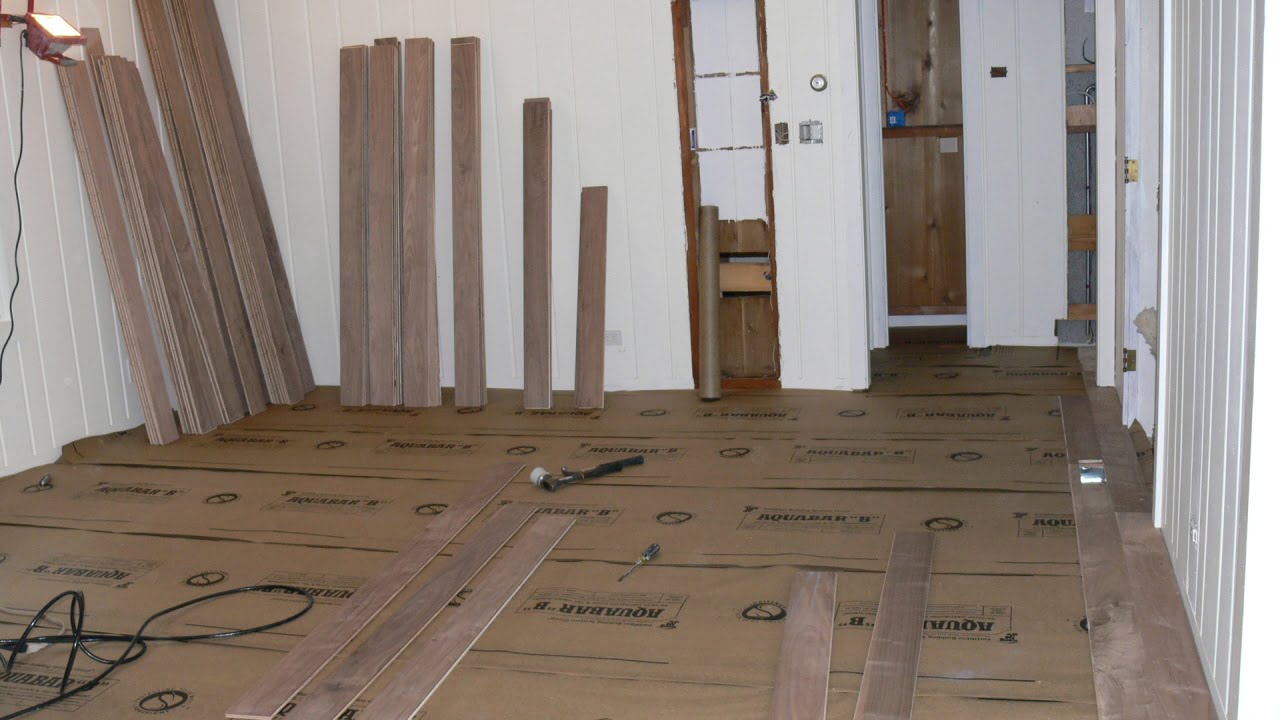
Manomin Antique Oak Flooring leading into Kitchen Wood floors wide plank, Wood pallet flooring

Though it's crucial that you be aware that incomplete hardwoods require an outstanding amount of time to use the needed coats at the job site which suggests the room won't be available for use until total. However, you should still strive to get all these straightened out to the degree you are able to see them. Strong hardwood floors are not hard to keep.
How Durable Is Engineered Hardwood Flooring? Nydree Flooring

As time goes on, hardwood floors might require a small amount of help to look their best, especially if they are laid in places with heavy traffic as well as high demands. The downside to unfinished flooring is there is usually a substantial mess from sanding the flooring along with fumes from the stain as well as urethane coatings.
3 Ways to Determine Your Hardwood Floor Refinishing Cost – Finishing Touch Hardwood Floors
Floating implies that, while the floor is actually fastened to itself, it is not fastened down to the subsurface. In this regard, it is incredibly vital we maintain our flooring on the greatest condition of its. The simple fact of the matter is the fact that keeping a hardwood floor with a dog is a great deal of work. The glue down means of laying hardwood floors is one of the first methods of installing hardwood flooring.
finish hard wood floors
Nottingham Wood Products Hardwood Handle Scraper 2 1/2 Inches Wide x 11 Inches Long Each

How to Finish Hardwood Floors (with Pictures) – wikiHow

VINTAGE CHARM by Sheoga Hardwood Flooring Hardwood Floors Magazine

Hardwood Floor Refinishing Los Angeles CMC Hardwood Floors

Hickory Wood Flooring — Raven Hardwood Flooring

Hardwood Flooring – Hardwood Floor Care – Wood Flooring – Valuable Information from McClincy’s

LW Mountain Hardwood Floors Hickory Autumn Brown Stain One Strip Distressed Click Hardwood

Hardwood Flooring
Fitting Hexagon Wood Tiles floors – hexagon parquet floor

How to Install Hardwood Floors
Related Posts:
- Hardwood Floor Cupping Causes
- Hardwood Floor Tile Inlay
- Hardwood Floor Filler Putty
- Canadian Oak Hardwood Flooring
- Wood Filler Hardwood Floor Repair
- Hardwood Floor Cleaner Best
- Hardwood Floor Compass Inlay
- Hardwood Flooring For Dog Owners
- Brazilian Cherry Bamboo Hardwood Flooring
- Hardwood Floor Cleaner Vinegar Olive Oil
Introduction
Finishing hardwood floors by hand is a time-consuming yet rewarding process that will give your home a beautiful, natural finish. It takes patience and precision to get the best results, but with the right tools and techniques, you can achieve stunning results. This article will provide you with an overview of the steps involved in finishing hardwood floors by hand, as well as some tips for getting the best results.
Preparing the Floor
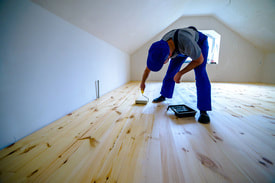
Before you begin finishing your hardwood floor, it’s important to prepare it properly. This includes sanding down any rough spots, filling in any cracks or gaps, and cleaning the floor thoroughly. Once the surface is clean and smooth, you can begin applying sealant or stain to protect and enhance the wood’s natural beauty.
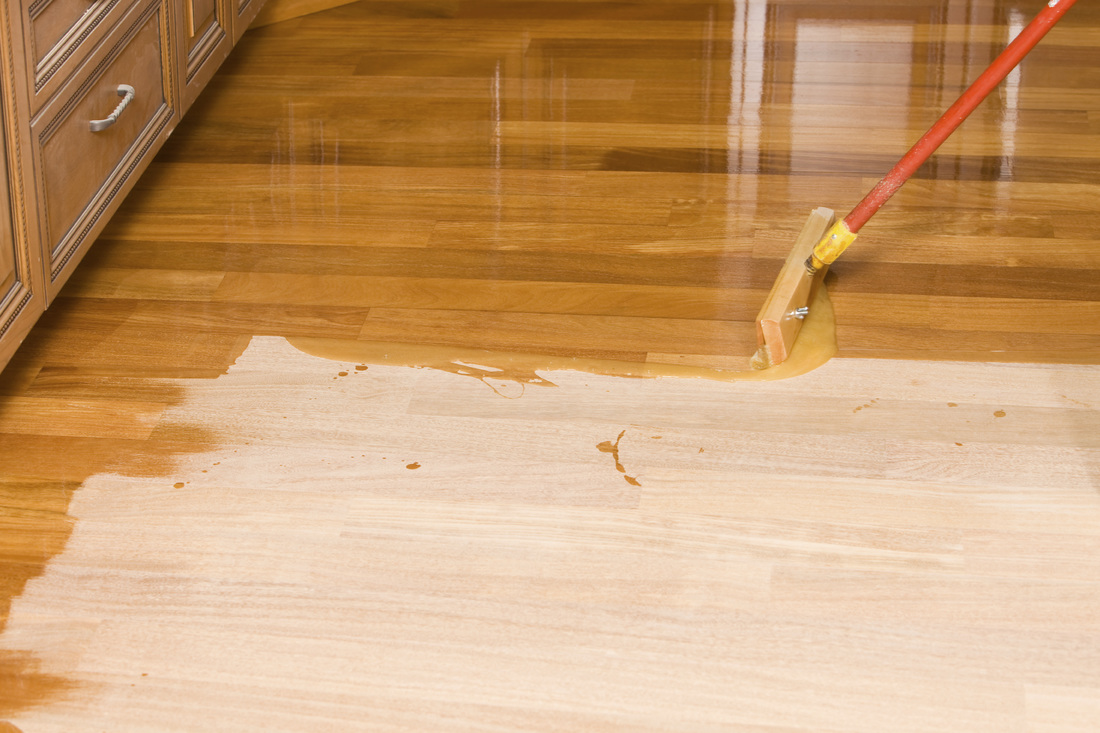
Applying Sealant/Stain
Once your hardwood floor is adequately prepared, it’s time to apply sealant or stain to protect and enhance its natural beauty. Sealant is typically applied with a brush or roller in thin, even layers. Stain should be applied similarly but should be allowed to soak into the wood before wiping away any excess. Allow each layer of sealant/stain to dry completely before applying additional coats.
Applying Finish Coatings
Once your sealant/stain has been applied and allowed to dry thoroughly, you can begin applying finish coatings such as polyurethane or varnish. These coatings provide a protective barrier against wear and tear as well as enhancing the natural beauty of your hardwood floors. Apply these coatings in thin, even layers using a brush or roller; allow each layer to dry completely before applying additional coats.
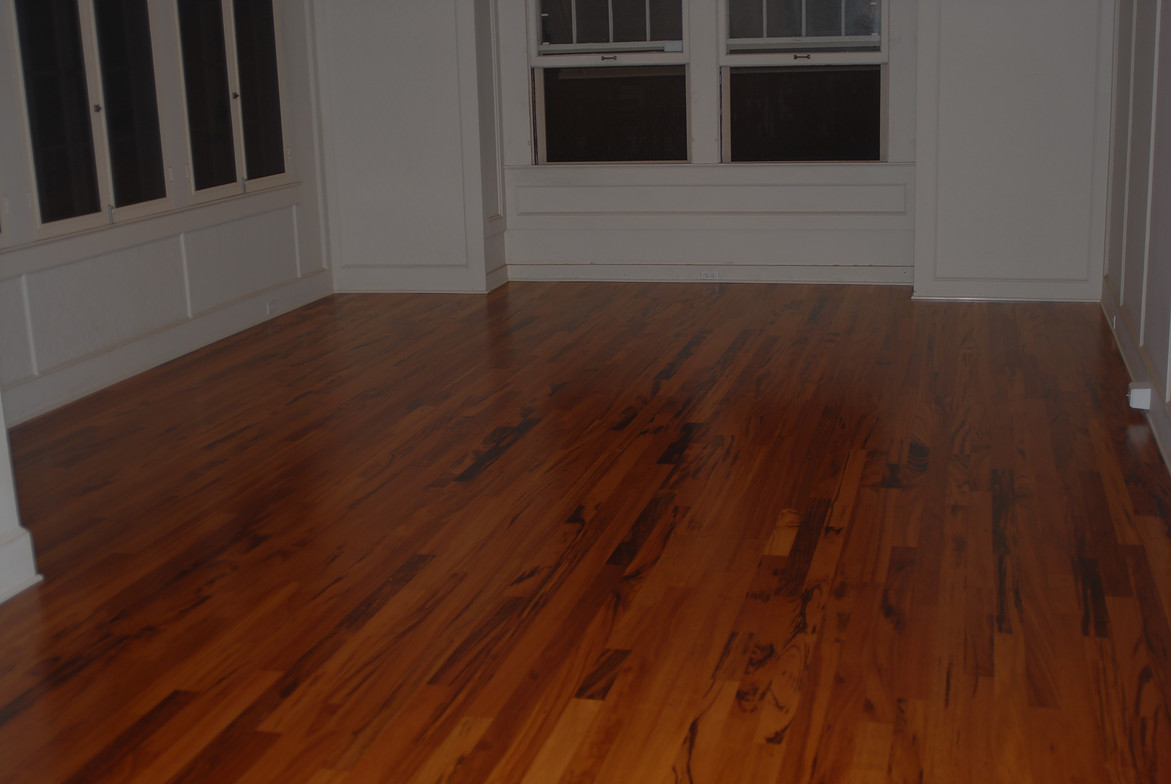
Buffing/Polishing the Floor
After all of your finish coatings have been allowed to dry thoroughly, it’s time to buff and polish your hardwood floors. Buffing will help bring out the natural grain of the wood while polishing will give it a glossy sheen. Use a buffer or polisher with an appropriate buffing pad for this step; move it slowly across the surface of your floor in overlapping circles until you are satisfied with its appearance.
FAQs
Q: What type of sealant should I use on my hardwood floors?
A: The type of sealant you use depends on your personal preferences and budget; however, most people prefer oil-based polyurethane sealants as they provide excellent protection against wear and tear while still allowing the wood’s natural beauty to shine through.
Q: How many coats of sealant/stain should I apply?
A: This will depend on the condition of your hardwood floors; however, most experts recommend at least two coats of sealant/stain for optimal protection and enhancement of your floor’s natural beauty.
Q: How do I know when my finish coatings are dry?
A: You can test whether or not your finish coatings are dry by lightly tapping on them with your finger; if they feel tacky or sticky then they are not yet dry enough for another coat. Be sure to allow each layer to dry thoroughly before adding more coats.
Q: Can I use an electric Buffer on my hardwood floors?
A: Yes, you can use an electric buffer to buff/polish your hardwood floors; however, be sure to use an appropriate buffing pad as some pads may be too abrasive and could damage the wood.
What type of sandpaper is best for finishing hardwood floors by hand?
For finishing hardwood floors by hand, a 100-grit sandpaper is best. This grit will provide a smooth finish without causing too much damage to the wood. Additionally, it is important to ensure that the sandpaper is the correct type for the type of wood you are working with. For example, softer woods such as pine may require a finer grade sandpaper, while harder woods such as oak may require a coarser grade.What grit sandpaper should I use for finishing hardwood floors?
Most professionals recommend using a 120-grit sandpaper for the final sanding of hardwood floors. This will give you a smooth finish that will be ready for staining and sealing. It is important to keep in mind that the type of wood you are working with will determine the type of sandpaper you should use. For example, softer woods such as pine may require a finer grade sandpaper, while harder woods such as oak may require a coarser grade.What is the difference between sandpaper grits for hardwood floors?
Sandpaper grits for hardwood floors are typically categorized by the size of the abrasive particles used. Coarse sandpaper uses larger particles and is generally used for initial sanding and removing blemishes or old finishes. Fine sandpaper uses smaller particles and is used for final sanding to achieve a smooth, even finish. Very fine grits (up to 1500) are typically used between coats of finish to ensure an even finish.What are the different grits of sandpaper for hardwood floors?
The most common grits of sandpaper for hardwood floors are:-36 grit: For heavy sanding, such as removing previous finishes or large scratches.
-60 grit: For medium-level sanding, such as smoothing out small scratches and blemishes.
-80 grit: Finer sanding to prepare the hardwood floor for staining or sealing.
-100 grit: Even finer sanding to remove any remaining saw marks or other imperfections.
-120 grit: A very fine grit used to create a smooth, even surface before applying the finish.