Epoxyshield Garage Floor Kit

Related Images about Epoxyshield Garage Floor Kit
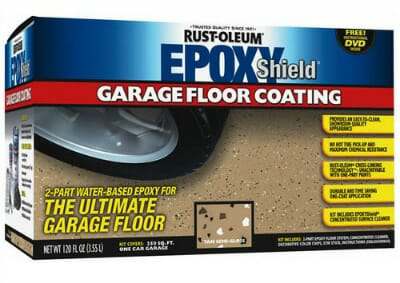
Rust-Oleum EpoxyShield 2 gal. Tan Garage Concrete Surface Cement Floor Epoxy Kit 20066211004 eBay

Once again, you are able to use this kind of surface yourself with relative ease. They are preferred by car owners that are working on the own vehicles of theirs or perhaps have custom garages developed to bring timeless models of automobiles or pickups. For other garage uses, either the Levant or even the distinct pattern should work.
Car Garage Floor Kit 240 oz. Tan High Gloss 2.5 Epoxy Paint Brown Interior eBay

The ribbed consistency is great for game room garage since this sort of garage got loads of traffic. The web has websites available for you to learn as well as get info on all of the flooring solutions along with reviews from experts as well as the normal public. When you're done, you've a nice looking garage floor that is actually less difficult to sweep and mop.
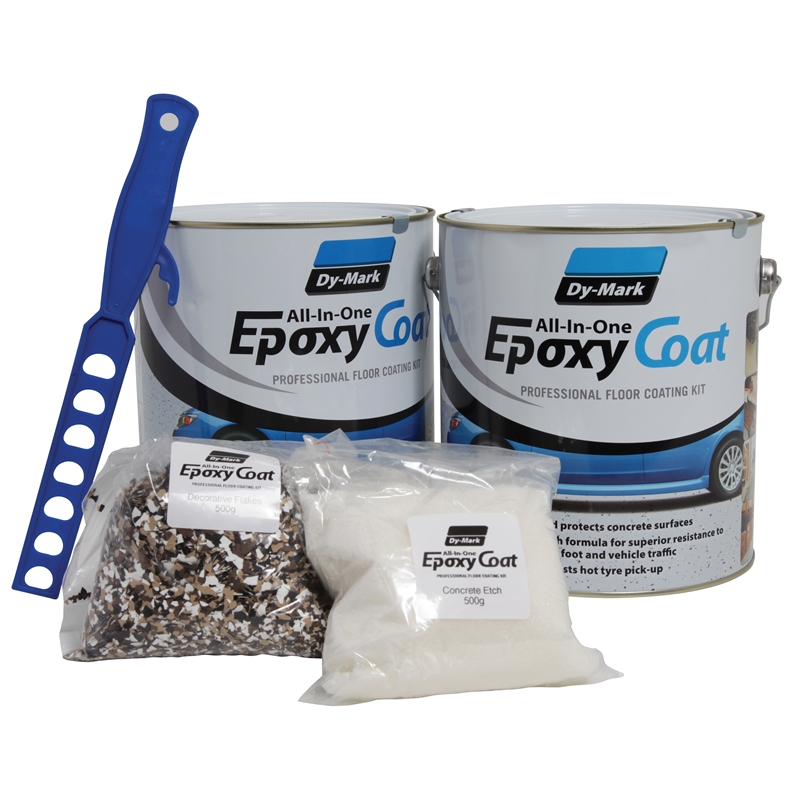
DY-Mark 8L Clear Epoxy Garage Floor Coating Kit Bunnings Warehouse
At one time sealants and epoxy coverings had been the only alternatives for safeguarding residential and commercial storage area space. But possibly the very best reason behind coating your garage floor with a particular flooring cover is the fact that it will help the floor to be more durable. Providing your garage floor a deep and thorough cleaning will help prepare it for its new paint job.
EpoxyShield 2.5 Car Garage Workshop Floor Kit Waterproof High-Gloss 240 oz Epoxy eBay

Epoxyshield Garage Floor Coating Instructions

[Home Depot] Epoxyshield Garage Floor Coating In Gloss Grey, 7.1 L (covers up to 500 Sq. Ft
Java John Z’s : EpoxyShield Garage Floor Project, Part 7, Wrapup

The Bad Reviews of Rust-Oleum and Quikrete Epoxy Paint Kits All Garage Floors
Epoxyshield Premium Clear Coating Review – Homeluf.com
![]()
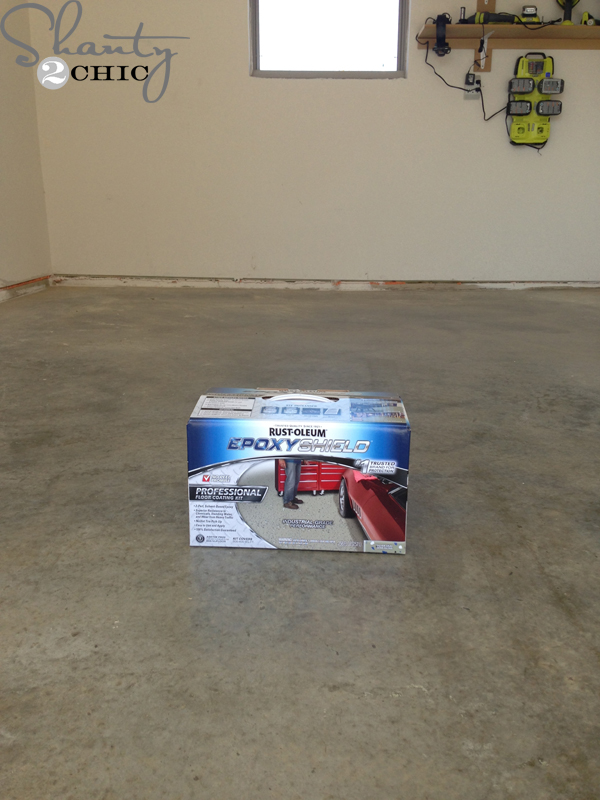
Easy Garage Floor Coating and a Giveaway! – Shanty 2 Chic
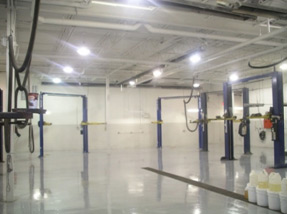
Epoxy Floor Coating – Edmonton – Garage Epoxy Products Garage Strategies
Is Epoxy Garage Floor Coating Slippery Epoxy Floor

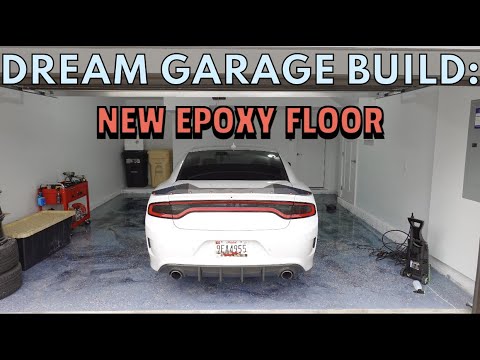
HOW TO EPOXY YOUR GARAGE FLOORS USING EPOXYSHEILD FROM HOME DEPOT – YouTube
Professional Epoxy Garage Floor Coatings vs DIY Epoxy Kits Quality Pro

Related Posts:
- Valspar Garage Floor
- Self Levelling Garage Floor Paint
- Valspar Epoxy Garage Floor Paint
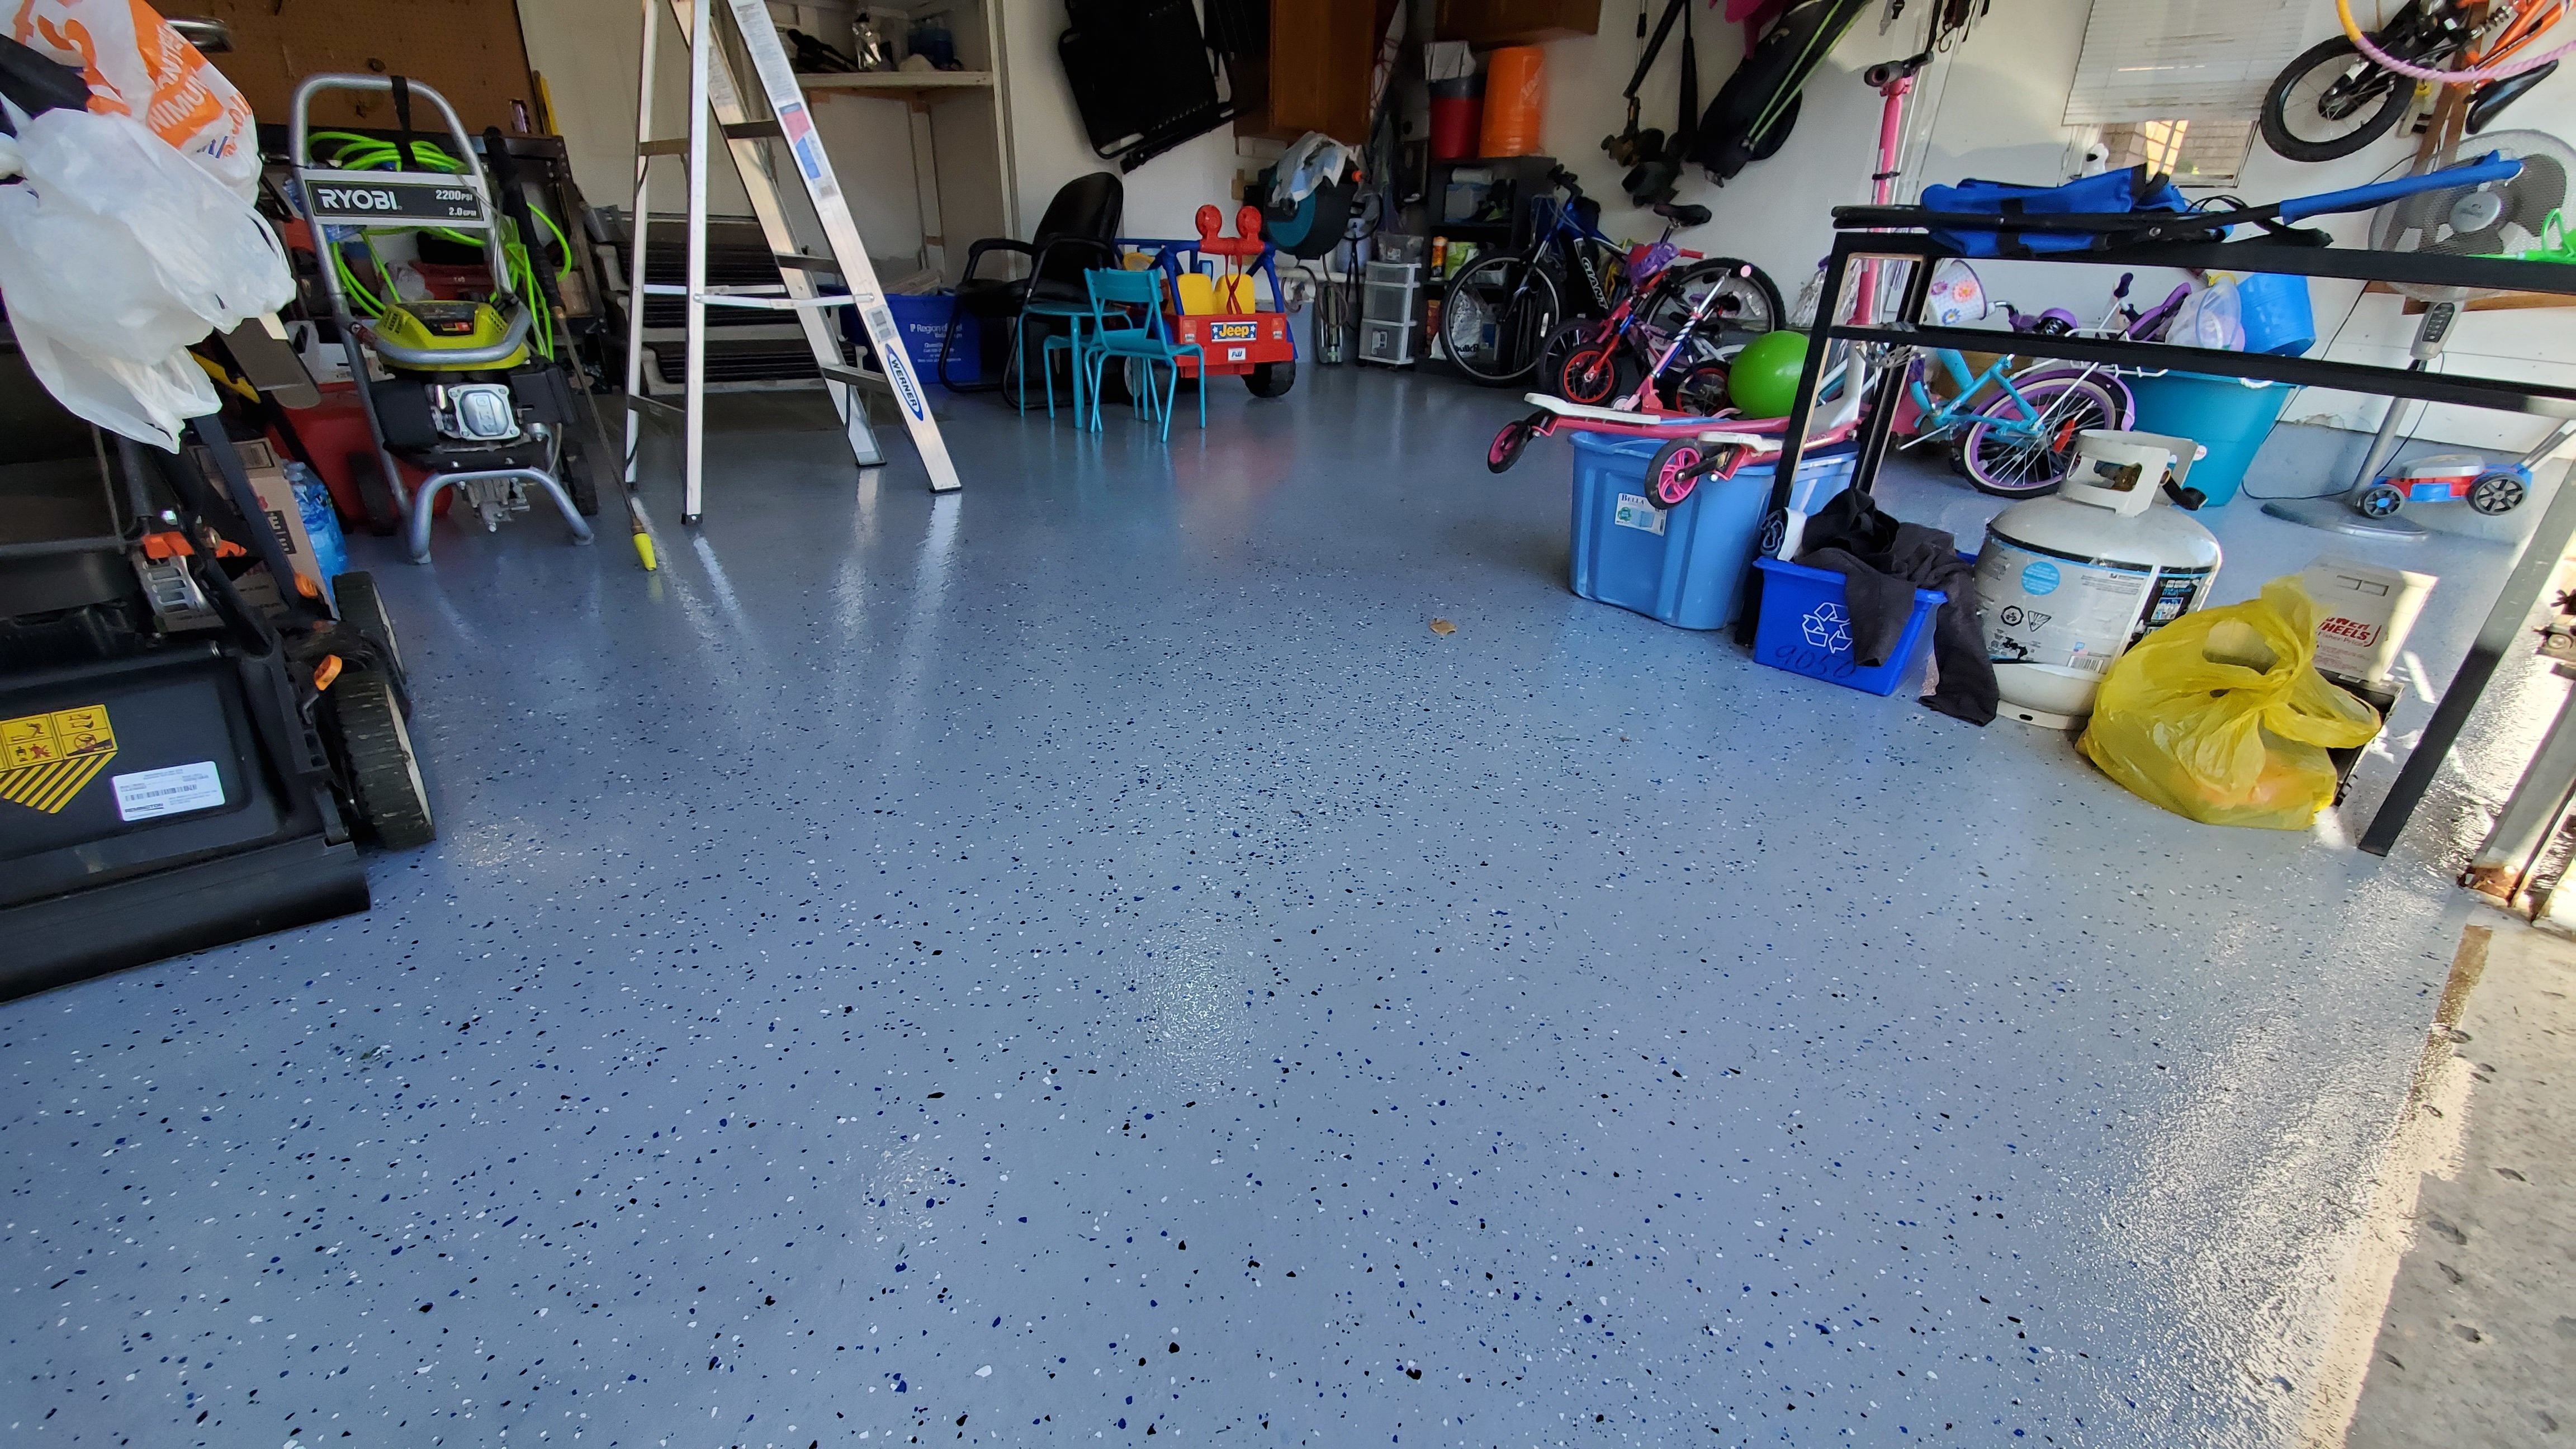
- Garage Floor With Flakes
- Garage Floor Sealer Vs Epoxy
- Bondall Garage Floor Paint Review
- How To Polish Concrete Garage Floor
- Garage Floor Paint Do It Yourself
- Drymate Garage Floor Mat Review
- Modular Interlocking Garage Floor Tiles
Transform Your Garage with the EpoxyShield Garage Floor Kit
Introduction:
Are you tired of looking at your dull and boring garage floor? Do you want to give it a fresh and vibrant look? Look no further! The EpoxyShield Garage Floor Kit is here to transform your garage into a stylish and durable space. This easy-to-use kit allows you to create a high-performance, showroom-quality finish that will not only enhance the appearance of your garage but also protect it from stains, chemicals, and wear and tear. In this article, we will delve into the various features and benefits of the EpoxyShield Garage Floor Kit, explore its application process, and answer some frequently asked questions to help you make an informed decision.
Sub-heading 1: Features and Benefits of the EpoxyShield Garage Floor Kit
The EpoxyShield Garage Floor Kit offers a plethora of features and benefits that make it an ideal choice for transforming your garage floor. Let’s take a closer look at some of these:
1. Durable and Long-lasting: The EpoxyShield Garage Floor Kit is designed to withstand heavy traffic and provide long-lasting protection to your garage floor. Its high-performance formula creates a tough, resilient surface that can resist chemicals, oil stains, water damage, and abrasions.
2. Professional-Grade Finish: With the EpoxyShield Garage Floor Kit, you can achieve a professional-grade finish that rivals those found in showrooms. The kit includes a two-part epoxy coating that dries to a beautiful, glossy finish, giving your garage floor a sleek and polished look.
3. Easy Application: One of the standout features of the EpoxyShield Garage Floor Kit is its user-friendly application process. The kit comes with detailed instructions that guide you through each step, making it suitable for both DIY enthusiasts and professionals alike.
4. Versatility: Whether you have a concrete or wood garage floor, the EpoxyShield Garage Floor Kit is compatible with various surfaces. This versatility allows you to transform not only your garage but also other areas such as basements, workshops, and utility rooms.
5. Low Maintenance: Once applied, the EpoxyShield Garage Floor Kit requires minimal maintenance. The smooth and non-porous surface resists dust and dirt, making it easy to clean with just a mild detergent and water.
FAQs:
Q1: How long does the EpoxyShield Garage Floor Kit last?
A1: With proper application and maintenance, the EpoxyShield Garage Floor Kit can last for several years. The durability of the coating ensures that it can withstand daily wear and tear without losing its shine or protective properties.
Q2: Can I apply the EpoxyShield Garage Floor Kit myself, or do I need professional help?
A2: The EpoxyShield Garage Floor Kit is designed for easy DIY application. The detailed instructions provided with the kit make it simple to achieve professional-looking results without the need for professional assistance. However, if you are unsure or have specific requirements, consulting a professional may be beneficial.
Sub-heading 2: Application Process
Now that we have explored the features and benefits of the EpoxyShield Garage Floor Kit, let’s delve into its application process. Follow these steps to achieve a flawless finish:
1. Surface Preparation: Before applying the epoxy coating, it is crucial to prepare the surface properly. Start by cleaning the garage floor thoroughly using a degreaser and scrub brush to remove any Oil stains, dirt, and debris. Rinse the floor with water and allow it to dry completely.
2. Patching and Repair: Inspect the garage floor for any cracks or imperfections. Use a concrete patching compound to fill in any cracks or holes. Smooth out the patched areas with a trowel and allow them to dry according to the manufacturer’s instructions.
3. Etching: If you have a smooth, uncoated concrete floor, etching is necessary to ensure proper adhesion of the epoxy coating. Mix the etching solution provided in the kit with water according to the instructions. Apply the solution to the floor using a mop or sprayer, and scrub it in with a stiff bristle brush. Rinse thoroughly with water and allow the floor to dry completely.
4. Mixing: The EpoxyShield Garage Floor Kit includes a two-part epoxy coating that needs to be mixed before application. Follow the instructions on the kit for proper mixing ratios and techniques. It is essential to mix thoroughly until a uniform color is achieved.
5. Application: Start by cutting in along the edges of the garage floor using a brush or roller. Then, use a roller with a long handle to apply the epoxy coating in even, overlapping strokes. Work in small sections at a time to ensure proper coverage.
6. Decorative Chips (optional): If desired, you can add decorative chips provided in the kit by broadcasting them onto the wet epoxy coating immediately after application. Use a chip spreader or your hands to evenly distribute the chips across the surface.
7. Topcoat: Once the epoxy coating has cured for the recommended time (typically 24-48 hours), apply the topcoat provided in the kit using a roller. This topcoat enhances durability and provides additional protection against chemicals and abrasions.
8. Curing: Allow the coated floor to cure for at least 72 hours before subjecting it to heavy traffic or placing objects on it. Ensure proper ventilation during the curing process by opening windows or using fans.
Note: It is essential to follow the specific instructions provided with the EpoxyShield Garage Floor Kit, as application processes may vary slightly depending on the product variant.