Epoxy Over Tile Shower Floor
Related Images about Epoxy Over Tile Shower Floor
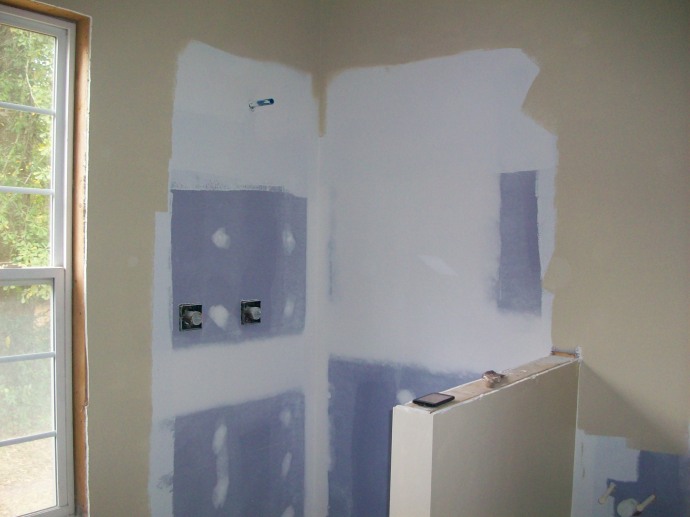
Pin on master bed and bath

You'll get an extra advantage of protecting your concrete flooring from fossil oil stains as well as various other chemical substances to give an extra life to the untreated floor. Epoxy floor surfaces are very unwilling to area injury with the inheriting properties of theirs.
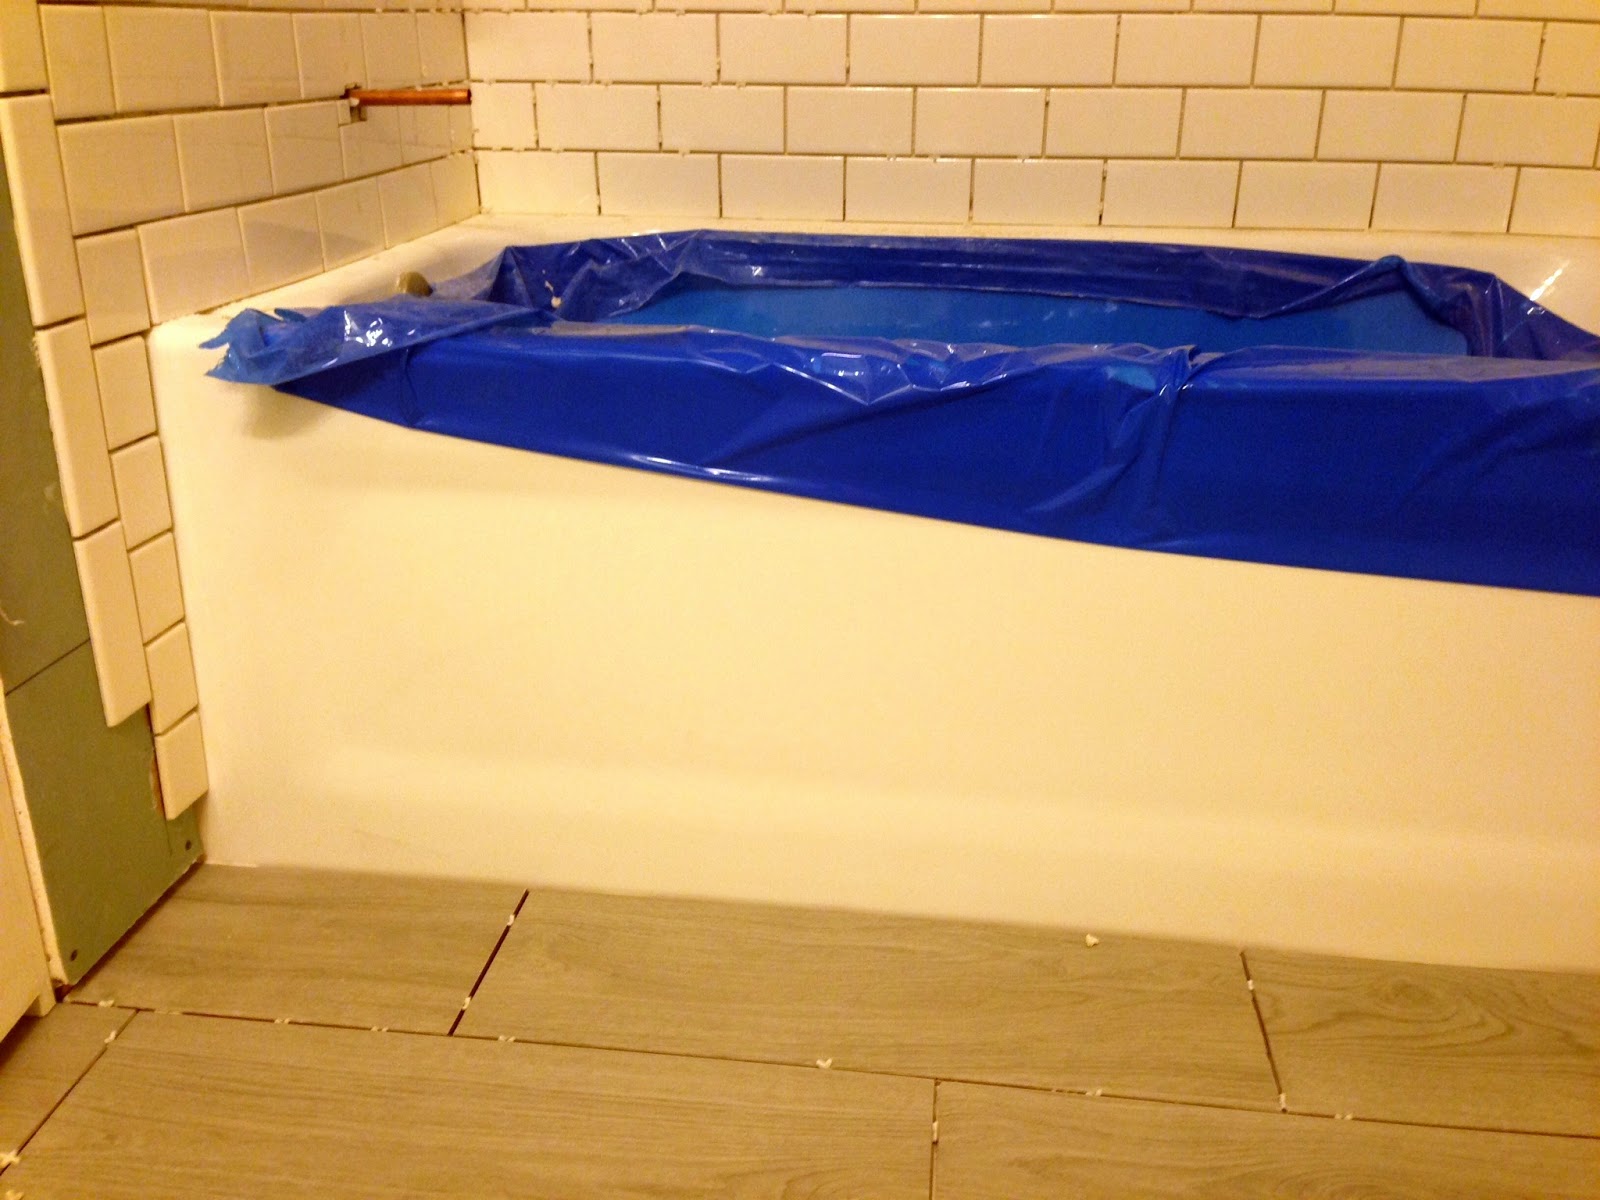
Epoxy Shower Walls Shower wall, Stone coat countertop, Shower screen

With good surface planning, industrial epoxy floor coating applications have a high chance of success. It lays well on countless kinds of surfaces like metal, concrete, wood and tile and is unwilling to most strong chemicals making for a durable and long-lasting surface and certain color may possibly be extra to the epoxy for a bit of flare. Epoxy concrete paints are extremely durable and will stand up to pressure that is high.
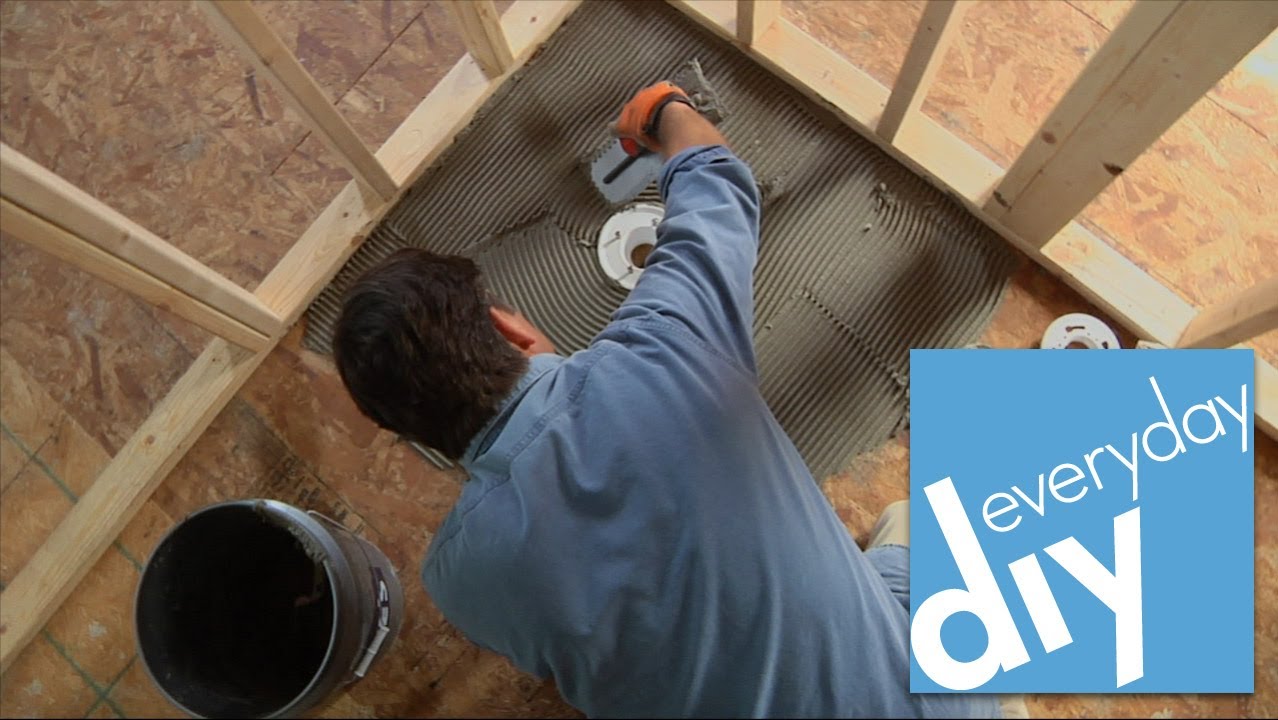
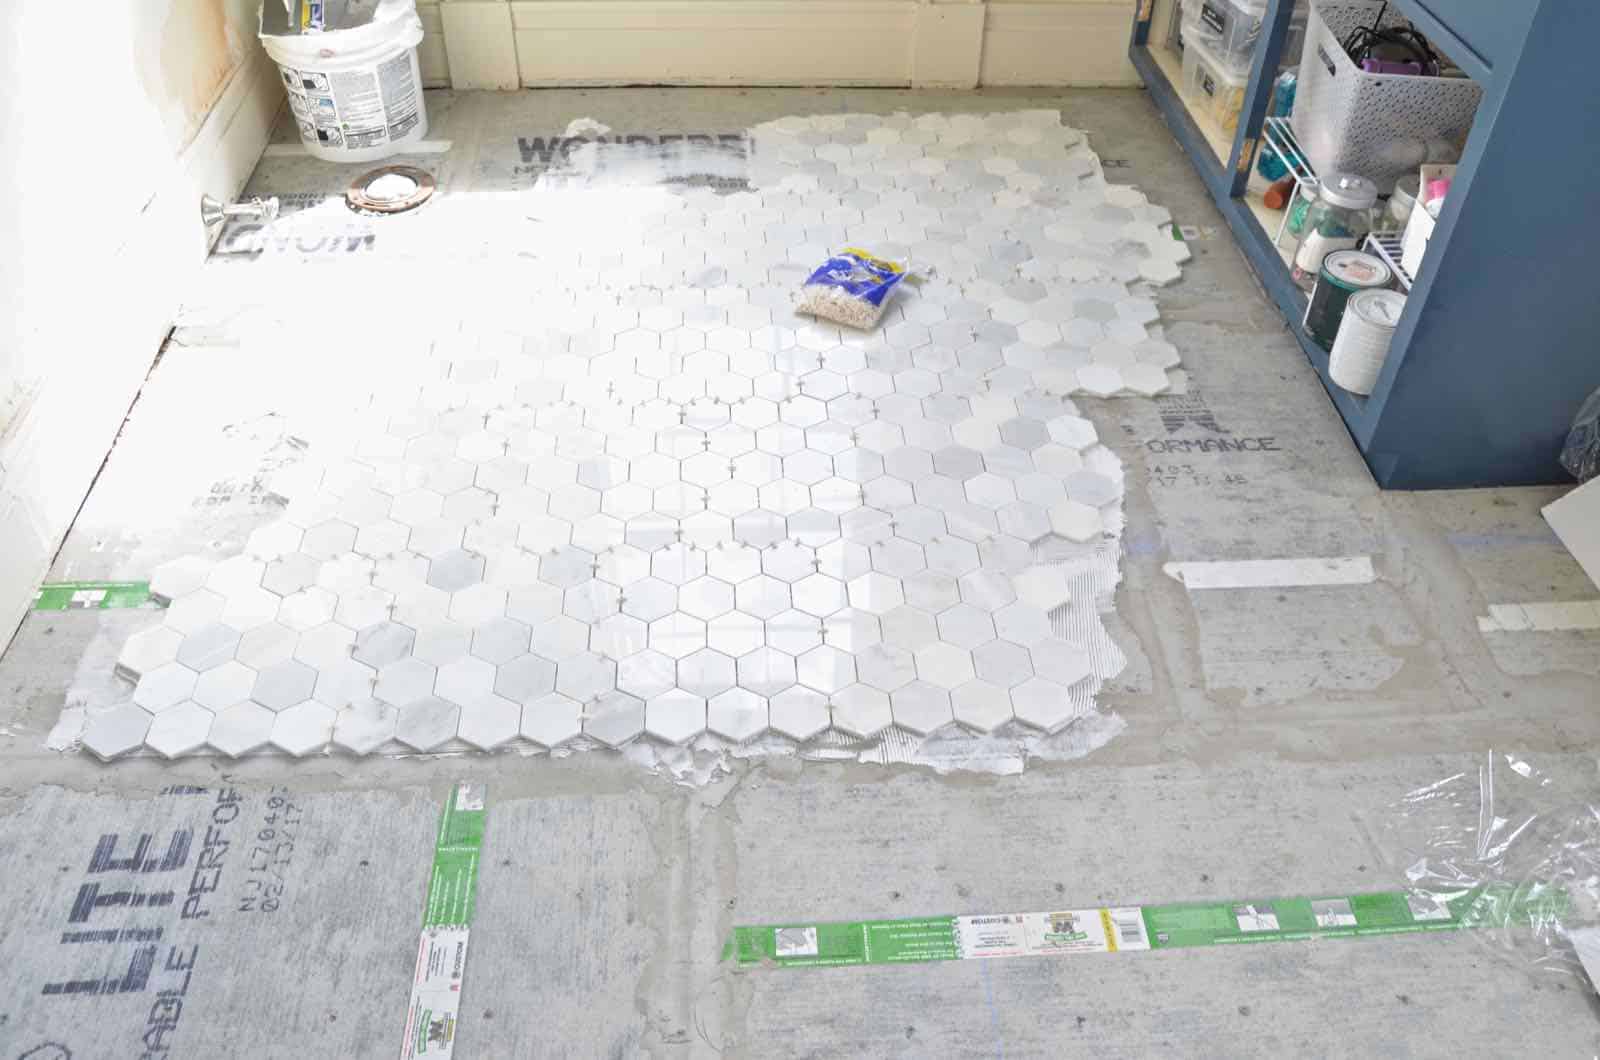
How To Make A Shower Floor With Tile Floor Tiles
Another reason this- Positive Many Meanings- epoxy flooring is on a very short list for designers is that it can be conveniently personalized. Epoxy floorings are floorings applied with stratum of rough, long lasting coating called epoxy. The prroperty owner can even have a clear epoxy covering poured over prepared hardwood floors. It's imperative that the epoxy is combined correctly to ensure right curing.
ceramic tile installation – shower construction ceramic floor tile and wall tile installation.

90 Garage Flooring Ideas For Men – Paint, Tiles And Epoxy Coatings

Bathroom Epoxy Floor Coating, Bathroom Epoxy Floor Coating Epoxy Floor Coating Residential

Epoxy pebble patio floor Porches Pinterest Pebble patio, Patio and Epoxy

ceramic tile installation – shower construction ceramic floor tile and wall tile installation.

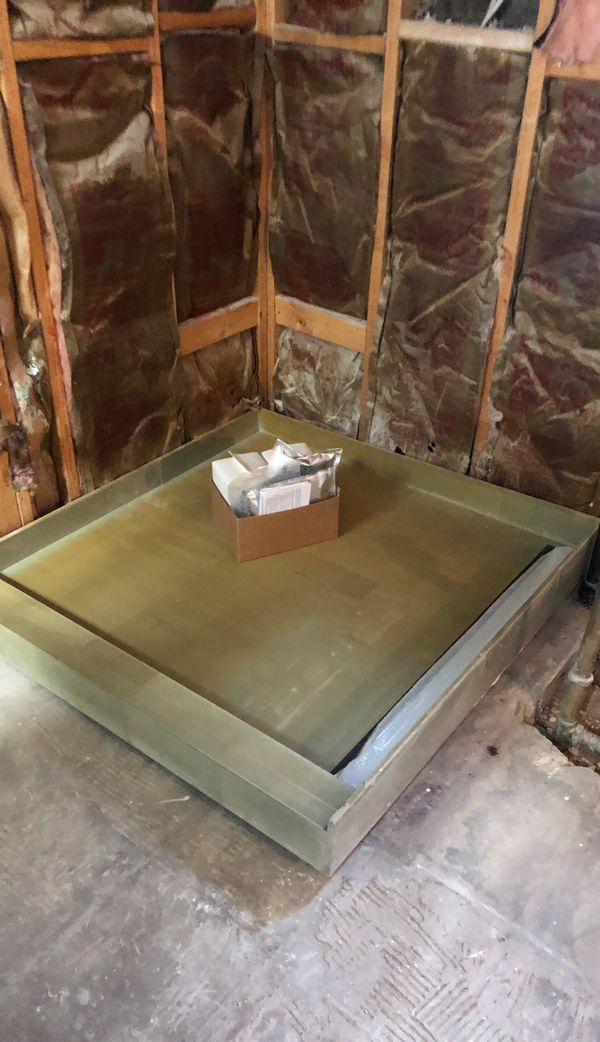
Tile Redi shower pan for Sale in Las Vegas, NV – OfferUp
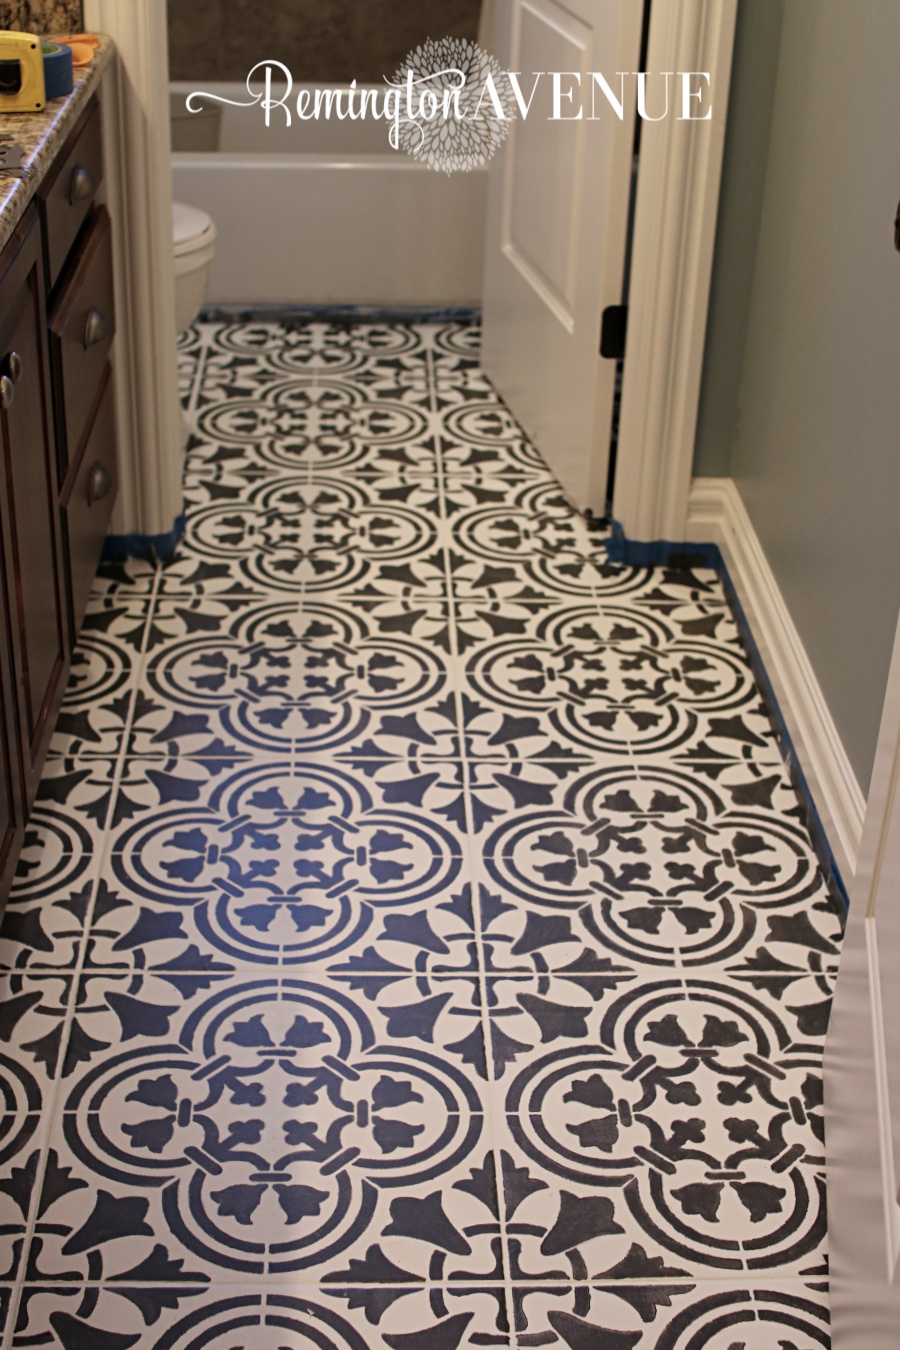
How to Paint & Stencil Tile – Remington Avenue
bathroom tile What Will This Day Bring?
Aimlessly Elegant: Bathroom Remodel: Floor Tile
How to Prep and Tile a Floor – At Charlotte’s House
INSTALLING CERAMIC FLOOR TILE IN BATHROOM – INSTALLING CERAMIC FLOOR – ASBESTOS FLOORING
Related Posts:
- Epoxy Resin Floor Finish
- Commercial Grade Floor Epoxy
- Clear Self Leveling Floor Epoxy
- Epoxy Over Laminate Flooring
- Quikrete Floor Epoxy Reviews
- Outdoor Epoxy Resin Flooring
- Epoxy Floor Decals
- Epoxy Terrazzo Flooring Installation
- How To Remove Epoxy Paint From Concrete Garage Floor
- Epoxy Flooring Baton Rouge
Epoxy Over Tile Shower Floor: A Comprehensive Guide to Enhancing Durability and Style
Introduction:
The shower floor is a crucial element in any bathroom, as it not only adds to the aesthetics but also provides functionality and safety. Over time, traditional tile shower floors can become worn, stained, and even cracked, leading to water damage and an unsightly appearance. However, there is a solution that can transform your shower floor into a durable and stylish surface: epoxy over tile. In this comprehensive guide, we will delve into the benefits, application process, and maintenance of epoxy over tile shower floors.
Benefits of Epoxy Over Tile:
1. Enhanced Durability:
By applying epoxy over tile, you create a protective layer that adds longevity to your shower floor. Epoxy is known for its exceptional resistance to water, stains, chemicals, and impact. Unlike traditional grout lines that tend to deteriorate over time and harbor mold and mildew, epoxy creates a seamless surface that is easy to clean and maintain.
FAQ: Will epoxy over tile prevent future cracks?
Yes, one of the advantages of using epoxy over tile is its ability to prevent future cracks. The epoxy coating acts as a barrier against moisture penetration, reducing the risk of tile expansion or contraction due to temperature changes.
2. Aesthetically Pleasing:
Epoxy coatings come in a wide range of colors and finishes, allowing you to customize your shower floor according to your personal style preferences. Whether you prefer a sleek modern look or a more natural stone-like appearance, there is an epoxy option for every taste.
FAQ: Can I achieve a non-slip surface with epoxy over tile?
Yes, achieving a non-slip surface is possible with epoxy coatings. These coatings can be customized with additives such as quartz or aluminum oxide to provide increased traction and improve safety in wet areas like shower floors.
3. Cost-Effective Solution:
Compared to completely replacing your shower floor, epoxy over tile offers a more cost-effective alternative. The application process is quicker and less labor-intensive, resulting in significant cost savings. Additionally, the long lifespan of epoxy coatings means you won’t have to worry about frequent maintenance or replacement expenses.
FAQ: Is epoxy over tile suitable for DIY installation?
While it is technically possible to install epoxy over tile as a DIY project, it is highly recommended to hire professionals with experience in this specific application. Proper surface preparation and precise coating application are crucial for achieving optimal results and ensuring the durability of the epoxy finish.
Application Process:
1. Surface Preparation:
Before applying epoxy over tile, thorough surface preparation is essential. Begin by cleaning the existing tile surface using a mild detergent and removing any traces of soap scum or grime. Next, inspect the tiles for any cracks or loose pieces, repairing or replacing them as necessary. Finally, sand the entire area to create a rough surface that promotes better adhesion.
2. Priming:
To ensure proper bonding between the tiles and the epoxy coating, it is recommended to apply a primer specifically designed for use with epoxy systems. This primer will penetrate into the pores of the tiles, creating a strong foundation for the subsequent layers.
3. Epoxy Application:
Once the priming step is complete and has dried according to the manufacturer’s instructions, it’s time to apply the epoxy coating. Start by mixing the epoxy resin and hardener according to the provided ratios. Then, using a roller or brush (depending on the product), apply an even coat Of epoxy over the entire surface of the tiles. Make sure to work quickly and efficiently to prevent the epoxy from drying before it is evenly applied. Allow the first coat to dry completely before applying additional coats if desired for added durability or aesthetic purposes.
4. Curing and Maintenance:
After the final coat of epoxy has been applied, it is important to allow sufficient time for curing. Follow the manufacturer’s instructions for drying and curing times, as these can vary depending on the specific product used. Once fully cured, the epoxy coating should be resistant to moisture and provide a durable, long-lasting finish. To maintain the appearance and functionality of the epoxy coating, regular cleaning with mild detergent and non-abrasive tools is recommended.
In conclusion, applying epoxy over tile in your shower floor can provide several benefits including crack prevention, a customizable aesthetic, increased safety, cost-effectiveness, and easy maintenance. However, it is important to properly prepare the surface and follow the recommended application process for optimal results. To summarize the application process for installing epoxy over tile in a DIY project:
1. Surface Preparation: Clean the tile surface, repair any cracks or loose pieces, and sand the area to create a rough surface.
2. Priming: Apply a primer designed for use with epoxy systems to ensure proper bonding.
3. Epoxy Application: Mix the epoxy resin and hardener, then apply an even coat over the tiles using a roller or brush. Allow each coat to dry before applying additional coats if desired.
4. Curing and Maintenance: Follow the manufacturer’s instructions for drying and curing times. Once fully cured, regular cleaning with mild detergent and non-abrasive tools will help maintain the epoxy coating.
It is highly recommended to hire professionals with experience in this specific application to ensure optimal results and durability of the epoxy finish.