Engineered Wood Flooring Installation Instructions

Related Images about Engineered Wood Flooring Installation Instructions
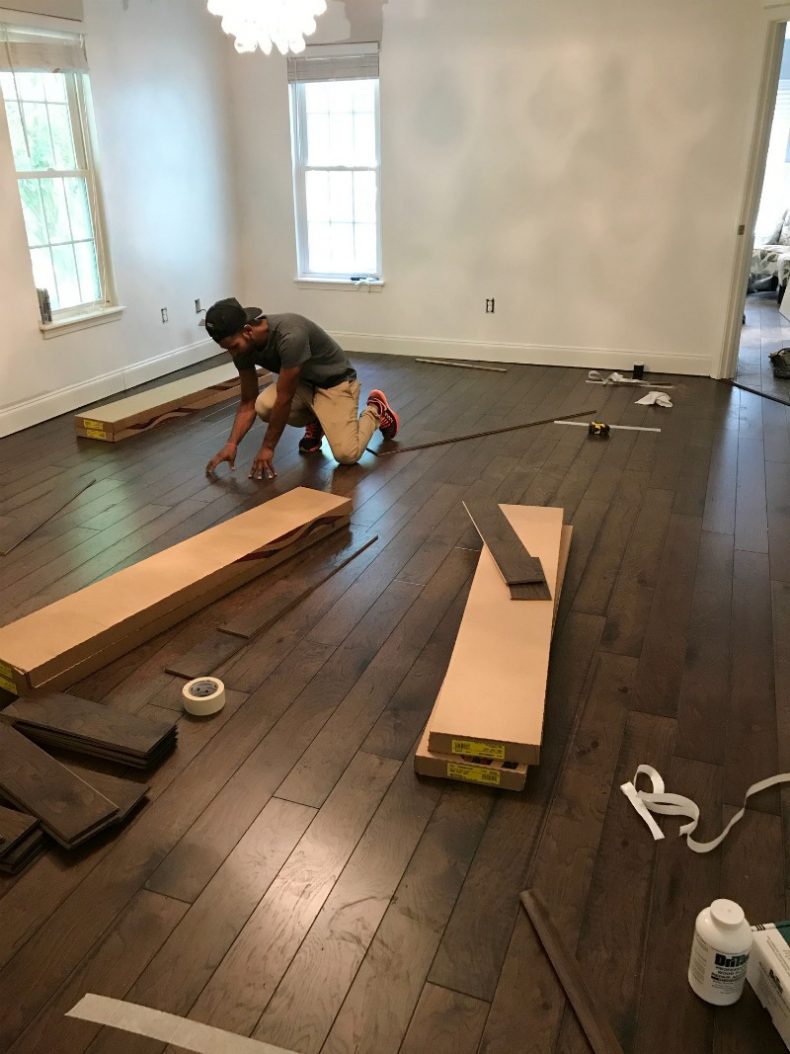
Flooring Installation: What to Expect
Having said that, if you're in a position to manage it, strong oak wood floors are perfect and over time offers the ideal value. An additional advantage is the fact that wood flooring matches with any decor both tomorrow and today! It should come as not surprising that wood is one of the most famous fashion among homeowners but despite the popularity, not many individuals know how to properly clean and keep wood floors.
Engineered Flooring: Engineered Flooring Cons

Moist often, the waste material left over from the item discovers yet another use. From time in order to time the wooden floor of yours will need fixing, either to remove stains or scratches as well as to correct a floor that was badly laid in the first place. A final consideration to answer the question of ours is the fact that of budget. A good way to fight the effects of moisture on the floor of yours is choosing an engineered wood flooring.
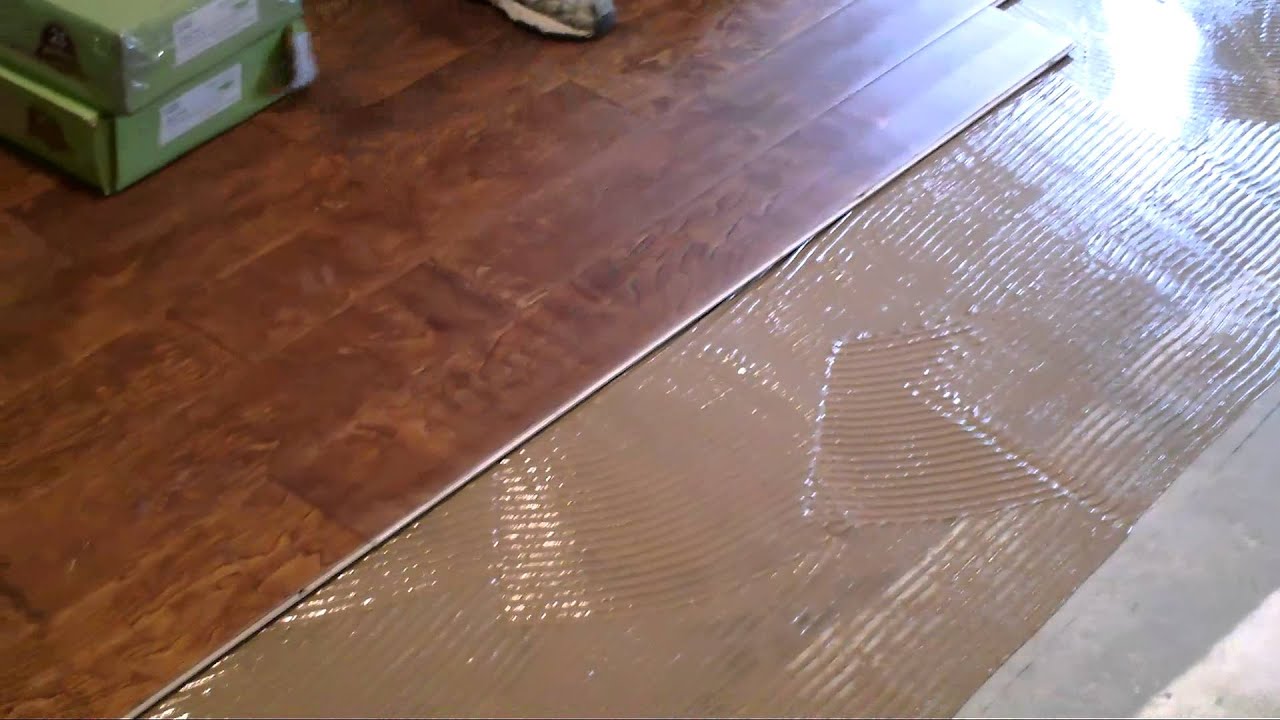
Wood Flooring Installation – YouTube

Before we get moving with our how you can lay wood flooring manual, you will have to ensure your wood flooring continues to be left in the home you intend to install it in for at least 48 hours before you begin the procedure of laying. The statement additionally says, of all flooring products available today, wood flooring which will come from trees, are the only renewable raw material available.
Buyer’s Guide To Flooring Options The Family Handyman

American Black Walnut Engineered Wood Floor – The magic of contrast

How to install hand scraped engineered hardwood flooring – YouTube
Prefinished Hardwood Flooring, Exotic & Domestic Hardwoods

Top 15 Flooring Materials: Costs, Pros & Cons in 2021

How To Lay Hardwood flooring – Secrets of Self Sufficiency

Intensive Black – deep fired European oak herringbone parquet flooring

The Amazing Durability of Engineered Wood LP SmartSide

Carbonized Antiqued Floating Strand Bamboo Floor

Brushed Oak Cornsilk Kentwood Flooring
Santos Mahogany – Natural Exotic Hardwood Flooring Ferma Flooring

Related Posts:
- Wood Floor Modern Kitchen
- Wood Floor Garage Plans
- Real Wood Flooring In Kitchen
- Wood Floor Cork Underlayment
- Streak Free Wood Floor Cleaning
- Solid Wood Flooring White Washed Oak
- Engineered Wood Flooring Durability
- Wood Flooring Types Hardness
- Engineered Wood Flooring Formaldehyde Emission
- Wood Floors For Beach House
Introduction
Engineered wood flooring is a great option if you’re looking to install a beautiful and durable floor in your home. It’s easy to install, cost-effective, and is available in a variety of styles and colors. Installing engineered wood flooring can be done by homeowners themselves or they can hire a professional for the job. Here, we will provide an overview of the installation process as well as some tips for success.
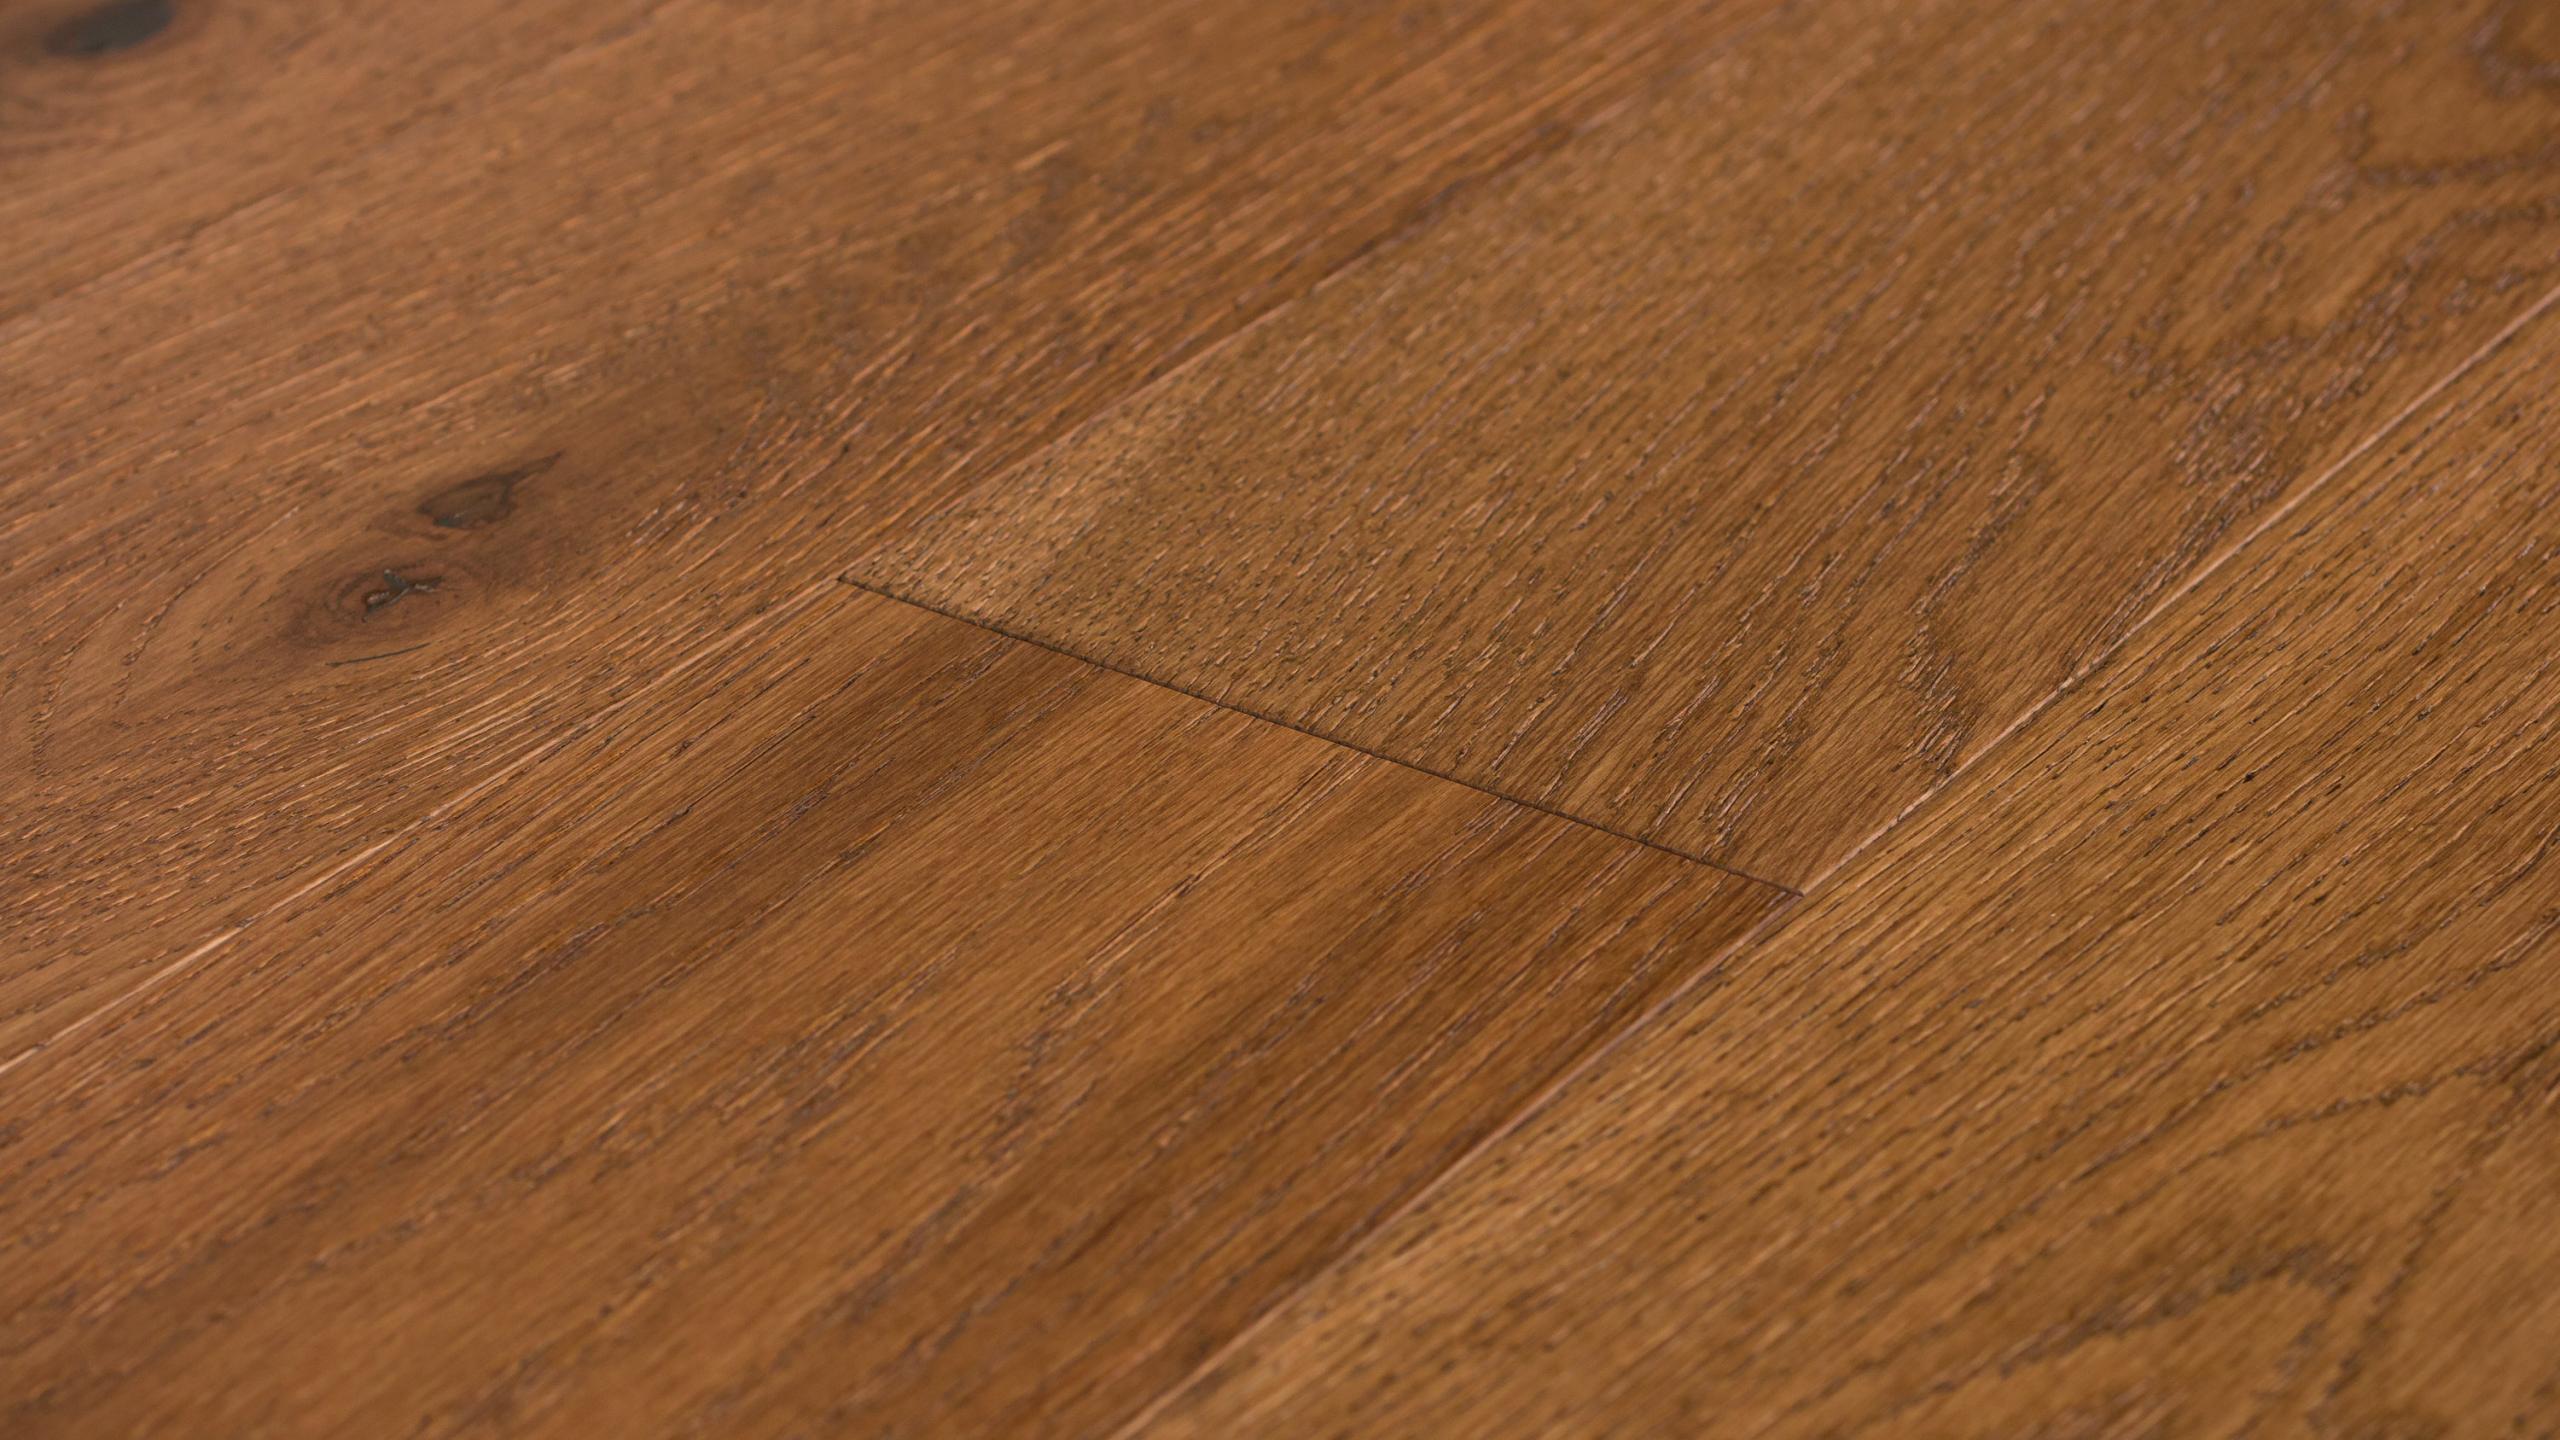
What is Engineered Wood Flooring?
Engineered wood flooring is constructed from multiple layers of real wood, plywood, fibreboard, and other materials. The topmost layer is usually a hardwood veneer which is sanded and sealed to protect it from wear and tear. It’s more affordable than solid hardwood flooring but still has an attractive look and feel. It also has additional benefits such as being more resistant to moisture and humidity compared to solid hardwood flooring.
Planning for Engineered Wood Floor Installation
The most important part of installing engineered wood flooring is planning ahead. Once you have decided on the type of engineered wood flooring you want, you will need to measure the area where it will be installed and calculate the amount of material needed. You should also consider any existing subfloor that needs to be leveled before installation begins.
Subfloor Preparation
Before installation can begin, it’s important to make sure the subfloor is flat and level. This ensures that the engineered wood flooring will lay smoothly and evenly without any bumps or gaps between planks. If there are any large cracks or dips in the subfloor, they should be filled in with cement-based leveling compound. Once everything is level, it’s important to vacuum up any dust or debris that may have been generated during the preparation process.
Installation Process
Once all of the preparations have been made, it’s time to begin installation of the engineered wood flooring. Start by laying down a layer of underlayment in order to provide additional cushioning underneath the planks. Then, begin laying down planks along one wall using spacers between each plank to maintain even spacing throughout the room. Continue laying down planks until you reach the opposite wall or until you have reached your desired pattern (if applicable). When you reach the last row of planks, use a jigsaw or circular saw to cut them down to size so that they fit snugly against the wall without any gaps or unevenness.
FAQs about Engineered Wood Floor Installation
Q: What type of tools do I need for installing engineered wood flooring?
A: You will need a few basic tools for installing engineered wood flooring such as a tape measure, hammer, saw (circular saw or jigsaw), mallet, utility knife, spacers, underlayment material, adhesive (depending on type of subfloor) and safety goggles/gloves/mask (depending on type of work being done).
Q: How long does it take to install engineered wood flooring?
A: The amount of time it takes to install engineered wood flooring depends on various factors such as size of room/area being covered and complexity of layout/pattern chosen. Generally Speaking, it can take anywhere from a few hours to a few days to complete the installation process.