DIY Wood Flooring On Concrete

Related Images about DIY Wood Flooring On Concrete
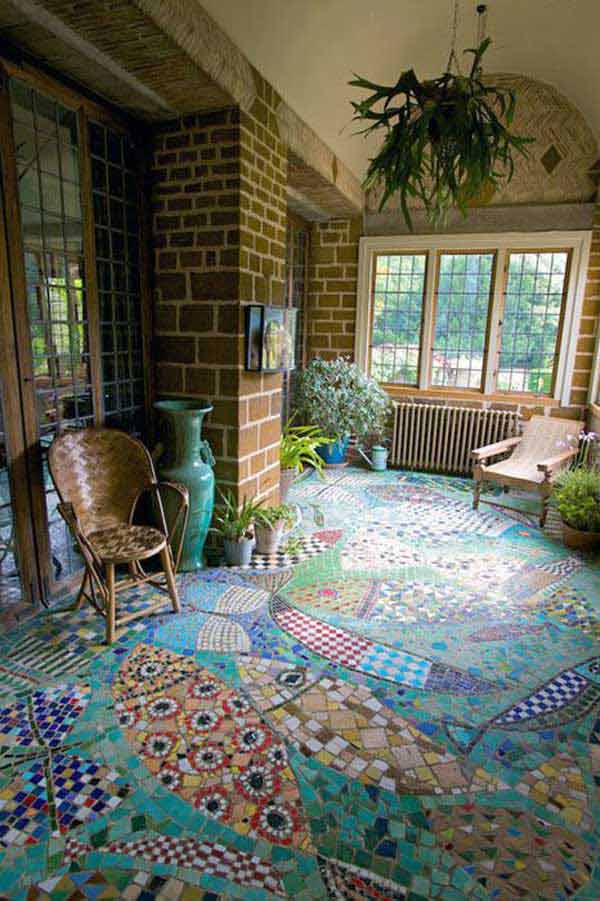
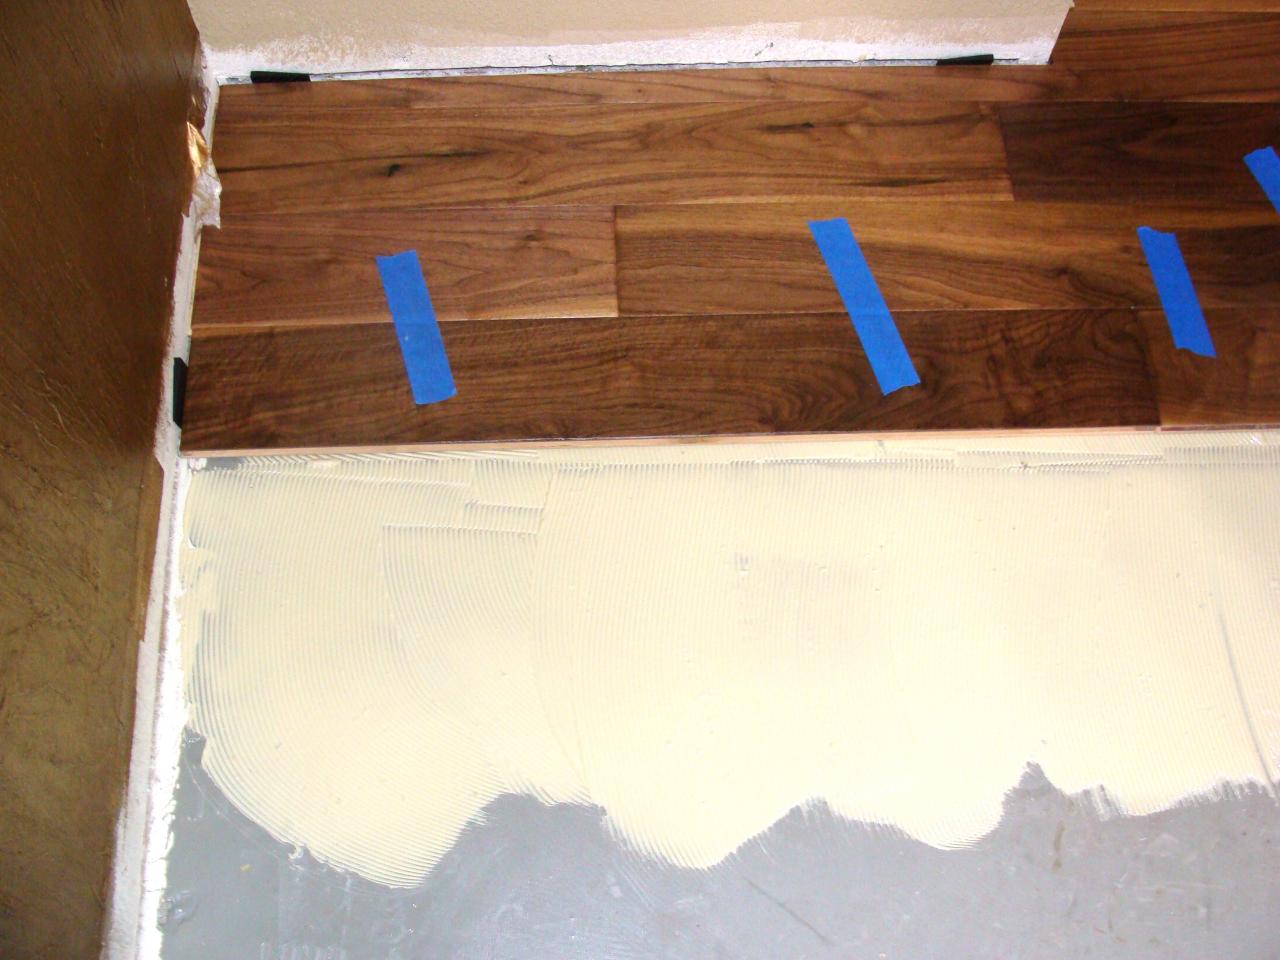
The Best How To Put Wood Flooring Over Cement And View Cement floor, Wood floors, Wood

When we do this you need to manage to tell from the construction what sort of floor it's. Laminate flooring is favoured by those wishing to cover huge parts in a durable cost-effective materials. The bulk of the hardwood flooring used today is built wood, comprised of several tiers of substrate plywood having a finishing veneer (thin) layer of wood pre selected in numerous styles & colors complimenting the finished product.
30+ Amazing Floor Design Ideas For Homes Indoor & Outdoor Architecture & Design
Or you could discover an area of the floor where you are able to envision the edge, quite possibly taking up a doorstep threshold, air vent or maybe a little little bit of scotia or even skirting board. Wood floor could additionally be classified depending on the form of the flooring material used. Reclaimed woods ordinarily require more labor as well as craftsmanship.
Home Improvement Projects – Instructables

To conclude, reclaimed wood flooring surfaces are becoming more popular then ever as a result of several consumer' fascination in historic preservation as well as also to advance the green building design. Therefore, the engineered floor is without a doubt probably probably the most cost-effective choice. Expectations are extremely important with huge purchase items like flooring. Engineered is still all wood but is done with many layers that happen to be laminated for better stability as well as dimensional accuracy.
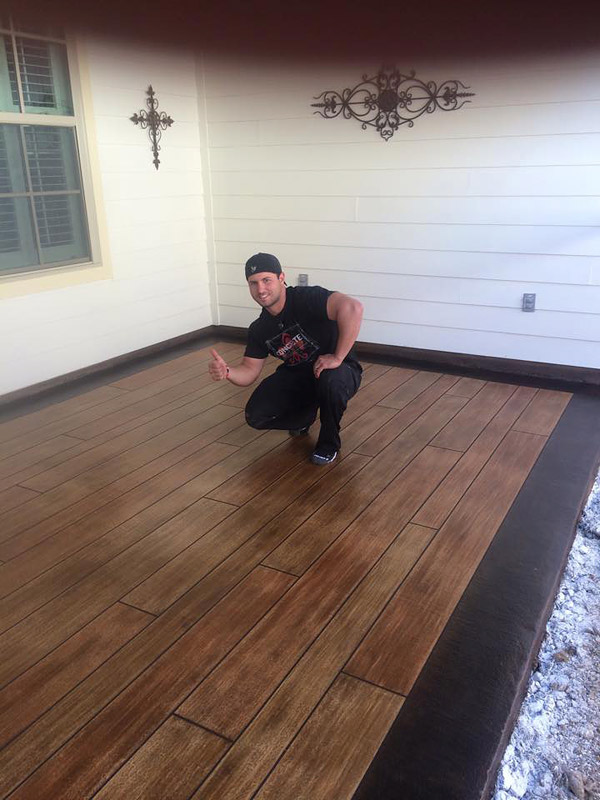
Concrete That Looks Like Wood Concrete Decor
61 best Painted concrete images on Pinterest Flooring, Home ideas and Bricolage

Awesome How To Remove Glued Wood Floor From Plywood And View Parquet flooring, Flooring

How They Make Concrete Look Like Hardwood Floor Is Fascinating

Image result for mixing two different wood floorings Wood floor design, Wood floor pattern

Wood Stamped concrete floors- AMAZING! For the Homestead Pinterest Pool houses, Concrete

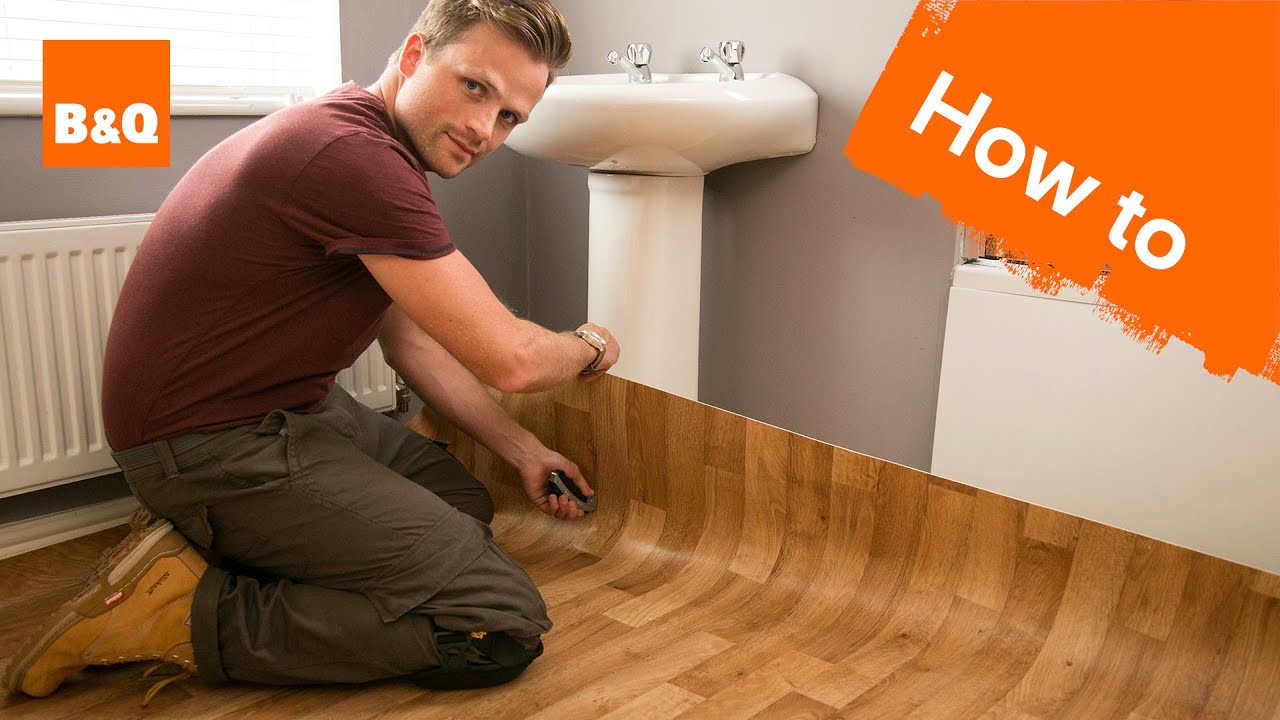
How to Lay Sheet Vinyl Flooring – YouTube
Top 70 Best Tile To Wood Floor Transition Ideas – Flooring Designs
![]()
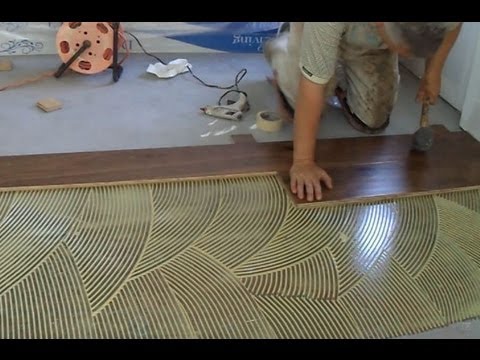
How to Install Prefinished Hardwood Floor: Glue Down Technique DIY Mryoucandoityourself – YouTube
Black stained concrete floor. Concrete stained floors, Flooring, Concrete floors

Hardwood On Concrete / 11 Unique Best Hardwood Floor for Concrete Slab Unique Flooring Ideas
Related Posts:
- Wood Floor Modern Kitchen
- Wood Floor Garage Plans
- Real Wood Flooring In Kitchen
- Wood Floor Cork Underlayment
- Streak Free Wood Floor Cleaning
- Solid Wood Flooring White Washed Oak
- Engineered Wood Flooring Durability
- Wood Flooring Types Hardness
- Engineered Wood Flooring Formaldehyde Emission
- Wood Floors For Beach House
DIY Wood Flooring On Concrete: A Comprehensive Guide
Installing wood flooring on concrete can be a challenging and rewarding project for any DIY home renovator. With the right tools and preparation, installing wood flooring on concrete can be a relatively simple process. In this comprehensive guide, we will discuss the various materials and tools required, the best steps to follow for a successful installation, and tips on how to maintain your new wooden floors.
Materials and Tools Needed
When it comes to installing wood flooring on concrete, there are several materials and tools that are necessary in order to complete the project correctly. The following is a list of items that you will need:
– Moisture barrier
– Underlayment
– Wood flooring (solid or engineered)
– Nails or screws
– Hammer or drill
– Tape measure
– Chalk line
– Saws (circular saw, jigsaw, etc.)
– Level
– Spacers
– Adhesive (if necessary)
– Finishing materials (stain, sealant, etc.)
Preparing the Concrete Surface
Before beginning the installation process, it is important to ensure that the concrete surface is properly prepared. This involves cleaning the area with a vacuum or broom and removing any debris or dust that may be present. Additionally, it is important to check for any cracks or damage in the concrete as these need to be filled prior to installation. Once this step is completed, you can begin laying down your moisture barrier and underlayment.
Laying Down Your Moisture Barrier & Underlayment
The purpose of the moisture barrier is to protect your wood floor from any moisture that may be present in the concrete beneath it. When laying down the moisture barrier, it is important to ensure that it is laid out evenly with no gaps or tears in order to provide maximum protection. After this step is completed, you should lay down your underlayment which serves as an extra layer of cushion between the wood flooring and the concrete below.
Installing Your Wood Flooring
float=right]Once your moisture barrier and underlayment have been installed correctly, you can begin to install your wood flooring. Depending on what type of wood flooring you have chosen (solid or engineered), you may need different nails or screws in order to attach them correctly. Additionally, if you have chosen an engineered wood flooring option then you may need an adhesive in order to ensure that it is securely attached. Once all of these materials have been gathered and prepared correctly you can start by laying out your first row of planks along one wall using spacers in between each plank in order to give them room for expansion later on. After this row has been successfully installed you can continue laying out each subsequent row until all of your planks have been installed.
float=left]Finishing Touches & Maintenance Tips Once all of your planks have been installed you should go back over them with a level in order to make sure that everything is even and level across all rows. Additionally, if you have chosen to use an adhesive then now would be the time to apply It and let it dry. Once the adhesive has been allowed to dry for the recommended time, you can begin staining and sealing your wood flooring in order to give it a finished look. Finally, you should make sure that you are regularly cleaning and maintaining your wood flooring in order to keep it looking its best.