DIY Hardwood Floor Installation On Concrete

Related Images about DIY Hardwood Floor Installation On Concrete
Pin on Hardwood Flooring Concepts

If you're purchasing hardwood for damp areas like kitchen and bathroom, solid hardwood wouldn't be a perfect option as it cannot accompany your home for a longer period of time because of the moisture. On the contrary, those bubbles create the floor a significantly softer experience than a well-fastened hardwood floor.
Installing Hardwood Floors over Concrete – YouTube

In a household with shabby hardwood flooring surfaces, the biggest development you can make is always to refinish the floors. however, the great thing about solid hardwood floors is that it could be refinished or re-sanded several times, extending its life literally for many years to come. Among do this yourself hardwood floors, people completed with the glue down technique is most likely the most consistent and enduring.
Installing Hardwood Flooring Over Concrete how-tos DIY
When you're in doubt, it is best to contact your seller or maybe manufacturer and they are going to be ready to give you the instructions you need. All dust as well as dirt must be eliminated. The advantage to prefinished engineered wood flooring would be that the factory can often be able to coat the finish as much as 7 times or even more.
Stain Colors Hardwood Flooring Minneapolis Installation, Sanding, & Refinishing Floor

Installing Laminate Flooring Over Concrete – The Ultimate Guide AA Floors

Installing Engineered Hardwood Over Concrete / How To Install Click Lock Engineered Hardwood
Installing Wooden Floor Over Concrete – Carpet Vidalondon
Concrete over a plywood subfloor with 16" on center floor joists
Vinyl Floor Seam Repair DIY Tips for Repairing Vinyl Flooring

Hardwood Floors

How to install engineered wood flooring on concrete eHow UK
itavi.com

itavi.ca, itavi, www. Itavi.ca, www. Itavi.com, www. Itavi.org interior and exterior design

itavi.ca, itavi, www. Itavi.ca, www. Itavi.com, www. Itavi.org interior and exterior design

Related Posts:
- Hardwood Floor Cupping Causes
- Hardwood Floor Tile Inlay
- Hardwood Floor Filler Putty
- Canadian Oak Hardwood Flooring
- Wood Filler Hardwood Floor Repair
- Hardwood Floor Cleaner Best
- Hardwood Floor Compass Inlay
- Hardwood Flooring For Dog Owners
- Brazilian Cherry Bamboo Hardwood Flooring
- Hardwood Floor Cleaner Vinegar Olive Oil
DIY Hardwood Floor Installation On Concrete
Installing hardwood floors can be a great way to add warmth, beauty, and value to your home. While many people opt for traditional installations on wooden subfloors, it is also possible to install hardwood floors on concrete surfaces. With the right tools, materials, and techniques, you can achieve a stunning result that will last for years to come. In this article, we will guide you through the step-by-step process of installing hardwood floors on concrete, providing detailed instructions and addressing common questions and concerns.
1. Preparing the Concrete Surface
Before you begin the installation process, it is essential to prepare the concrete surface properly. Start by cleaning the floor thoroughly and removing any debris or loose particles. Next, check for moisture issues by taping a piece of plastic sheeting to the floor and leaving it for 24 hours. If you notice condensation or dampness underneath the plastic, you may need to address moisture problems before proceeding.
To address moisture issues, you can apply a moisture barrier or sealer to the concrete. There are various products available on the market specifically designed for this purpose. Follow the manufacturer’s instructions carefully when applying these products to ensure maximum effectiveness.
FAQ: Can I install hardwood floors on a basement concrete floor?
Yes, it is possible to install hardwood floors on a basement concrete floor. However, basements tend to have higher levels of moisture compared to above-grade areas. Therefore, it is crucial to address potential moisture issues adequately before proceeding with the installation process.
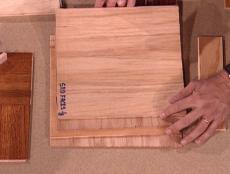
2. Acclimating the Hardwood Flooring
One critical step in preparing for hardwood floor installation is acclimating the flooring material. Wood is a natural material that expands and contracts with changes in temperature and humidity. By allowing the flooring material to acclimate to your home’s environment before installation, you can minimize future issues such as warping or buckling.
To acclimate your hardwood flooring, remove it from the packaging and stack the boards in the room where they will be installed. Leave them there for at least 48 hours, or as recommended by the manufacturer. This allows the wood to adjust to the temperature and humidity conditions of the space.
FAQ: How long should I let hardwood flooring acclimate before installation?
The length of time required for hardwood flooring to acclimate before installation can vary depending on factors such as the type of wood and your geographical location. As a general guideline, it is recommended to let the flooring acclimate for a minimum of 48 hours. However, it is always best to consult the manufacturer’s instructions for specific guidance.
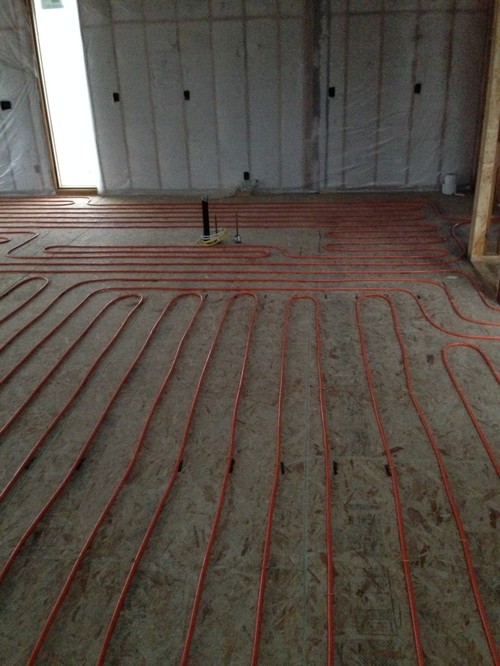
3. Installing a Subfloor
To provide additional stability and insulation, you may choose to install a subfloor over the concrete surface before laying down the hardwood flooring. A subfloor can help reduce noise transmission, create a level surface, and act as a moisture barrier.
Begin by measuring and marking the layout of your subfloor on the concrete. Next, apply a high-quality construction adhesive to the back of each plywood sheet and press it firmly onto the concrete surface. Use screws or nails to secure the plywood sheets every 6-8 inches along the edges and at regular intervals across the center.
FAQ: Is a subfloor necessary for installing hardwood floors on concrete?
A subfloor is not always necessary when installing hardwood floors on concrete. However, it can provide added benefits such as improved insulation and moisture protection. Additionally, a subfloor can create a more stable surface for nailing or gluing down The hardwood flooring. Ultimately, the decision to install a subfloor depends on factors such as the condition of the concrete, the desired level of insulation and moisture protection, and personal preference.
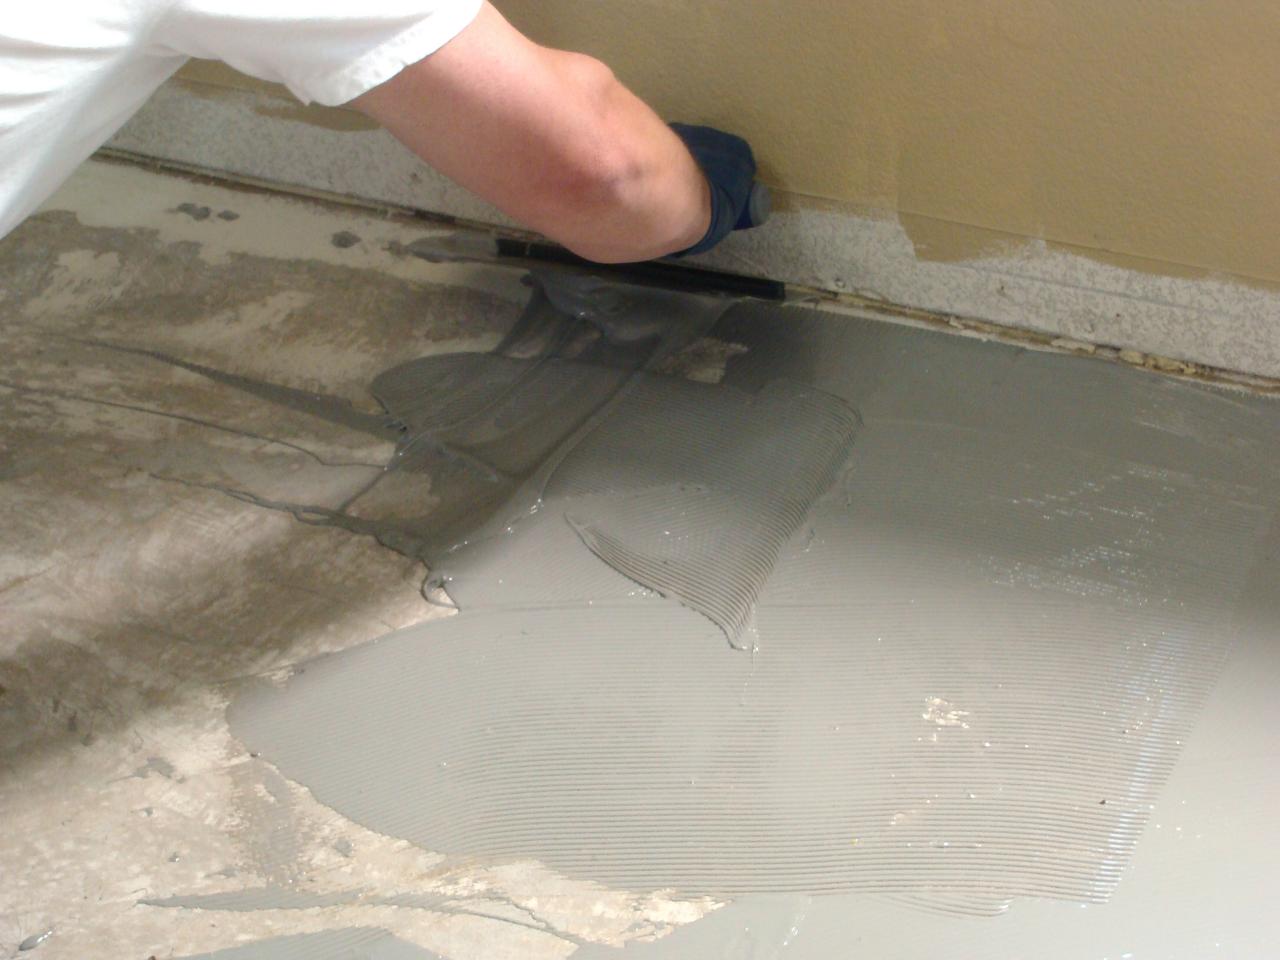
4. Moisture Barrier Installation
Before installing the hardwood flooring, it is crucial to install a moisture barrier to protect against moisture seeping up from the concrete. This step is especially important in basement areas where moisture levels are typically higher.
There are several types of moisture barriers available, including plastic sheeting and epoxy coatings. Follow the manufacturer’s instructions to properly install the moisture barrier. Generally, this involves laying down the barrier over the entire concrete surface and sealing any seams or overlaps with tape or adhesive.
FAQ: What type of moisture barrier should I use for basement hardwood floor installation?
The type of moisture barrier you should use for basement hardwood floor installation depends on various factors such as the level of moisture in your basement and your specific project requirements. It is best to consult with a flooring professional or follow the manufacturer’s recommendations for your chosen flooring material.
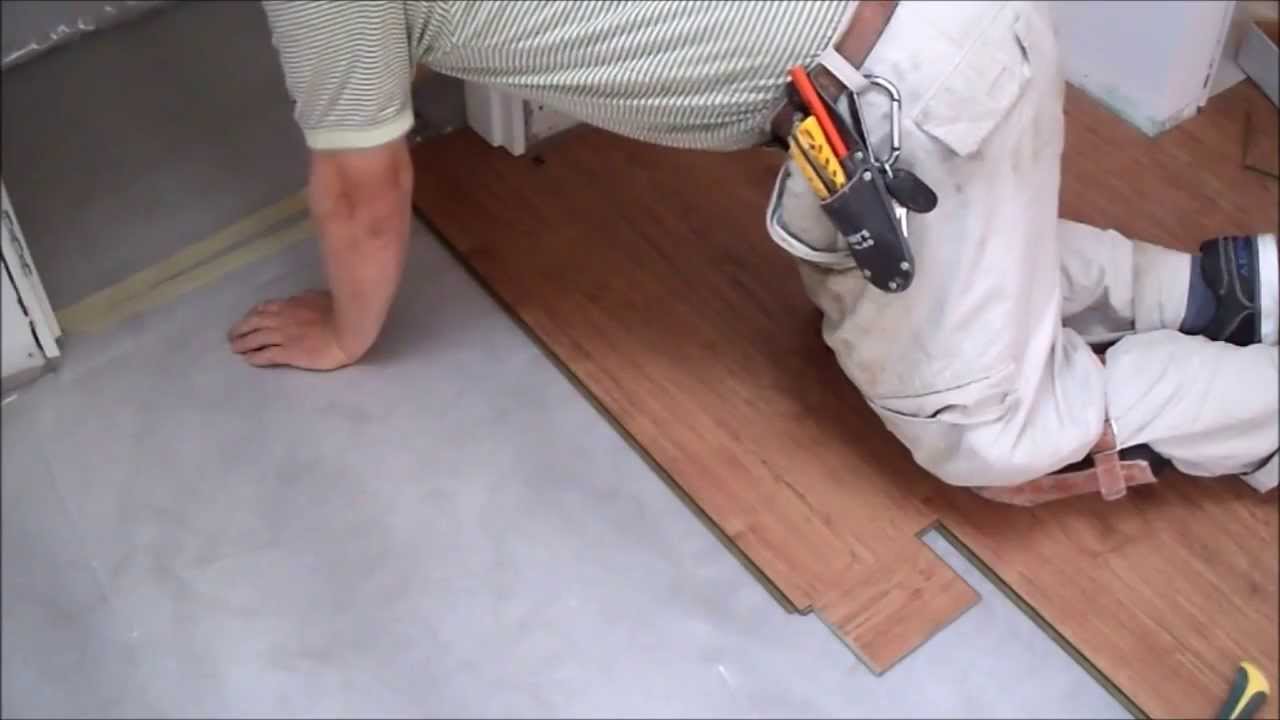
5. Installing Hardwood Flooring
Once you have properly prepared the concrete surface and installed any necessary subfloor or moisture barriers, you can begin installing the hardwood flooring. Follow these steps:
– Start by laying down a row of starter boards along one wall, leaving a 1/2-inch gap between each board and the wall for expansion.
– Use a pneumatic flooring nailer or adhesive to secure each board to the subfloor or concrete.
– Continue adding boards row by row, staggering the end joints for added stability.
– Use a mallet and tapping block to snugly fit the boards together.
– When you reach the opposite wall, measure and cut the last row of boards to fit.
– Leave a 1/2-inch expansion gap along the final wall as well.
– Install any necessary transition pieces or trim to complete the installation.
FAQ: Can I install hardwood floors directly on concrete without a subfloor?
Yes, it is possible to install hardwood floors directly on concrete without a subfloor. However, it is important to address moisture issues and use an appropriate moisture barrier. Additionally, specific installation methods such as gluing down the flooring may be required. Consult with a flooring professional or follow the manufacturer’s instructions for your chosen flooring material to ensure proper installation.
6. Finishing and Maintenance
After installing the hardwood flooring, it is essential to properly finish and maintain it for long-lasting beauty and durability. Finish options include polyurethane, oil-based finishes, or wax coatings. Follow the manufacturer’s instructions for applying and maintaining the chosen finish.
Regular maintenance should include sweeping or vacuuming to remove dirt and debris, as well as periodic cleaning with a recommended hardwood floor cleaner. Avoid excessive moisture exposure and use protective pads on furniture legs to prevent scratches.