Diy Cork Flooring Tiles

Related Images about Diy Cork Flooring Tiles
Cork Flooring Installation – How to Do It DIY Home Improvement
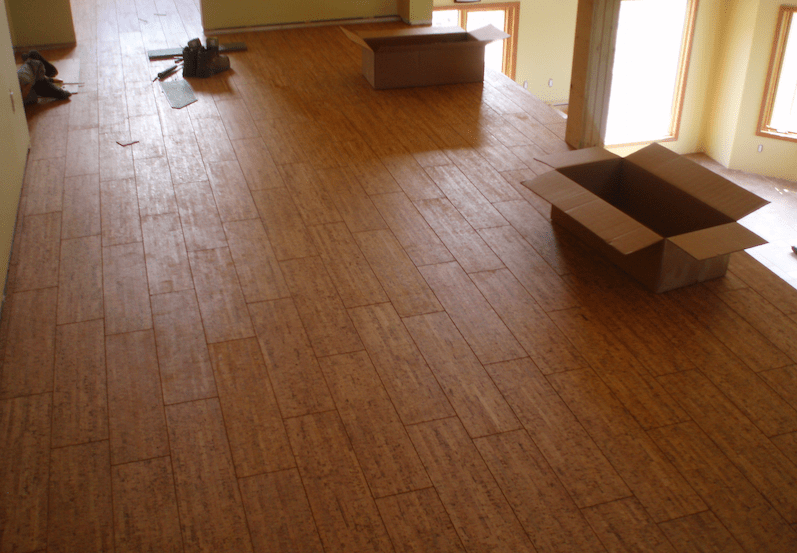
This is a fantastic property if you have children which are small or are a mere clumsy. As you can find out by the cork flooring info we offered that this is a fantastic product for everyone's household. The bark (cork) is commercially harvested by removing a covering of it from the tree's truck. Cork material has huge amounts of very small honeycomb shaped cells; inside these cells is actually trapped gaseous material.
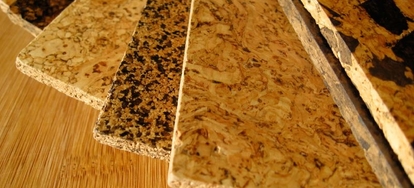
Cork Floor Tiles For Kitchen Cheap flooring, Cork flooring, Flooring

Aside from all the various other benefits, cork is approximately the same in price as hardwood floor surfaces so to do the best thing for the earth you don't have to make a huge expense. However with cork, whenever you take out the household furniture, the floor with appearance just like new. Cork is in fact the bark of the cork oak tree.
Stunning cork wall coverings Cork wall tiles, Wall cladding designs, Cork wall

You just have to recognize the real cellular make in an upward motion of cork material. In addition to cork being a renewable learning resource, just as bamboo is, it's additionally hypoallergenic, much like bamboo is. A fabulous waxy substance called Suberin is actually found naturally inside cork. Typically the life span of its is aproximatelly 200 years, which maturity in the first 10-15 and harvest rates about every nine years following maturity.
Globus Cork / Cork Floor .com – Cork Flooring and Cork Wall Tiles – Cork Tiles – Cork Floors

5 Tips for Installing Cork Tile Flooring in the Bathroom DoItYourself.com
Lowe’s Gardena Marble Smartcore Pro Flooring, Marble floor, Home

Where Quality Finds a Home Cork Tile & Wood Flooring

How to Choose Flooring

Custom Flooring & Wall Tiles Planks – Shandong Yamanjia Biomass Technology Co., Ltd.

Rolls of Cork – Cork Flooring Charles Cantrill

20 X Natural Cork Tiles for Floor or Wall 300mm x 300mm 4mm Thick 5060365993343 eBay

Floors Photo Gallery: Decorative Borders, Medallions & Wood Floor Tiles Wood parquet flooring

77 best Leftover Flooring Ideas and DIY Projects images on Pinterest Flooring ideas, Leftover

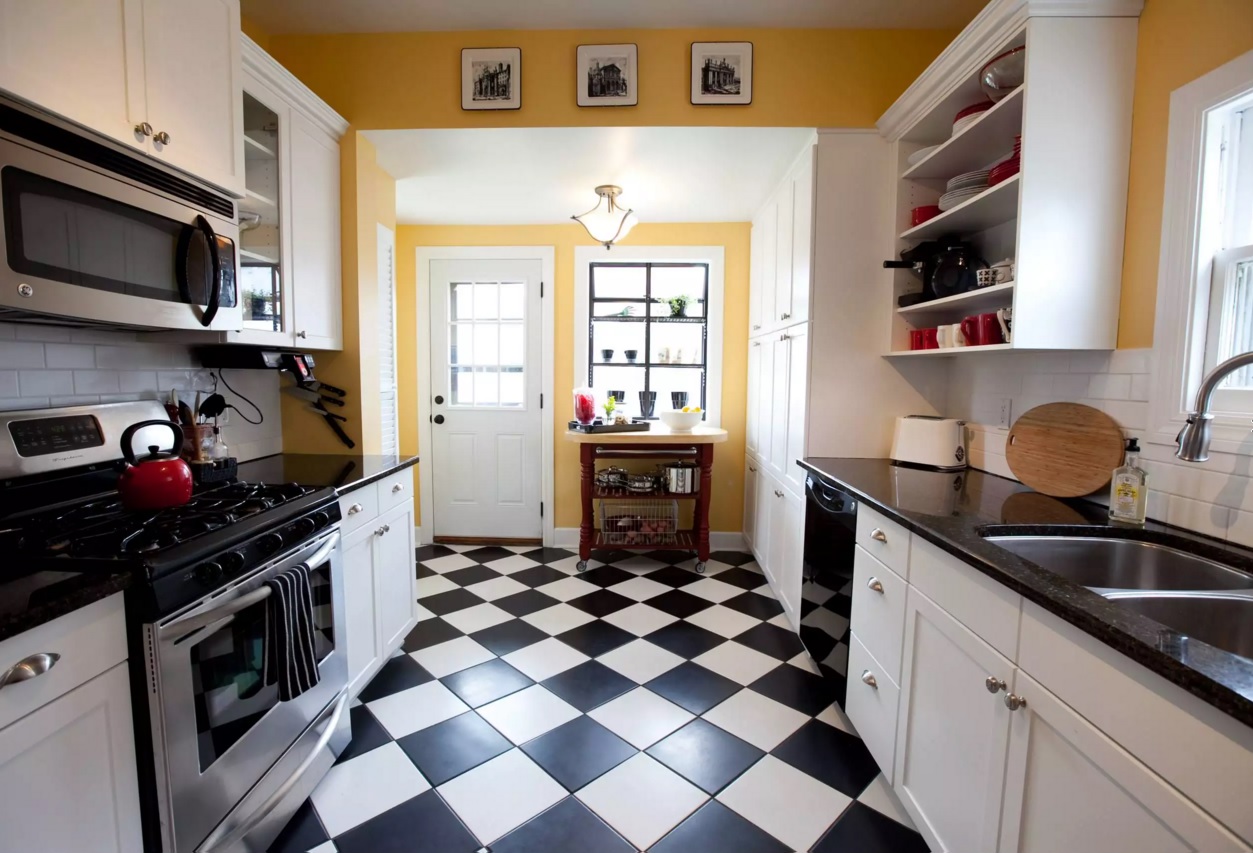
Top Modern Kitchen Flooring Materials – Small Design Ideas
Related Posts:
- Cork Floor Paste Wax
- Cutting Cork Flooring Planks
- Cork Flooring Cons and Pros
- Basement Flooring Ideas Cork
- Cork Floor Cost Comparison
- Can You Stain Cork Floors
- Cork Flooring Per Square Foot
- Can Cork Flooring Be Installed Over Ceramic Tile
- Refinish Cork Floor Tiles
- Cork Floor Tiles Reviews
Introduction to DIY Cork Flooring Tiles
Cork flooring tiles have become increasingly popular as an alternative to traditional hardwood and laminate flooring. Cork is a natural, renewable resource that is both durable and stylish. It is also environmentally friendly, since it comes from the bark of the cork oak tree, which can be harvested every 9-12 years without harming the tree. DIY cork flooring tiles offer homeowners the opportunity to save money on installation costs while creating a unique look for their home. In this article, we’ll explore the advantages of installing DIY cork flooring tiles and provide step-by-step instructions for completing the project.
Advantages of DIY Cork Flooring Tiles
Cork flooring tiles offer several advantages over other types of flooring. They are naturally soft and cushiony, making them comfortable to walk on. They also absorb sound and provide thermal insulation, making them ideal for homes with children or pets. Additionally, cork is waterproof and resistant to mold and mildew, making it easy to care for. Finally, cork has a natural beauty that adds warmth and character to any room in your home.
DIY Installation Process
Installing DIY cork flooring tiles is relatively straightforward if you have basic carpentry skills. The process begins by measuring the area where the cork floor will be installed. Once you have the measurements, you’ll need to purchase enough cork tiles to cover the area plus 10% extra for cutting and trimming.
Next, you’ll need to prepare the subfloor for installation by applying a layer of leveling compound or self-leveler over any uneven areas. Once the subfloor is level, you can begin laying down the cork tiles in small sections using an adhesive specifically designed for cork floors (e.g., contact cement). Be sure to lay out all of the tiles before applying any adhesive so that you can ensure a professional-looking finish.
When all of the tiles are laid out, apply a thin layer of adhesive over each tile and press it firmly into place with a rolling pin or other tool. You’ll want to make sure that each tile is firmly bonded to its neighbor so that there are no gaps between them when they dry. When all of the tiles are installed, allow them to dry overnight before walking on them or adding furniture or rugs.
Finally, finish off your DIY cork floor by applying two coats of sealer according to manufacturer’s instructions. This will help protect your cork floor from wear and tear and make it easier to clean in the future.
FAQs About DIY Cork Flooring Tiles
Q: What tools do I need for installing DIY cork flooring tiles?
A: You will need basic carpentry tools such as a tape measure, level, hammer, drill/driver with bits, utility knife and roller pin (or similar tool). You will also need an adhesive specifically designed for use with cork floors (e.g., contact cement) as well as two coats of sealer for finishing off your project once it’s complete.
Q: How long does it take to install DIY cork flooring tiles?
A: The actual installation process should take between one and three hours depending on the size Of the area being covered. However, you should allow for additional time for preparation of the subfloor and for drying of the adhesive and sealer before walking on the tiles or adding furniture or rugs.