Diy Cork Floor Sanding

Related Images about Diy Cork Floor Sanding
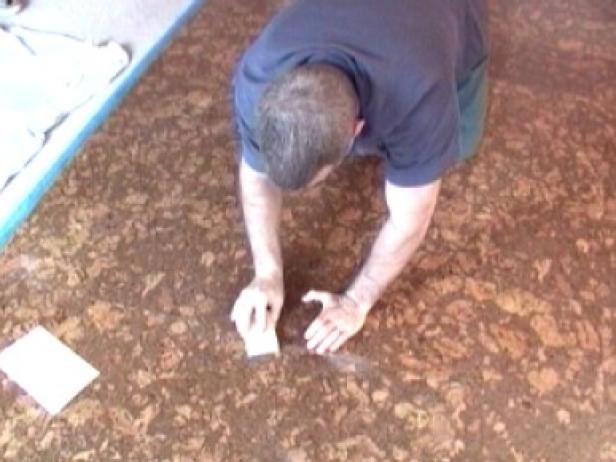
West Cork Floor Sanding – West Cork Floor Sanding

If you'd love to read more about the way cork flooring can boost the resale value of the home of yours, or perhaps search for somebody to put in cork flooring than please follow the links of ours below. However, if the old floor of yours isn't level we suggest you remove it so you are able to level the sub floor. Cork flooring is actually a flooring item in the number of green flooring.
West Cork Floor Sanding – West Cork Floor Sanding

One of the huge benefits of cork is the reality that it is a sustainable, natural, renewable resource. They are going to help you read more and more cork flooring as well as its benefits. Most wine makers would let you know that cork would be that cylindrical ball of question that keeps their prized concoction out of fermenting and all their hard work going to waste. Home owners make rather an investment when setting up a new floor.
Pin by Disco Darby on Our DIY Hardwood floors, Flooring, Refinishing hardwood floors

Always seek qualified and encountered floor covering installer with personal references, when choosing a specialist. Added to this, cork flooring is actually anti-microbial, meaning it's resistant to pests, allergens and germs. First as well as foremost you're most likely wondering how any sort of sort of wood based flooring item could be green. 00 per square feet for 3' planks, rates for these floors have remained consistent for a selection of years.
Inimitable Cork Flooring Floor Sanding Experts London

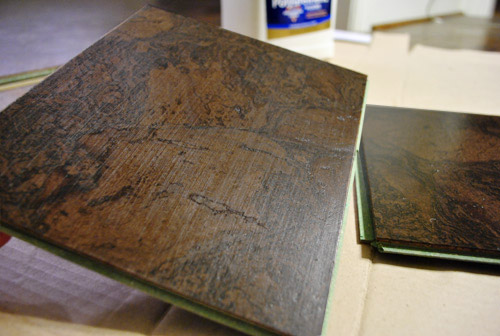
How to Install Cork Tile Flooring Flooring, Cork tiles, Cork flooring

100 Cheap and Easy DIY Bathroom Ideas – Prudent Penny Pincher

Discount Carpet Runners By The Foot #KitchenCarpetRunnersUk Product ID:3744457182 #651Carpets

How to Install Cork Flooring how-tos DIY
Sealing and Trimming Out Our Kitchen’s Cork Floors Young House Love
26 Chateau Ideas vinyl tile, kitchen flooring, flooring

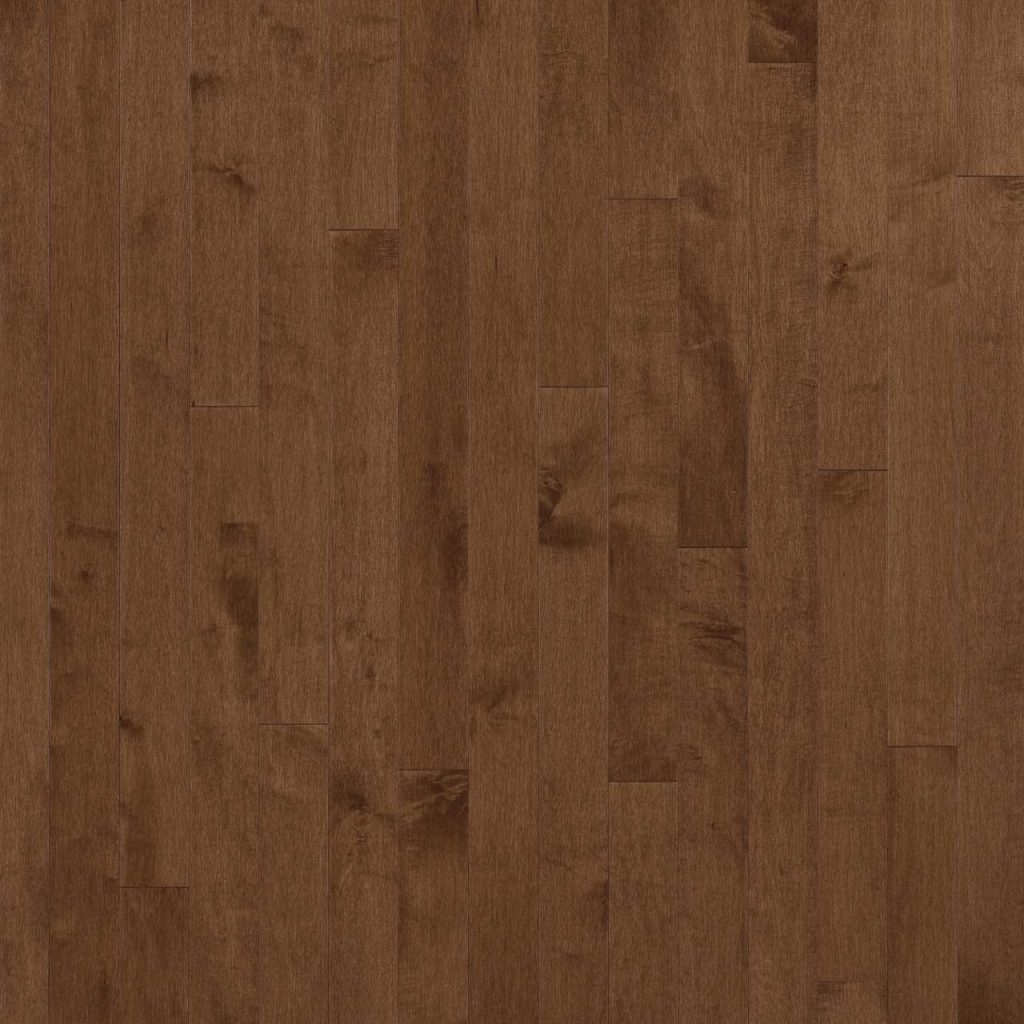
Hardwood SolidGenius & Engenius Hard Maple Sample 3 – Masterpiece Ottawa Flooring
Making a Dimensional Floor Plan – Planning Your Tile Installation – Tile & Tiling. DIY Advice

Running Drain and Vent Lines – How to Install a New Bathroom – DIY Plumbing. DIY Advice

How to Drywall Access Panels – Advanced Techniques – Drywall Installation, Repair & Tips. DIY Advice

Related Posts:
- Cork Floor Paste Wax
- Cutting Cork Flooring Planks
- Cork Flooring Cons and Pros
- Basement Flooring Ideas Cork
- Cork Floor Cost Comparison
- Can You Stain Cork Floors
- Cork Flooring Per Square Foot
- Can Cork Flooring Be Installed Over Ceramic Tile
- Refinish Cork Floor Tiles
- Cork Floor Tiles Reviews
DIY Cork Floor Sanding: A Step-by-Step Guide
When it comes to flooring, cork is one of the most durable, attractive, and user-friendly materials available. But even the toughest cork floors will eventually need a bit of sanding—and this is where DIY cork floor sanding comes in. Although it may seem intimidating at first, sanding your own cork floors can be a rewarding and cost-effective way to keep your floor looking its best. This comprehensive guide will walk you through the process of DIY cork floor sanding step by step.
Tools and Materials for DIY Cork Floor Sanding
Before you begin, you’ll need to make sure you have the right tools for the job. For DIY cork floor sanding, you’ll need a sander (preferably an electric one), sandpaper or abrasive discs, safety glasses and a dust mask, and a vacuum cleaner or broom. You’ll also want to have some wood putty on hand in case there are any deep scratches or holes in your floor before you begin.
Preparing Your Space for DIY Cork Floor Sanding
The first step in any successful DIY project is preparation. Before you start sanding, you’ll want to remove all furniture and rugs from the room and cover any remaining items with drop cloths. You should also make sure that all windows and doors are sealed shut to prevent dust from getting into other parts of your home. Finally, make sure there is plenty of ventilation in the room—it’s best to open several windows as well as running a fan or two to keep the air moving.
Sanding Your Cork Floors
Now it’s time to begin sanding your cork floors! Start by using a coarse-grit paper (or disc) to remove any existing finish from your floors. You can use either an orbital sander or a drum sander, depending on which is more comfortable for you to handle and maneuver around the room. Work slowly and steadily in overlapping strokes until all of the old finish has been removed. Once this is complete, move on to a medium-grit paper (or disc) to smooth out any rough spots that may remain. Finish up with a fine-grit paper (or disc) for a flawless finish.
Finishing Touches
Once you’ve finished sanding your cork floors, it’s time for the finishing touches! Use a vacuum cleaner or broom to sweep up all of the dust that has accumulated during sanding, then use a damp cloth or mop to clean up any remaining dust particles. Once this is done, you can apply whatever finish or sealer you prefer—most people prefer to use polyurethane for cork floors since it gives them an extra layer of protection against water damage and wear and tear.
FAQs About DIY Cork Floor Sanding
Q: Is DIY cork floor sanding difficult?
A: No—with the right preparation and tools, DIY cork floor sanding is relatively simple and straightforward. The most important thing is just to take your time and be patient throughout the entire process—it might take longer than expected but it’s Worth it in the end!
Q: How long does it take to sand a cork floor?
A: This depends on the size of the room and how much finish has to be removed. Generally speaking, it should take around two to three hours to sand a small room and up to five or six hours for a larger one.