DIY Ceramic Tile Kitchen Floor

Related Images about DIY Ceramic Tile Kitchen Floor
Ceramic Tile In Kitchen – Flooring – DIY Chatroom Home Improvement Forum

These're the qualities which make ceramic tiles the most sought after flooring information, but if you're a homeowner looking for a different style, you can find other kitchen flooring materials available in the industry that'll catch your taste. You can find different models of species of these flooring substances and they are available in various shades of colors.
How To Install Ceramic Kitchen Floor Tiles

You have to keep in mind that the kitchen of yours floor layout impacts the tone and aura of your kitchen, therefore selecting a function that will clearly show your character without clashing with the actual look and feel of the kitchen is essential. We have just gone over the many types of kitchen flooring that's available available on the market for you to select from.
The same ceramic tiles for the walls and the floor can be a great accent Kitchen interior

These clay tiles come in a choice of a matte or glossy finish, and are out there in colors which are different. You'll find various grades of anti-skid available for commercial use in addition to a a large range of colors. Most house owners find linoleum easy to hold in a good shape since just a little amount of effort is needed to soak it spic and span.
Ceramic Tiles for Kitchen Floor

Best Wax For Ceramic Tile Floor Tile floor, Flooring, Floor wax

DIY Faux Brick Flooring – Sincerely, Marie Designs Brick flooring, Diy stone floor, Rustic

Porcelain & Ceramic Tile Installation Locations

Cleaning Products For Ceramic Tile Floors Flooring Ideas in 2020 Best grout cleaner, Grout

Choosing the right ceramic tile for a kitchen floor

best option for uneven basement floors: ceramic tile that looks like wood Tile basement floor

Handmade and Vintage Ceramic Tile Bathroom Gallery

Ceramic Tile and Wall Tile Supplier: Ceramic Tile Flooring For Kitchen Designs Ideas
.jpg)
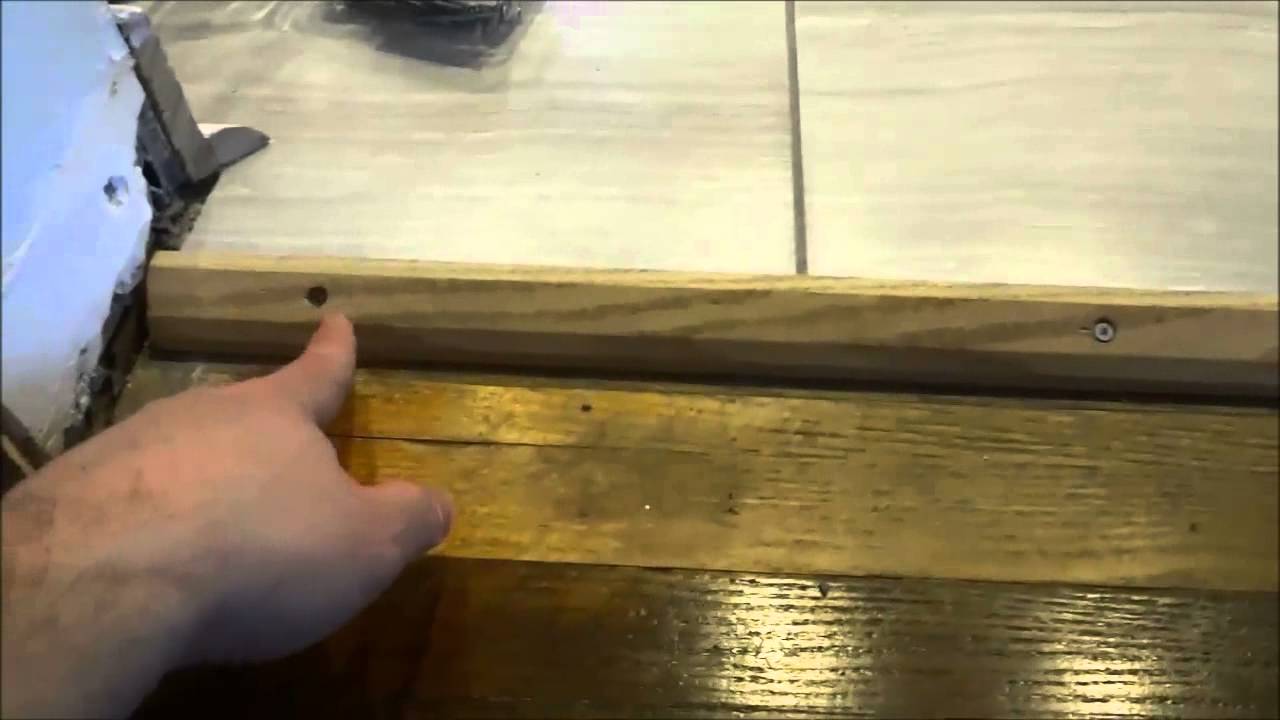
How To Install A Floor Transition With Screws (Tile To Hardwood Floor Reducer) – YouTube
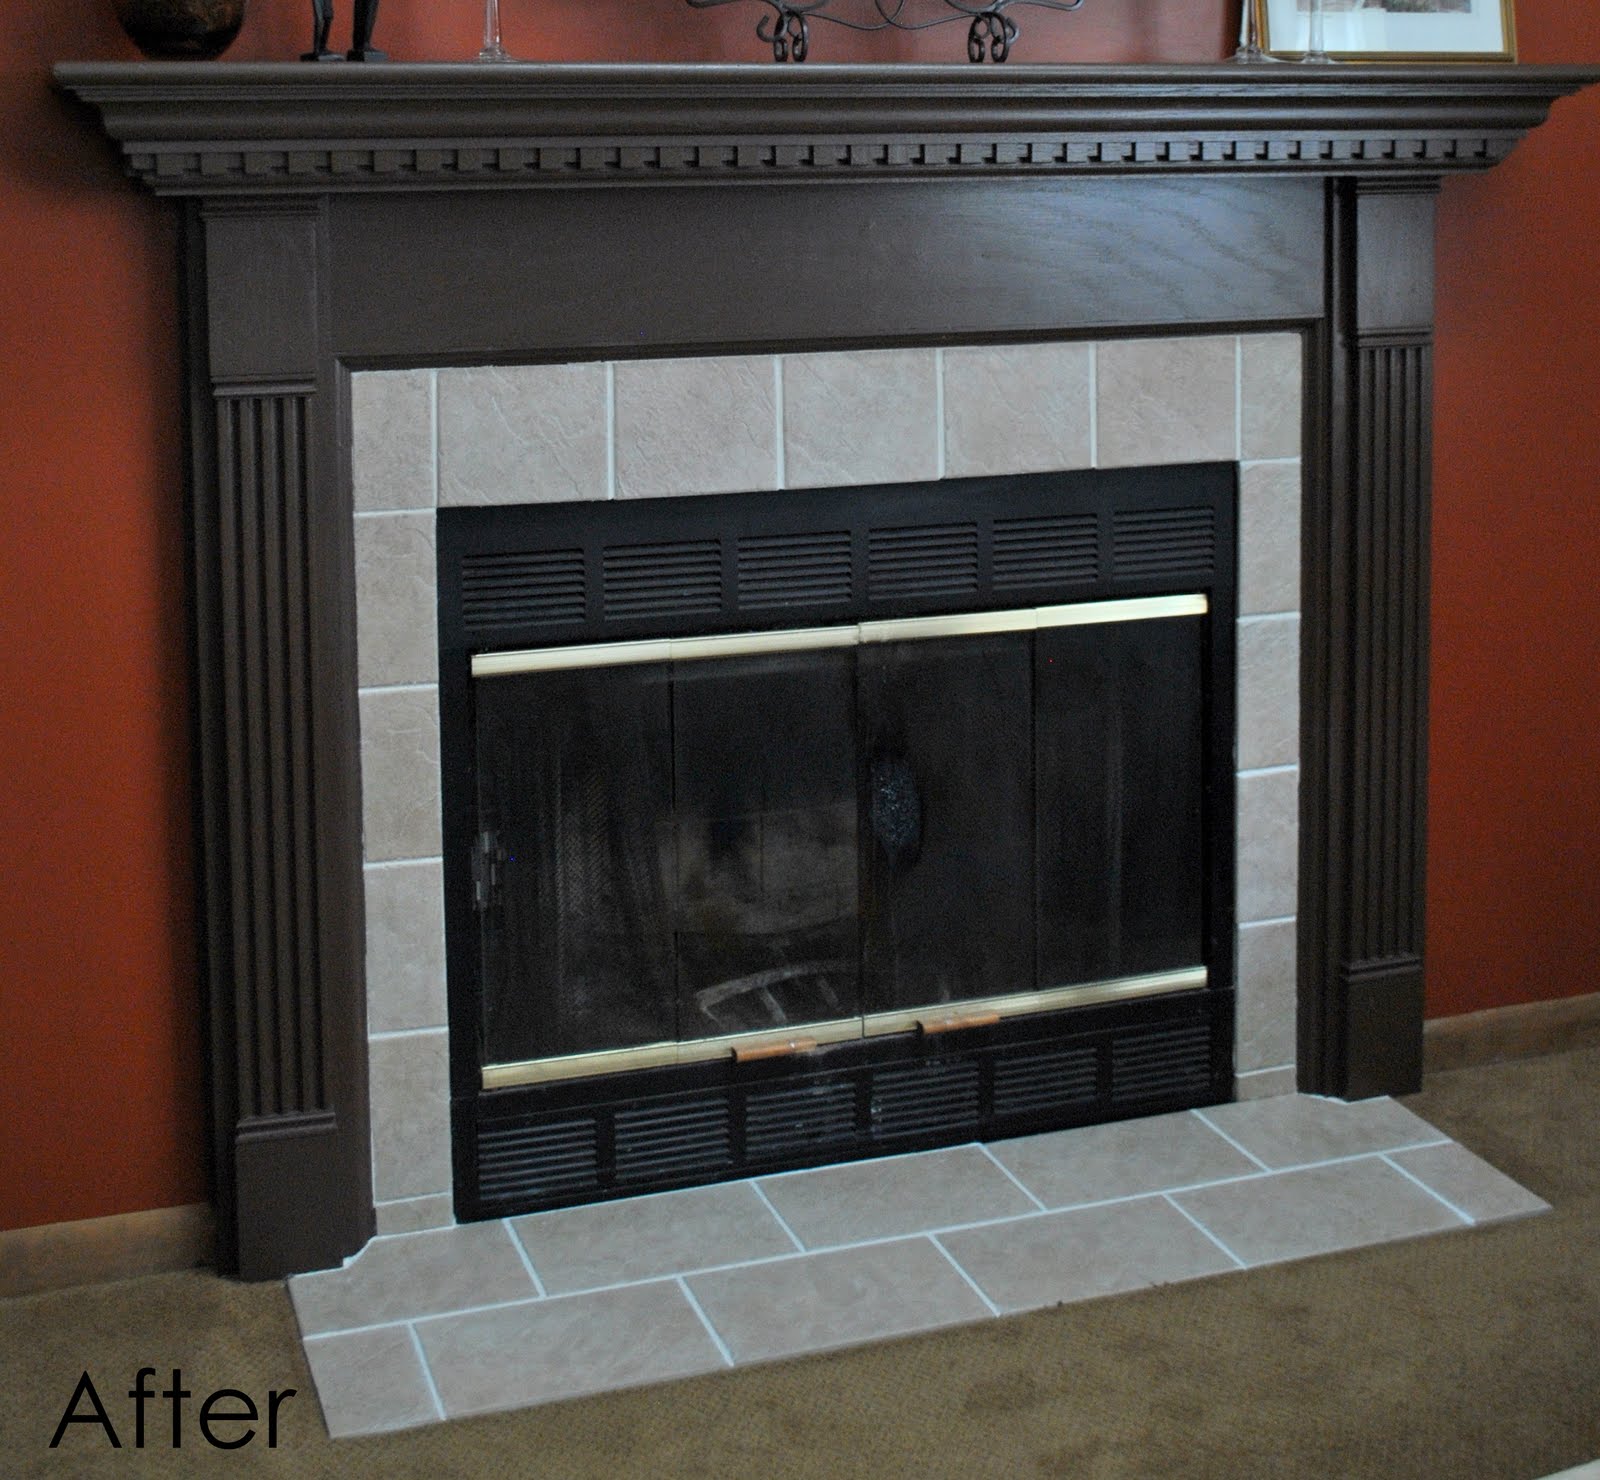
Fireplace Surround Kits Ideas – HomesFeed
Related Posts:
- What Is The Most Desirable Kitchen Floor Plan
- How To Lay Out A Kitchen Floor Plan
- Best Hardwood Floor Finish For Kitchen
- Wickes Kitchen Floor Tiles
- Kitchen Floor Replacement Options
- 20 X 10 Kitchen Floor Plans
- Kitchen Floor Plans By Size
- Kitchen Floor Storage Cabinets
- Kitchen Cabinets Flooring And Countertops
- Bamboo Kitchen Flooring Ideas
DIY Ceramic Tile Kitchen Floor: A Step-by-Step Guide to Transform Your Kitchen
Introduction:
The kitchen is often considered the heart of the home, and a well-designed kitchen floor can make a significant impact on the overall aesthetic appeal and functionality of the space. When it comes to durability, versatility, and timeless beauty, ceramic tiles are an excellent choice for kitchen flooring. If you’re ready to take on a DIY project and transform your kitchen floor with ceramic tiles, this comprehensive guide will provide you with step-by-step instructions and helpful tips to ensure success.
I. Planning and Preparation:
Before diving into any DIY project, proper planning and preparation are essential. This section will guide you through the initial steps of measuring your kitchen floor, selecting the right ceramic tiles, gathering the necessary tools and materials, and preparing the surface for tiling.
1. Measuring your kitchen floor:
Accurate measurements are crucial for determining the amount of tile you’ll need. Start by measuring the length and width of your kitchen floor using a tape measure. Multiply these two measurements to calculate the total square footage. Remember to add 5-10% extra for wastage and cuts.
FAQ: How do I measure irregularly shaped kitchens?
If your kitchen has an irregular shape, divide it into smaller sections (rectangles or squares) and measure each individually. Then, add up the square footage of all sections for the total area.
2. Selecting ceramic tiles:
Ceramic tiles come in various sizes, colors, patterns, and finishes, allowing you to express your personal style while complementing your kitchen’s existing design elements. Consider factors such as durability, slip resistance, ease of cleaning, and overall aesthetic appeal when choosing your tiles.
FAQ: Are ceramic tiles suitable for kitchens with heavy foot traffic?
Yes! Ceramic tiles are known for their durability and ability to withstand high traffic areas. Opt for tiles with a higher PEI (Porcelain Enamel Institute) rating, which indicates their level of hardness and resistance to wear.
3. Gathering tools and materials:
To ensure a smooth tiling process, gather the necessary tools and materials before starting. Some essential items include a trowel, tile cutter, notched trowel, tile spacers, grout float, wet saw (for cutting tiles), tile adhesive, grout, sealant, sponge, and a bucket for water.
FAQ: Can I rent a wet saw instead of buying one?
Yes! If you don’t want to invest in a wet saw, many home improvement stores offer tool rentals. Renting a wet saw can be a cost-effective option for DIY projects.
4. Preparing the surface:
Proper preparation of the existing floor is crucial for achieving a long-lasting and flawless tile installation. Start by removing any existing flooring material and thoroughly clean the floor to remove dirt, grease, or debris. Repair any cracks or imperfections and ensure the surface is smooth and level.
FAQ: How do I level an uneven kitchen floor?
If your kitchen floor has significant irregularities or slopes, it may be necessary to use a self-leveling compound. Follow the manufacturer’s instructions to apply the compound evenly across the surface and allow it to dry before proceeding with tiling.
II. Tile Installation:
With your kitchen floor properly prepared, it’s time to move on to the actual tile installation process. This section will guide you through each step of installing ceramic tiles on your kitchen floor.
1. Applying tile adhesive:
Begin by Applying a layer of tile adhesive to a small section of the floor using a trowel. Make sure to spread the adhesive evenly and at a 45-degree angle. Only apply enough adhesive that you can work with in about 10-15 minutes to prevent it from drying out.
FAQ: What type of adhesive should I use for ceramic tiles?
For ceramic tiles, it is recommended to use a thin-set mortar adhesive. This type of adhesive provides a strong bond and is suitable for most kitchen floor applications.
2. Placing the tiles:
Carefully place the first tile onto the adhesive, pressing it firmly into place. Use tile spacers to maintain consistent spacing between tiles. Continue this process, working in small sections, until all tiles are laid out on the floor.
FAQ: How do I ensure straight lines while laying tiles?
To ensure straight lines, it’s important to start with a straight reference line. You can use a chalk line or laser level to create this line. Additionally, regularly check your tile alignment using a level or straight edge.
3. Cutting tiles:
As you approach the edges of the floor or encounter obstacles such as cabinets or appliances, you may need to cut tiles to fit. Measure and mark the tiles that need cutting and use a tile cutter or wet saw to make precise cuts.
FAQ: Can I use regular tools like a utility knife to cut ceramic tiles?
It is not recommended to use regular tools like utility knives for cutting ceramic tiles, as they may cause uneven edges or cracks. It is best to use specialized tile cutting tools for accurate and clean cuts.
4. Applying grout:
Once all the tiles are in place and the adhesive has dried, it’s time to apply grout. Mix the grout according to the manufacturer’s instructions and use a grout float to spread it over the tiles, making sure to fill all the gaps between them. Wipe off any excess grout with a sponge before it dries.
FAQ: How long should I wait before walking on the newly tiled floor?
It is recommended to wait at least 24 hours before walking on the newly tiled floor to allow the adhesive and grout to fully set. However, check the specific drying time mentioned by the manufacturer for best results.
5. Sealing the tiles:
After the grout has dried, it’s important to seal the tiles to protect them from stains, moisture, and dirt. Apply a tile sealer according to the manufacturer’s instructions, ensuring complete coverage of all tile surfaces. Allow the sealer to dry completely before using your kitchen.
FAQ: How often should I reseal my ceramic tiles?
The frequency of resealing depends on various factors such as tile type, level of foot traffic, and exposure to moisture or stains. As a general guideline, it is recommended to reseal ceramic tiles every 1-3 years.