DIY Basement Floor Painting

Related Images about DIY Basement Floor Painting
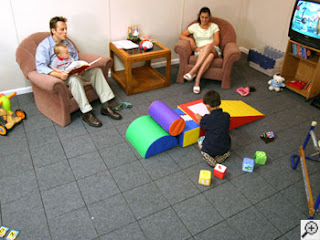
Pin on Home Decor

In case the drain has backed upwards, the plumber is going to install protection valves or perhaps replace leaking pipes before making use of any waterproofing products. Drains must be looked after, which means you are going to need to get it serviced or perhaps "snaked" to keep it functional. Make each room of your home have a comfy feeling. You should certainly not install over a concrete subfloor unless it passes pH alkalinity and calcium chloride assessments.
Home & Lifestyle: Painting a Basement Floor

This's in reality not too bad of a factor as this's what lots of people expect when they walk into a house. Lastly, there's the choice to cover the basement with carpet. It is a kind of unique polymer that has typically been used as covering for pipes, drinking water plants, and wherever that requires good, moisture resistant coating.
√ 21 Most Stylish Basement Ideas for Your House in 2019 – Harp Times

Even when it is damp, your polyurea garage or basement floor will not be slick, none will moisture sink directly into the flooring. Carpeting the basement is sometimes a mistaken choice as the danger of water damage is able to damage the carpet in an individual leak. A few and minor points that you are going to overlook might switch up to be the biggest blunder of the life of yours to haunt you forever.
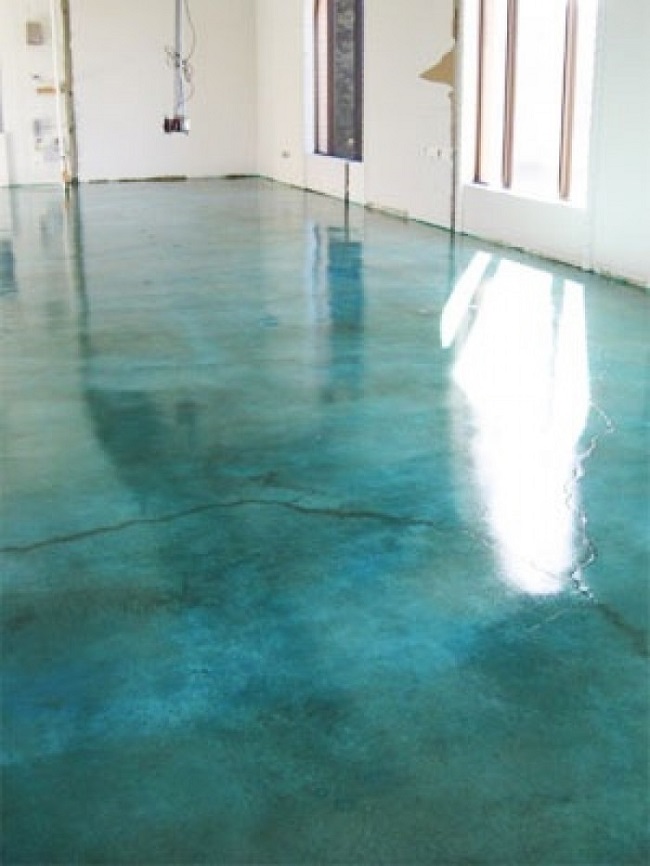
DIY Painted OSB Floors (Mmmm, Teal) Dans le Lakehouse Diy painted floors, Paint particle

Home & Lifestyle: Painting a Basement Floor
Unfinished basements, Paint ideas and Basements on Pinterest

Painting a basement DIY Home Improvement Forum
Basement Makeover Ideas DIY Projects Craft Ideas & How To’s for Home Decor with Videos

20 besten Chinesische Zeichen Bilder auf Pinterest Chinesische zeichen, Chinesische

DIY Concrete Flooring Makeover
grauer Boden #Boden Wunderschöner, wolkiger, zweifarbiger, grauer Epoxidboden #boden #epoxid

Part 2: Painting Our Basement – The Floor (don’t) Suppress the Jess

19 Faux Painting Techniques That Don’t Suck. The Heathered Nest

40 DIY Stair Projects For The Perfect Home Makeover

Related Posts:
- Lower Basement Floor With Bench Footings
- Good Paint For Basement Floor
- Ranch Floor Plans With Finished Basement
- Easy Basement Flooring Ideas
- Cracks In Concrete Basement Floor
- Concrete Floor Above Basement
- What To Put Under Laminate Flooring In Basement
- Floor Plans With Basement Finish
- Laminate Basement Flooring Options
- Drain In Basement Floor Has Water In It
DIY Basement Floor Painting: A Comprehensive Guide
Basements are often the neglected corner of the house. It is easy to forget that one day you may want to use the space for something else. Painting the basement floor is one of the simplest and cost-effective ways to spruce up this often forgotten area of your home. Doing it yourself is a great way to save money and get creative with the look and feel of your basement. But before you begin, it is important to understand the basics of DIY basement floor painting for a successful project.
Preparing the Basement Floor for Painting
The first step in any DIY painting project is to make sure that the surface you will be painting is ready. Preparing your basement floor for painting involves cleaning, filling cracks, and sanding. This process will ensure that your paint job looks even and lasts longer.
Cleaning: Before starting any type of painting job, it is essential to clean the surface thoroughly. Remove any dirt, dust, and debris from the floor by sweeping or vacuuming. You can also use a wet mop to get into any hard-to-reach areas or crevices.
Filling Cracks: Once your floor is clean, inspect it for any cracks or holes that need to be filled before painting. Use a filler specifically designed for concrete floors and fill in any dips or cracks that could let moisture in. Allow the filler to dry completely before continuing with the next step.
Sanding: Sanding helps create a smooth surface on which you can apply paint more evenly. Use a medium-grit sandpaper and sand down any rough spots or areas that were filled with filler to make them smooth. Make sure to vacuum away any dust created by sanding before proceeding with the next step.
Choosing Paint Type
Once you have prepared your basement floor for painting, it’s time to decide what type of paint you want to use. There are several types of paint available for concrete surfaces, each with its own pros and cons:
Epoxy Paint: Epoxy paint is one of the most popular types of paints used on concrete surfaces due to its durability and water-resistant properties. It also comes in a variety of colors so you can customize it to match your decorating style. The downside is that epoxy paint takes longer to dry than regular latex paints and can be more expensive as well.
Latex Paint: Latex paint is another popular option because it dries quickly and comes in many colors as well as finishes (glossy, matte, etc.). It doesn’t offer quite as much protection from water damage as epoxy paint does but it is less expensive and easier to apply than epoxy paint.
Oil-Based Paint: Oil-based paint provides good coverage and protection against water damage but takes longer to dry than latex or epoxy paints do. It also requires more preparation before painting as it needs an oil-based primer first in order for it adhere properly on concrete surfaces.
Applying Paint
Once you have chosen which type of paint you want to use, it’s time to start applying it! First, mix together your primer and paint according to directions on the Can. Using a roller or brush, apply the paint in even strokes to the surface of the floor. Make sure to start from one corner and work your way around the room in an orderly fashion. Allow the paint to dry completely before applying a second coat if necessary.
Now this is what the output should look like:
Cleaning your basement floor before painting is an important step in the process. Preparing the surface correctly will ensure that your paint job looks even and lasts longer.
Cleaning: Before starting any type of painting job, it is essential to clean the surface thoroughly. Remove any dirt, dust, and debris from the floor by sweeping or vacuuming. You can also use a wet mop to get into any hard-to-reach areas or crevices.
Filling Cracks: Once your floor is clean, inspect it for any cracks or holes that need to be filled before painting. Use a filler specifically designed for concrete floors and fill in any dips or cracks that could let moisture in. Allow the filler to dry completely before continuing with the next step.
Sanding: Sanding helps create a smooth surface on which you can apply paint more evenly. Use a medium-grit sandpaper and sand down any rough spots or areas that were filled with filler to make them smooth. Make sure to vacuum away any dust created by sanding before proceeding with the next step.
Choosing Paint Type: When selecting paint for your basement floor, there are several types of paint available such as epoxy paint, latex paint, and oil-based paint. Each type has its own advantages and disadvantages so consider which one best fits your needs.
Applying Paint: Once you have chosen which type of paint you want to use, it’s time to start applying it! First, mix together your primer and paint according to directions on the Can. Using a roller or brush, apply the paint in even strokes to the surface of the floor. Make sure to start from one corner and work your way around the room in an orderly fashion. Allow the paint to dry completely before applying a second coat if necessary.