Cork Flooring Installation Guide
Related Images about Cork Flooring Installation Guide
How to Install Cork Flooring: Installation Steps, Tips & Cost Floor Critics

Since cork can be readily modified by using discolorations or paints, people can find things which easily fit in very easily with the homes of theirs without looking out-of-place. It is easy to clean as well as is not produced with any strong chemicals, making it the ideal method for individuals suffering with allergies or some major illness.
Parquet wood flooring installation guide – Lamella Trading
![]()
Cork has a waxy material that normally occurs called Suberin. Manufactures who generate cork for commercial production just eliminate a covering of bark from the cork oak tree, providing the tree in one piece and unharmed. Being a hypoallergenic flooring solution is a very glowing health benefit to those with allergies. Cork is additionally obviously reluctant to water, mold and mildew, making it an outstanding option for the kitchen or bathroom.
How to Install Cork Flooring – (Tips and Guidelines For Your DIY Project)

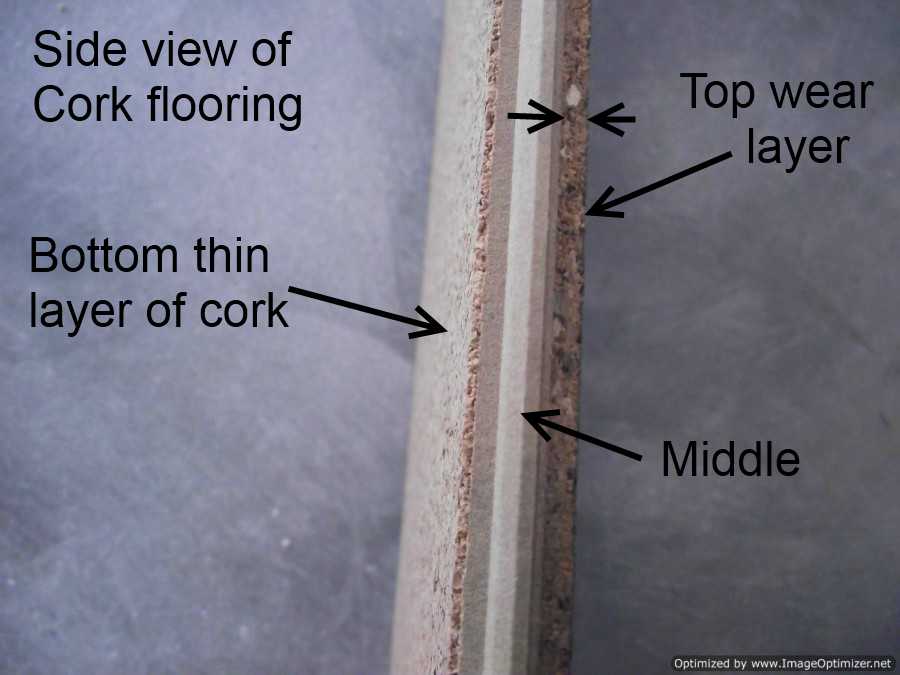
Cork flooring is also resistant to rather a couple of factors such as allergens, bacteria, mildew, mold, and moisture. This bark is actually harvested every nine years following the tree matures, using a regular lifetime of 200 years. Consists of many substrate layers depending on the quality of the cork floors selected, these floors are similar in composition to engineered laminate floor surfaces with superior insulating and sound deadening attributes.
Installing Cork Flooring Over Hardwood – Carpet Vidalondon

Royal Oak Designer Line Safari Tan D&M Flooring Kapriz Hardwood Flooring Store

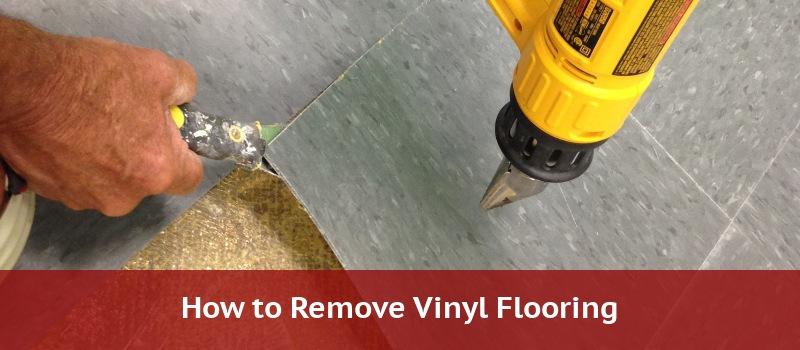
How to Remove Vinyl Flooring – 2021 DIY Guide Home Flooring Pros
printed cork flooring specification – iCork Floor Store

Cork Laminate Flooring Review, Floating Cork Flooring
Stunning cork wall coverings Cork wall tiles, Wall cladding designs, Cork wall

SPC Flooring EP decking
How to Choose the Right Wood Floor Installation Service Carolina Flooring Services

Cork Flooring

How to Install Natural Cork Flooring how-tos DIY
itavi.ca, itavi, www. Itavi.ca, www. Itavi.com, www. Itavi.org interior and exterior design

Related Posts:
- Cork Floor Paste Wax
- Cutting Cork Flooring Planks
- Cork Flooring Cons and Pros
- Basement Flooring Ideas Cork
- Cork Floor Cost Comparison
- Can You Stain Cork Floors
- Cork Flooring Per Square Foot
- Can Cork Flooring Be Installed Over Ceramic Tile
- Refinish Cork Floor Tiles
- Cork Floor Tiles Reviews
Cork Flooring Installation Guide: Tips for a Smooth and Seamless Experience
Cork flooring installation can be a daunting task for even the most experienced DIYer. With its unique characteristics, cork requires special attention and care when installing. From preparation to post-installation maintenance, this guide will provide you with all the information necessary for a smooth and seamless installation of your cork flooring.
Tools and Materials Needed
Before beginning your cork flooring installation, it is important to have all the tools and materials necessary to complete the job correctly. Depending on the type of flooring you are using, some of these items may vary, however, generally speaking, you should have the following items on hand:
– Cork tiles or planks
– Utility knife
– Tape measure
– Tile spacers
– Chalk line
– Caulk gun
– Construction adhesive
– Hammer
– Nails or staples
– Foam underlayment
– Padding (optional)
– Finishing materials (stains, sealants, etc.)
Preparing the Subfloor
Once you have gathered your materials, it is time to start preparing your subfloor for installation. The subfloor must be free of dust, dirt, grease, and debris before installation can begin. If there are any cracks or holes in the subfloor they should be filled with wood putty or concrete patch material. It is also important to check that the subfloor is level and flat; any unevenness can lead to problems during installation. Once the subfloor is clean and level, it is time to install the foam underlayment. This will help to create a moisture barrier between your cork floor and the subfloor below it.
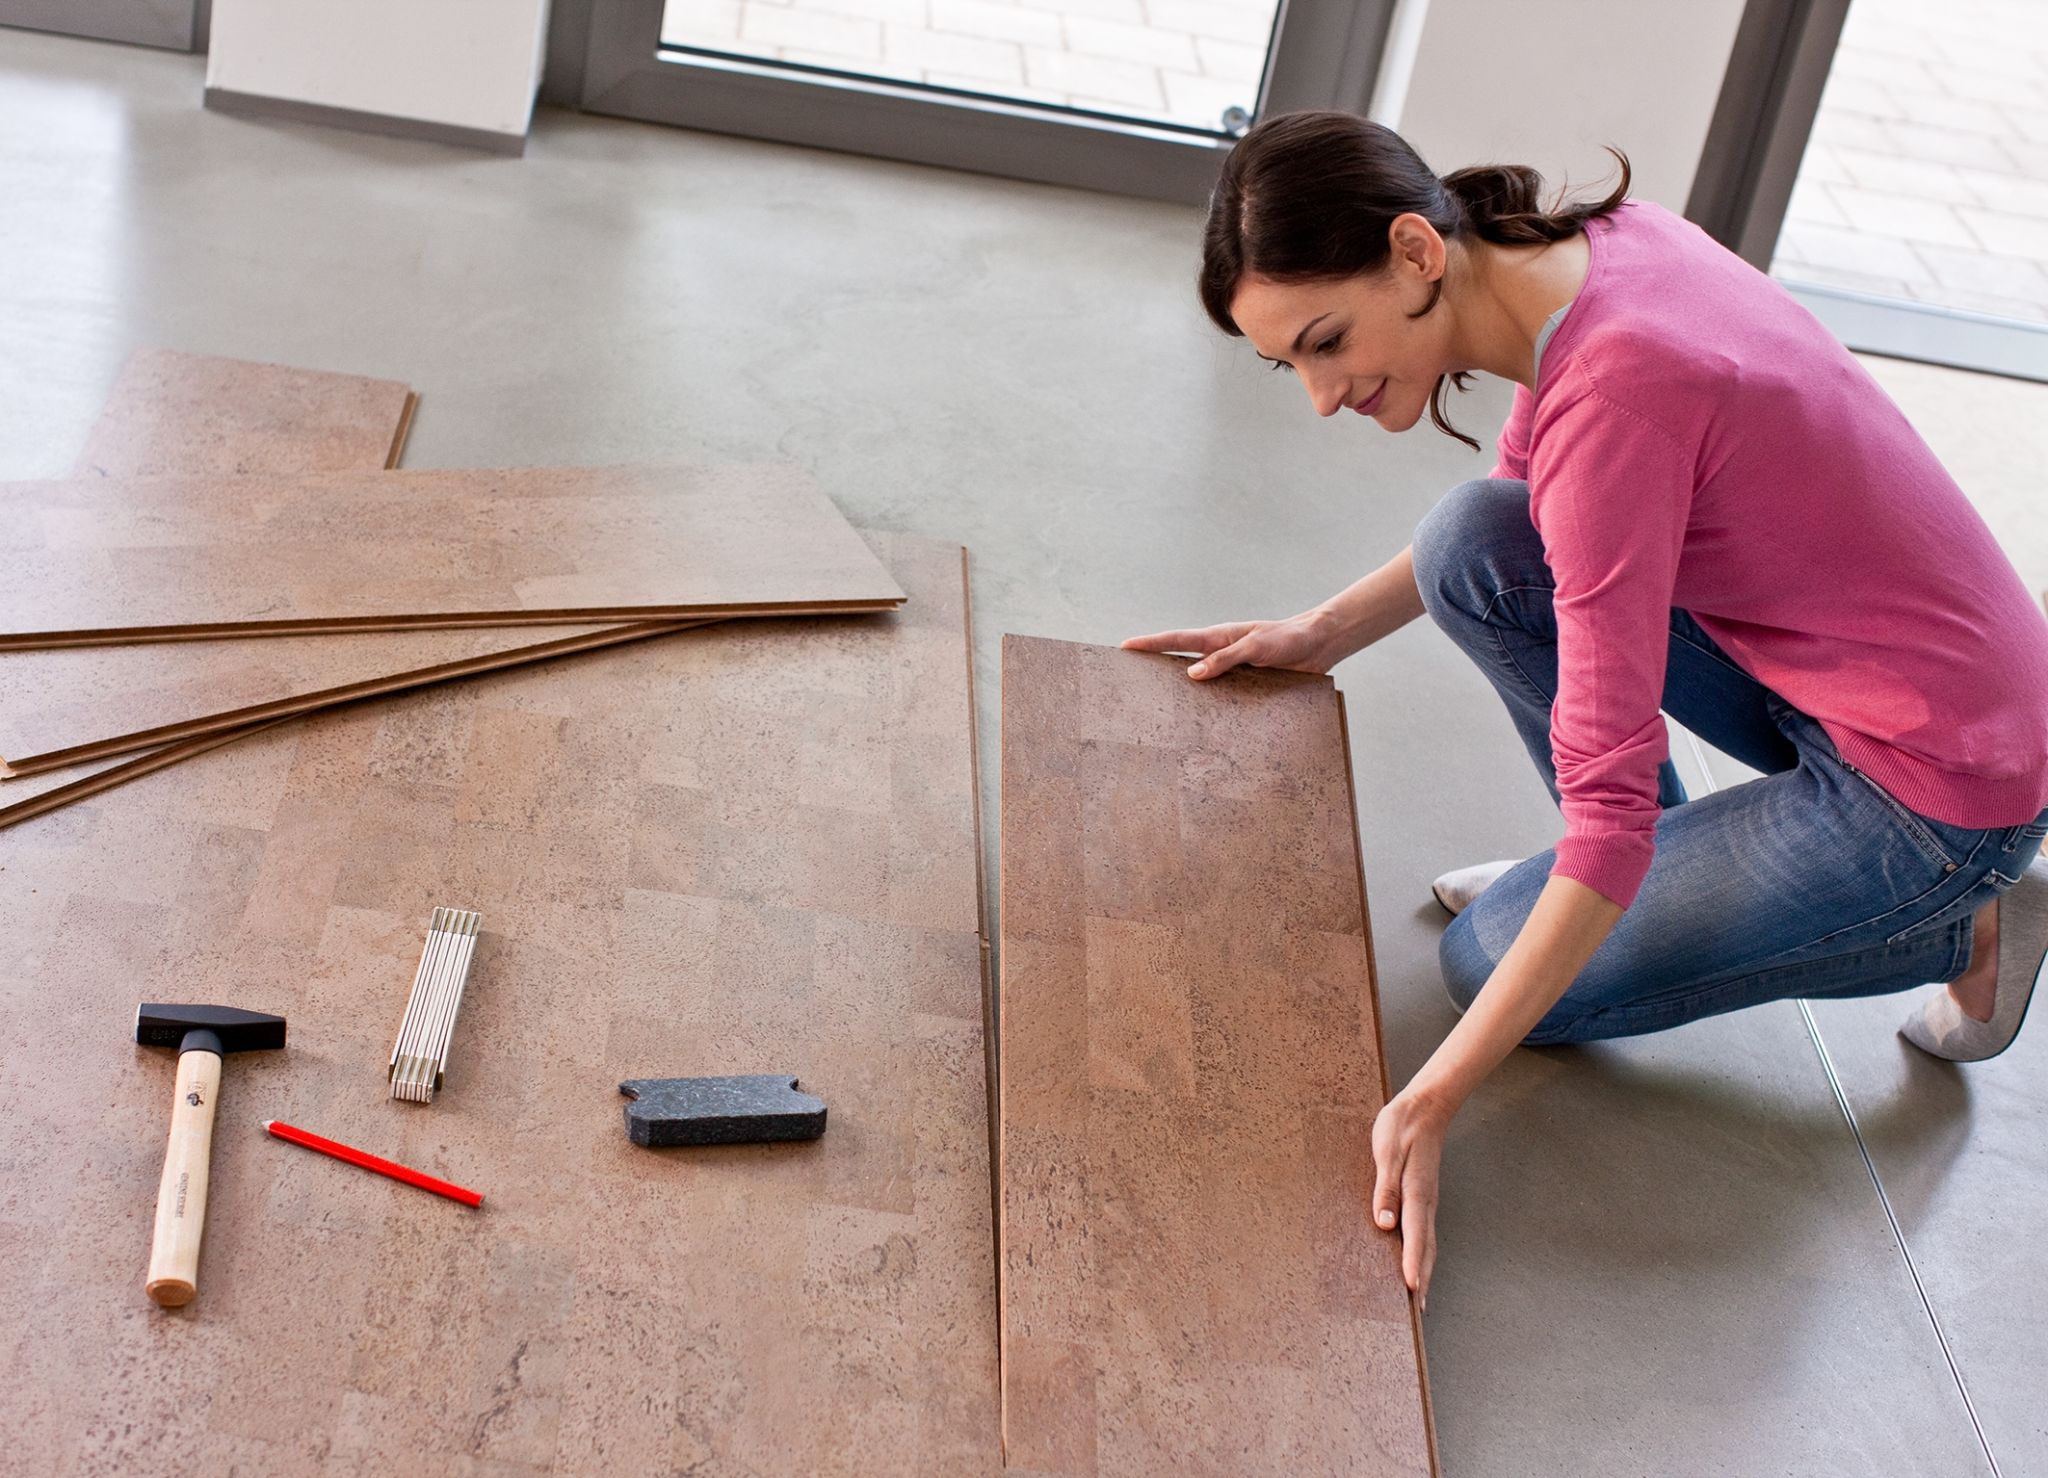
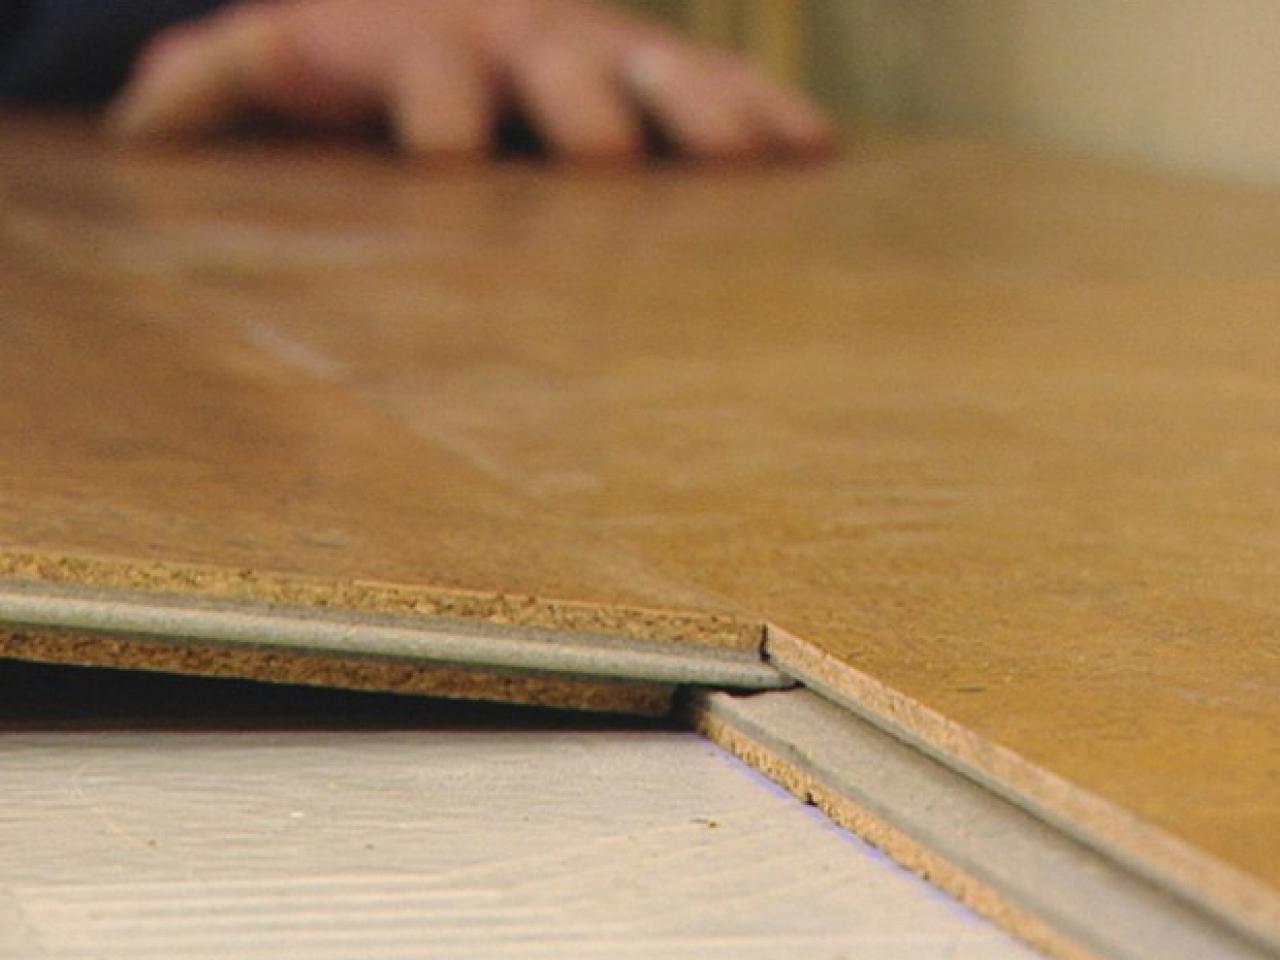
Installing Cork Tiles or Planks
Now that your subfloor is prepped and ready for installation, you can start laying down your cork tiles or planks. Begin by measuring out an area using a tape measure and chalk line to create straight lines on which to lay your tiles/planks. Start in one corner of the room and begin laying each tile/plank one at a time. Make sure to use tile spacers in between each tile/plank to ensure an even spacing throughout. If using adhesive to secure each tile/plank in place, make sure it is evenly spread so as not to create any bumps or dips in the flooring once dried. Once all tiles/planks are laid down, use a hammer and nails/staples around the perimeter of the room to completely secure them in place.
Finishing Touches and Maintenance Tips
Once all tiles/planks are secured in place it’s time for the finishing touches! Depending on what type of finish you’d like for your cork flooring, you can choose from a variety of stains and sealants available at most hardware stores. Once you’ve chosen a finish for your flooring, apply it according to manufacturer instructions and let dry before walking on it again. To keep your cork floor looking its best over time, make sure to sweep or vacuum up any dirt or debris regularly And use a damp mop for cleaning. It is also important to avoid using harsh chemicals or abrasive cleaners, as this can damage the finish of your flooring.
Installing Cork Flooring


Cork flooring is an increasingly popular choice for many homeowners due to its durability and stylish look. Installing cork flooring is a relatively easy process that requires only basic tools and materials. With a few simple steps, you can have a beautiful cork floor in no time! Read on for more information on how to install cork flooring in your home.


Tools and Materials Needed


Before beginning your cork flooring installation, it is important to have all the necessary tools and materials on hand. Generally speaking, you should have the following items:


- Cork tiles or planks


- Utility knife


- Tape measure


- Tile spacers


- Chalk line


- Caulk gun


- Construction adhesive


- Hammer


- Nails or staples


- Foam underlayment


- Padding (optional)


- Finishing materials (stains, sealants, etc.)


Preparing the Subfloor


Before installing your cork flooring, it is important to prepare your subfloor. Make sure the subfloor is free of dust, dirt, grease, and debris before installation can begin. If there are any cracks or holes in the subfloor they should be filled with wood putty or concrete patch material. Also check that the subfloor is level and flat; any unevenness can lead to problems during installation. Once the subfloor is clean and level, install foam underlayment to create a moisture barrier between your cork floor and the subfloor below it.


Installing Cork Tiles or Planks


Once your subfloor is prepped and ready for installation, you can start laying down your cork tiles or planks. Begin by measuring out an area using a tape measure and chalk line to create straight lines on which to lay your tiles/planks. Start in one corner of the room and begin laying each tile/plank one at a time. Make sure to use tile spacers in between each tile/plank to ensure an even spacing throughout. If using adhesive to secure each tile/plank in place, make sure it is evenly spread so as not to create any bumps or dips in the flooring once dried. Once all tiles/planks are laid down, use a hammer and nails/staples around the perimeter of the room to completely secure them in place.


Finishing Touches and Maintenance Tips


Once all tiles/planks are secured in place it's time for the finishing touches! Depending on what type of finish you’d like for your cork flooring, you can choose from a variety of stains and sealants available at most hardware stores. Once you’ve chosen a finish for your flooring, apply it according to manufacturer instructions and let dry before walking on it again. To keep your cork floor looking its best over time, make sure to sweep or vacuum up any dirt or debris regularly and use a damp mop for cleaning. It is also important to avoid using harsh chemicals or abrasive cleaners, as this can damage the finish of your flooring.