Cork Flooring Diy Network
Related Images about Cork Flooring Diy Network
What are some tips for cork flooring installation? – Quora
This chemical provides cork the ability to resist things such as pests, moisture, mildew, mold, allergens and bacteria. You get a flooring product that is durable, comfortable and resists mold, mildew, bacteria, allergies and moisture. But, it is suggested you make use of cork tiles & not laminate cork in those three rooms. In fact it is only the bark that is actually harvested not the tree itself. Effectively, this is all because of corks natural cellular make-up.
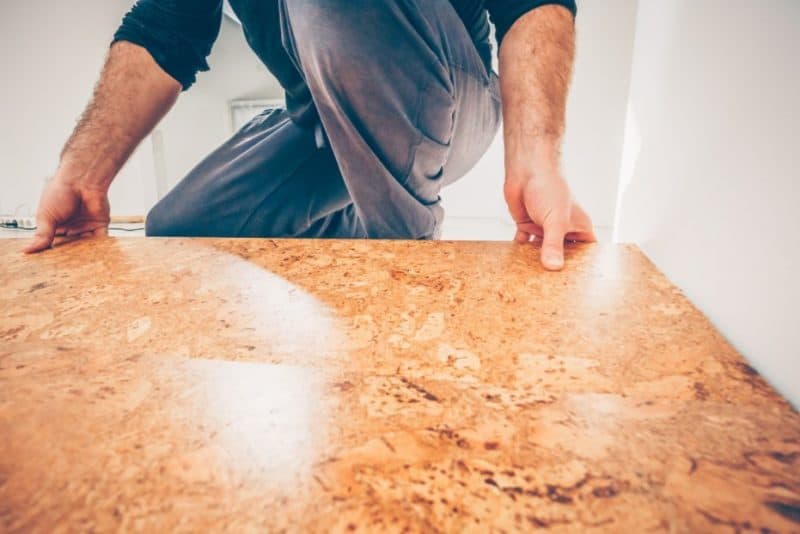
Natural Cork Flooring DIY
In reality, right after a cork oak tree matures it can be harvested every 9 years throughout its lifespan, and that is roughly 150 to 200 yrs. Cork has a natural substance called suberin. In reality, countries as Portugal who account for a huge supply of the worlds cork have strict laws in place on cork harvesting. Cork has been utilized at an assortment of capacities for a huge number of years like flooring.
The Ultimate Guide to Cork Flooring (Cost, Pros, and Cons)
It can sit in there for many years when popped off return to the normal condition of its with no wear or damage. You could be asking yourself exactly how a wood based shoe can be sustainable and eco-friendly. Another one of the main advantages of cork flooring is the incredible durability of its.
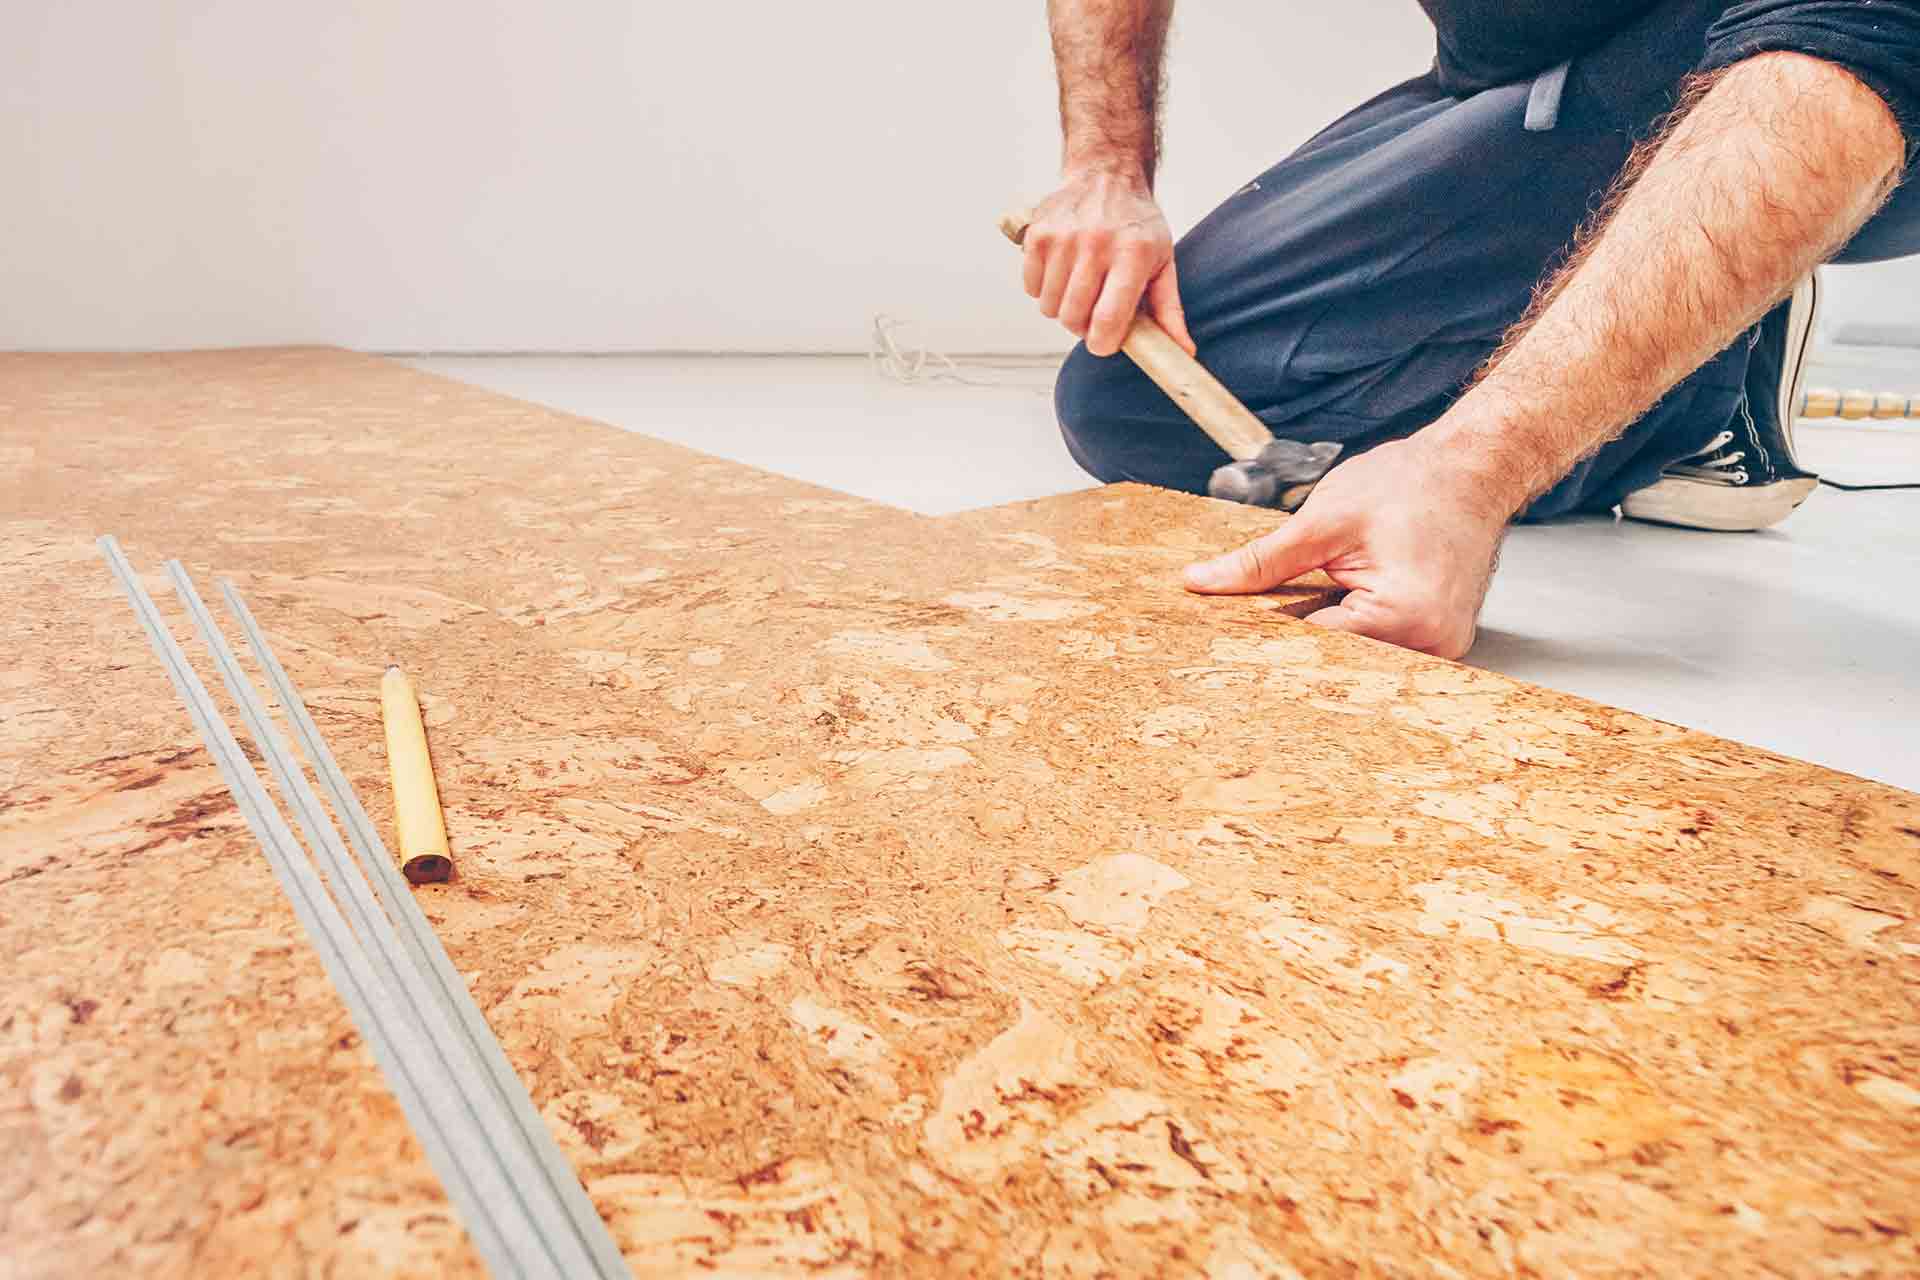
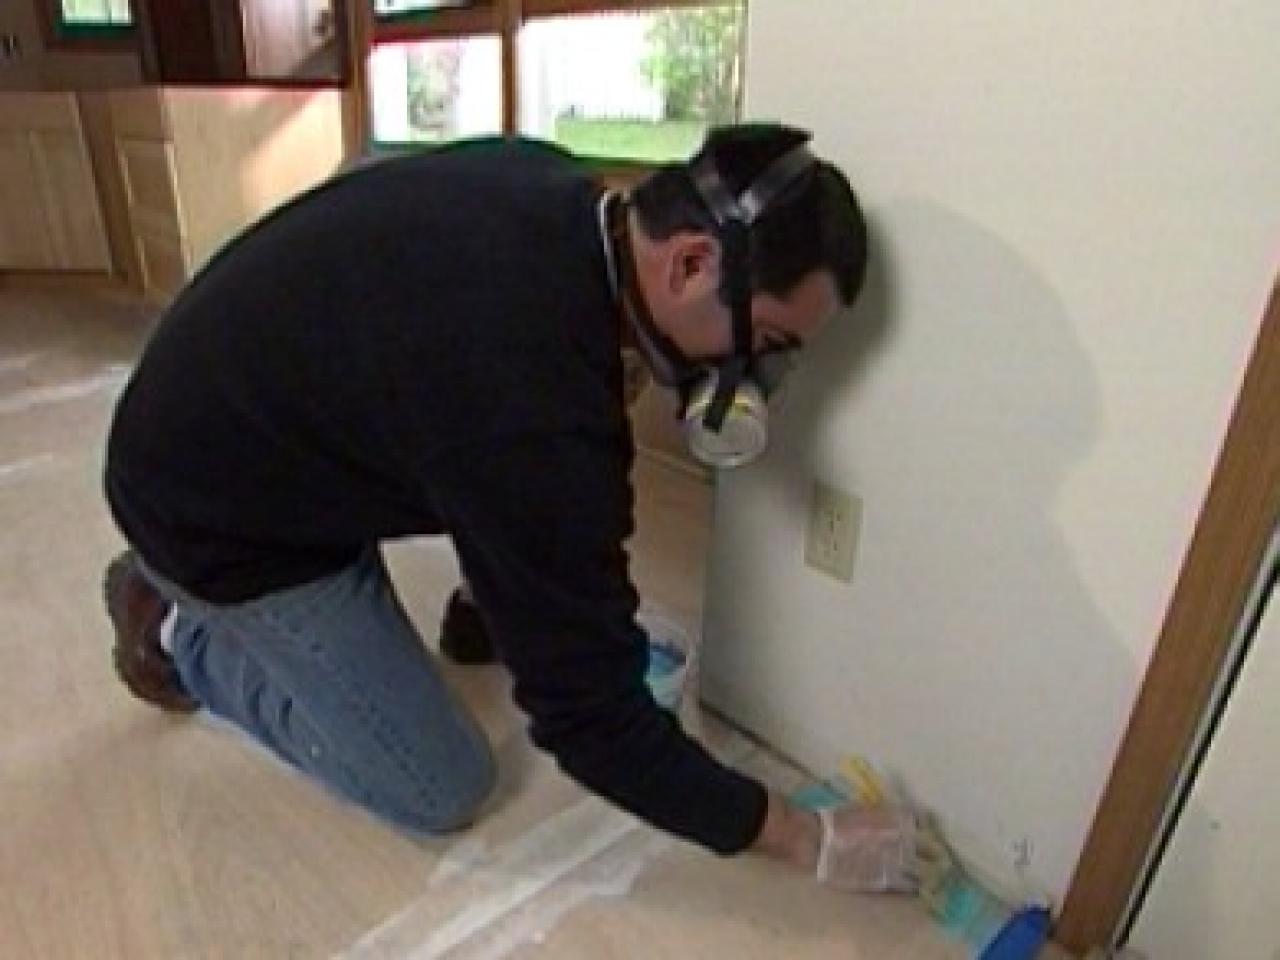
How to Install Cork Flooring – (Tips and Guidelines For Your DIY Project)

How to Clean Cork Floors Budget kitchen remodel, Kitchen flooring options, Cork flooring kitchen

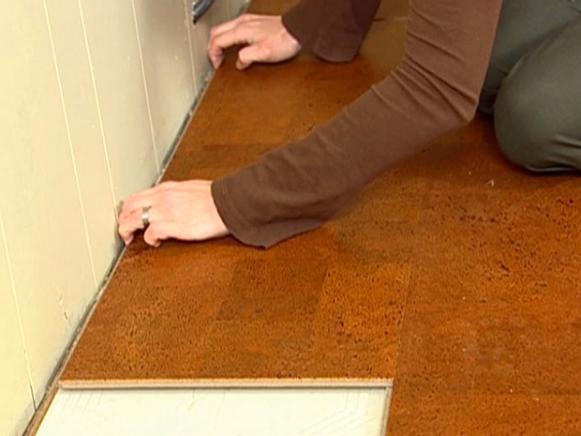
How to Install Natural Cork Flooring how-tos DIY
Budget Flooring Ideas

Basement – Finished Basement remodeling, Basement remodeling plans, Easy basement ceiling

Convenient PVC Flooring Sheet , Self Adhesive Stick On Vinyl Flooring

How to Install Cork Flooring how-tos DIY
How to Install Flooring Around a Fireplace how-tos DIY

DIY Wine Cork Coasters Video HGTV

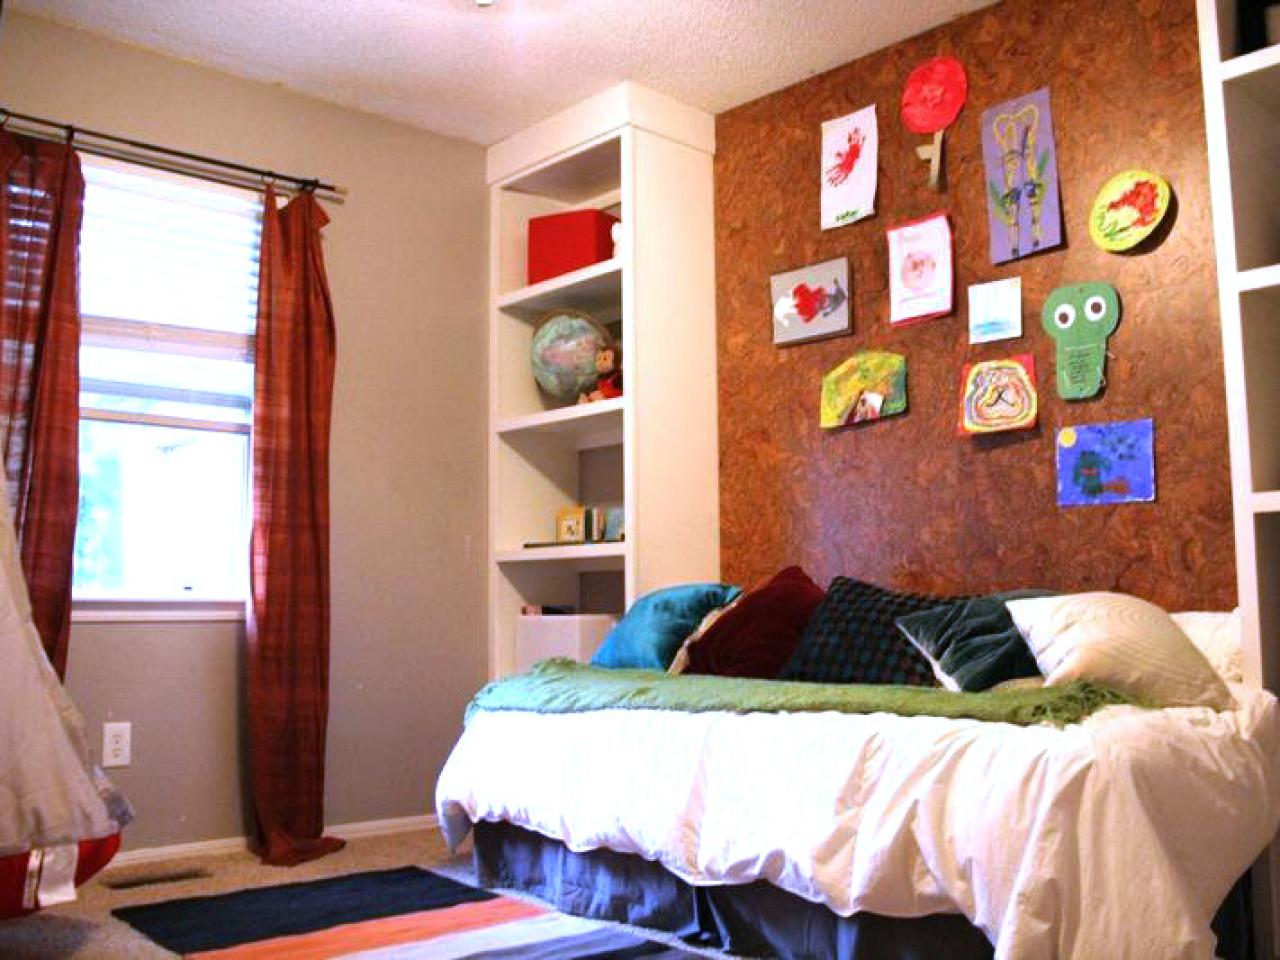
Girls’ Bedroom Decorating Ideas and Projects DIY Network Blog: Made + Remade DIY
Related Posts:
- Cork Floor Paste Wax
- Cutting Cork Flooring Planks
- Cork Flooring Cons and Pros
- Basement Flooring Ideas Cork
- Cork Floor Cost Comparison
- Can You Stain Cork Floors
- Cork Flooring Per Square Foot
- Can Cork Flooring Be Installed Over Ceramic Tile
- Refinish Cork Floor Tiles
- Cork Floor Tiles Reviews
Introduction to Cork Flooring DIY Network
Cork flooring is an affordable, durable, and attractive alternative to traditional hardwood or tile flooring. It is a great choice for any room in your home and can be installed without the help of a professional. The DIY Network has created a comprehensive guide to cork flooring that can help you install it yourself and get the most out of your new floor. From choosing the right materials and tools to understanding installation techniques, this guide will provide everything you need to know about cork flooring.
What are the Benefits of Cork Flooring?
Cork flooring has many advantages over traditional hardwood or tile floors. It is more comfortable to walk on, absorbs sound better, and is waterproof and scratch resistant. It also does not require waxing or other regular maintenance like hardwood floors do. Additionally, cork flooring is very eco-friendly as it is sourced from renewable resources and does not emit harmful chemicals when installed.
How to Choose the Right Cork Flooring
When it comes to choosing the right cork flooring for your project, there are several things you should consider. First, you should decide on the type of cork flooring that best fits your needs: solid cork tiles, engineered cork planks, or floating cork tiles. Each type of cork floor has its own advantages and disadvantages, so it’s important to do your research before making a decision. You should also consider factors such as color, texture, thickness, and cost when selecting your cork flooring material.
Tools and Materials Needed for Cork Floor Installation
Before starting your cork floor installation project, you will need to gather the necessary tools and materials. These include a tape measure, chalk line, saws (circular saw or jigsaw), hammer and nails or screws, spacers, construction adhesive, caulking gun (for floating floors), foam underlayment (if needed), grout (for solid tiles), sealer (optional), and finishing compound (optional). You will also need to purchase the right type of cork flooring for your project as well as any trim pieces such as moldings or baseboards that may be needed.
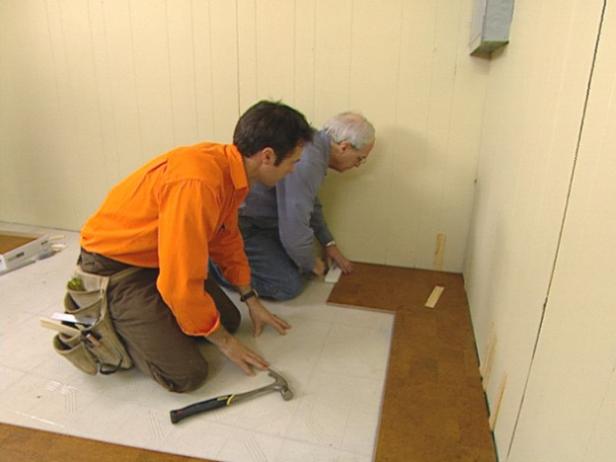
Step-by-Step Guide for Installing Cork Floor Tiles
Once you have gathered all of the necessary tools and materials for your project, it’s time to get started with installing your new cork floor tiles! The first step is to inspect all of the tiles before installation in order to identify any potential issues such as cracks or chips in the material. Once this is done, you will need to measure the room in which you are installing the tiles in order to determine how much material you will need. Next, you will need to cut any pieces that must fit around obstacles such as cabinets or doorways using a circular saw or jigsaw. After this is done, it’s time to begin laying down your tiles! Start by laying down a row of full tiles along one wall before moving on to any partial pieces that may need cutting around obstacles. Use spacers between each tile in order to ensure an even gap between them all. When all of your tiles have been laid down, use construction adhesive and/or nails/screws in order to secure them into Place. Finally, seal the floor with a sealer if desired and apply a finishing compound to give the tiles a polished look.
What tools are needed for a DIY cork flooring installation?
Tools needed for a DIY cork flooring installation include:– Tape measure
– Marker or pencil
– Straight edge or T-square
– Hammer
– Utility knife
– Chalk line
– Caulk gun
– Safety glasses
– Knee pads
– Nail set
– Chisel
– Rubber mallet
– Rubber gloves
– Flooring adhesive
– Flooring transition strips
– Flooring underlayment or padding
– A power saw or jigsaw
– A vacuum cleaner
– A broom or mop
– A sealer (optional)