Concrete Floor Drain Installation
Related Images about Concrete Floor Drain Installation
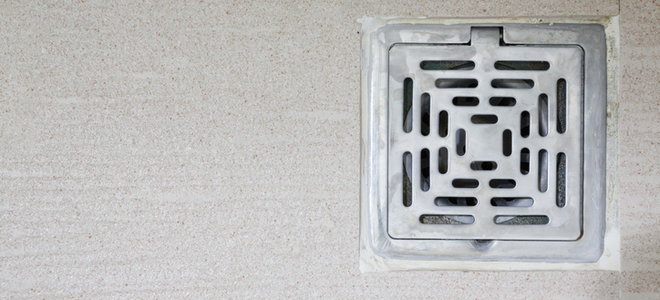
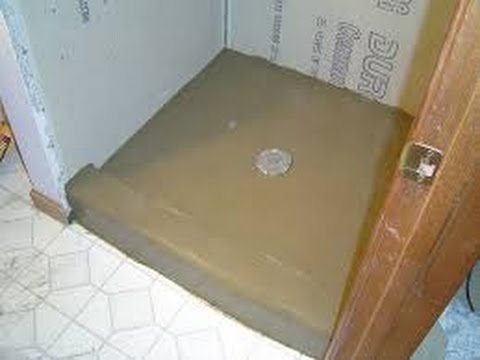
Poured new concrete to form a nice, clean floor drain. Flickr

At the conclusion of this working day, the polished concrete floors will look something like some form of polished stone, no surprise it's utilized as a decorative means in many places. In case the concrete floor has been in the past sealed, it is a wise decision to sweep and next mop the area with soapy water, a standard cleaning product or an experienced concrete cleaner.
Creating A Concrete Drain – DoItYourself.com Community Forums

The main cause is that these floors are energy efficient flooring options and definately will keep going for numerous years. The toughest thing is waiting: Once the entire concrete floor is done, you still have to hold off parking the automobile on it for another seventy two hours. But there are concrete floors which look plain and gray just love those present in factories and garages.
Three Piece shower drain for pan liner explained – YouTube
The polished concrete floor look is finished with matte to huge gloss finishes. Concrete flooring has some exceptional qualities like it's fire burn resistant, has excellent resistance to chemical substances that are toxic , is actually basic and its thickness patterning gives extended life wear ability.
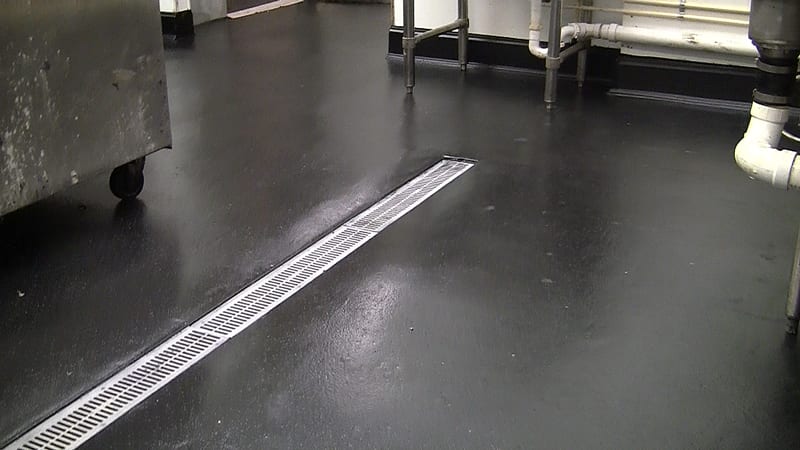
Trench Drain Installation – JIREH INDUSTRIAL SERVICES
How to install a shower drain in a cement floor – YouTube
Pattern Imprinted Concrete Products – Drainage – Elite Crete UK

10 best Floor Drain Details images on Pinterest

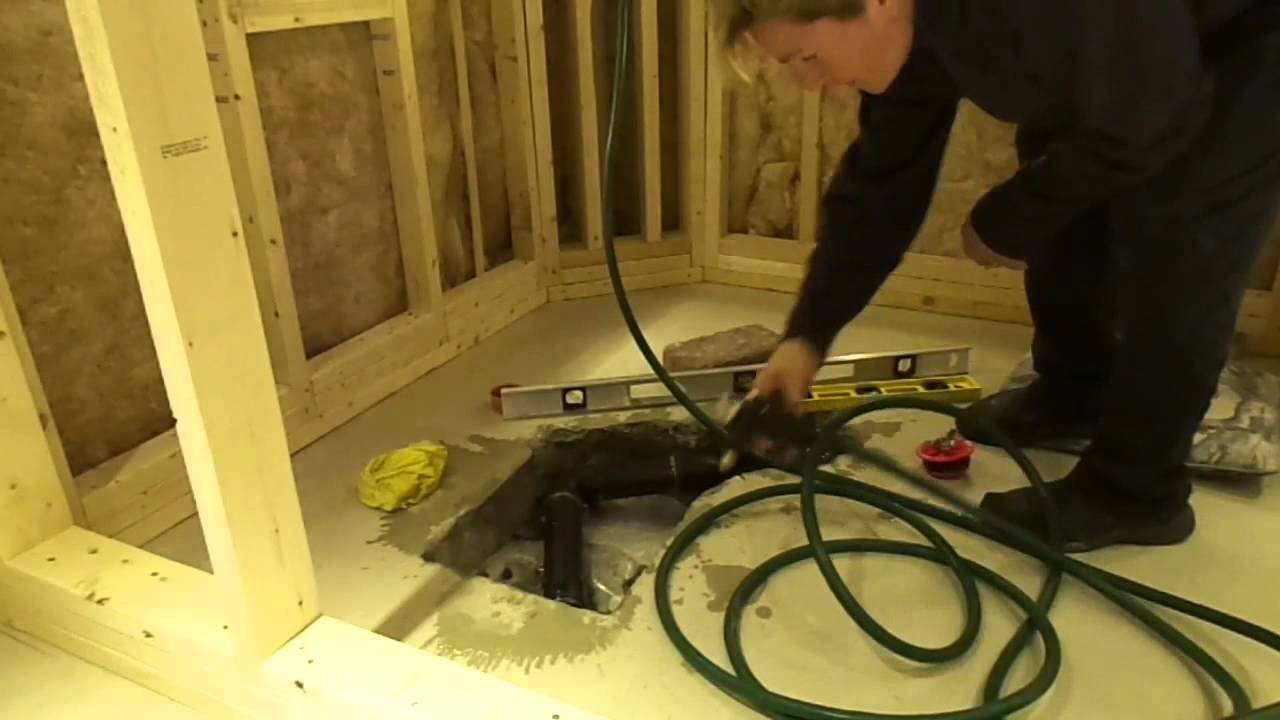
Concrete Box Out Drain Preparation – YouTube

Basement Floor Drain – Key Costs and Requirements

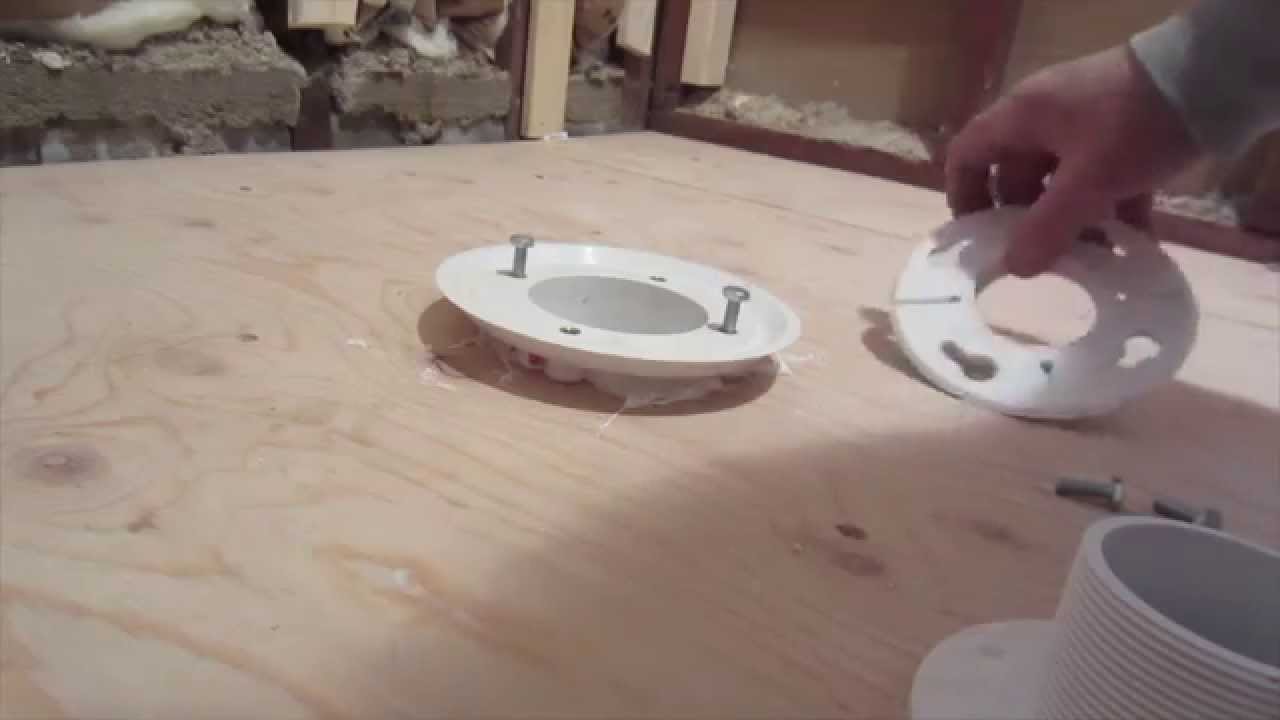
Installing Mortar Shower Pan Video – YouTube
Creating A Concrete Drain – DoItYourself.com Community Forums

Part 1. How to replace , install walk-in tile shower drain and p-trap — 2" PVC pipe plumbing

Duraflex (Washer Pan Installation) – YouTube

bbp plumbing: Floor drain replacement in basement

Related Posts:
- Interior Concrete Floor Paint Ideas
- Concrete Floors In Homes Cost
- Level Concrete Floor With Plywood
- Concrete Floor Construction For Underfloor Heating
- Stained Concrete Floors In Basement
- Polished Concrete Floor Crack Repair
- Concrete Floor With Insulation
- Acid Stained Concrete Floors Pictures
- Installing Underfloor Heating On Existing Concrete Floor
- How Much Is Concrete Flooring
Installing a Concrete Floor Drain: A Comprehensive Guide
It’s not always easy to install a concrete floor drain, but with the right preparation and knowledge, you can have your new drain up and running in no time. In this comprehensive guide we will cover everything you need to know about installing a concrete floor drain, from the necessary materials and tools, to the installation process itself.
What You Need
Before starting the installation process, it is important to make sure that you have all of the necessary materials and tools on hand. These include:
• A concrete floor drain
• A rubber gasket
• Waterproof grout or mortar mix
• Caulk
• Tape measure
• Trowel
• Drill and drill bits
• Level
• Putty knife or other flat tool for spreading grout or mortar
• A bucket for mixing grout or mortar
• Pliers or channel locks for tightening bolts.
Preparation & Marking Out Your Drain Location
Once you have all of your materials and tools gathered, you can begin preparing for the installation. Start by marking out where your drain will go. Use a tape measure to measure out the area and mark it with chalk. Make sure that all measurements are accurate – an inaccurate measurement could result in an uneven or ill-fitting drain. Once your area is marked out, use a level to check that it is level – if it is not, adjust until it is.
Cutting The Concrete To Fit The Drain
Next, you will need to cut the concrete in order to fit the drain in place. Using a masonry saw or circular saw, carefully cut along your marked lines until you have a hole of the correct size for the drain. Be sure to wear safety gear such as goggles and gloves when cutting concrete. Once your hole is cut, remove any debris from the area and use a vacuum cleaner to clean up any dust or particles that may remain.
Installing The Drain & Gasket
Now that your hole has been cut, you can start installing the drain itself. Place the gasket onto the underside of the drain before placing it into the hole. Make sure that it is properly seated and then use pliers or channel locks to tighten down any bolts or screws as needed. Once tight, apply waterproof grout or mortar around the edges of the drain to ensure a watertight seal. Use a putty knife or other flat tool to spread evenly across the surface. Allow this to dry according to manufacturer’s instructions before moving on to step four.
Sealing Around The Drain
Once your grout or mortar is dry, use caulk around any gaps between the drain and surrounding concrete surface. This will provide an additional layer of protection against water seepage and help keep moisture out of your basement or other area where it may cause damage over time. Allow this caulk to dry according to manufacturer’ S instructions before testing the installation.
Testing The Installation
Once your caulk is dry, you can test the installation to make sure that it is working properly. Fill a bucket with water and slowly pour it over the drain area. If the water flows freely and drains away without any issues, then your installation has been successful. If there are any issues, you may need to adjust or replace some of the components in order to ensure a proper seal.
What tools are needed for concrete floor drain installation?
1. Hammer drill2. Masonry drill bits
3. Floor drain
4. Concrete sealant
5. Trowel
6. Level
7. Pipe wrench
8. Bucket
9. Rubber mallet
10. Tape measure
11. Utility knife
12. Caulk gun
13. Putty knife
14. Circular saw
15. Safety goggles And gloves
What types of concrete floor drains are available?
1. Trench Drains: These are long, narrow drains that are installed in a trench in the floor. They are typically made of plastic or metal and come with a variety of grates and covers for different applications.2. Slot Drains: These are shallow, linear drains that are installed in the middle of the floor. They have a removable grate for easy cleaning and maintenance.
3. Catch Basins: These are large, rectangular drains that are usually installed in the corner of a room or along a wall. They have a deep sump to catch water and debris, and they often have multiple outlet pipes to direct water away from the area.
4. Floor Sinks: These are shallow, round drains that are typically used in bathrooms or laundry rooms to collect waste water from fixtures like sinks, showers, and washing machines. They are usually installed in the center of the room and have a removable grate for easy cleaning.
What are the advantages of using concrete floor drains?
1. Durability: Concrete floor drains are incredibly durable and can last for decades with proper maintenance.2. Strength: Concrete floor drains are strong and can withstand heavy loads, making them ideal for commercial and industrial spaces.
3. Easy Installation: Concrete floor drains are easy to install and remove, which makes them an ideal choice for renovations or new construction.
4. Cost-Effective: Concrete floor drains are cost-effective compared to other types of drainage solutions.
5. Versatile: Concrete floor drains come in a variety of shapes and sizes, which makes them suitable for any space or application.