Clear Epoxy Shower Floor

Related Images about Clear Epoxy Shower Floor
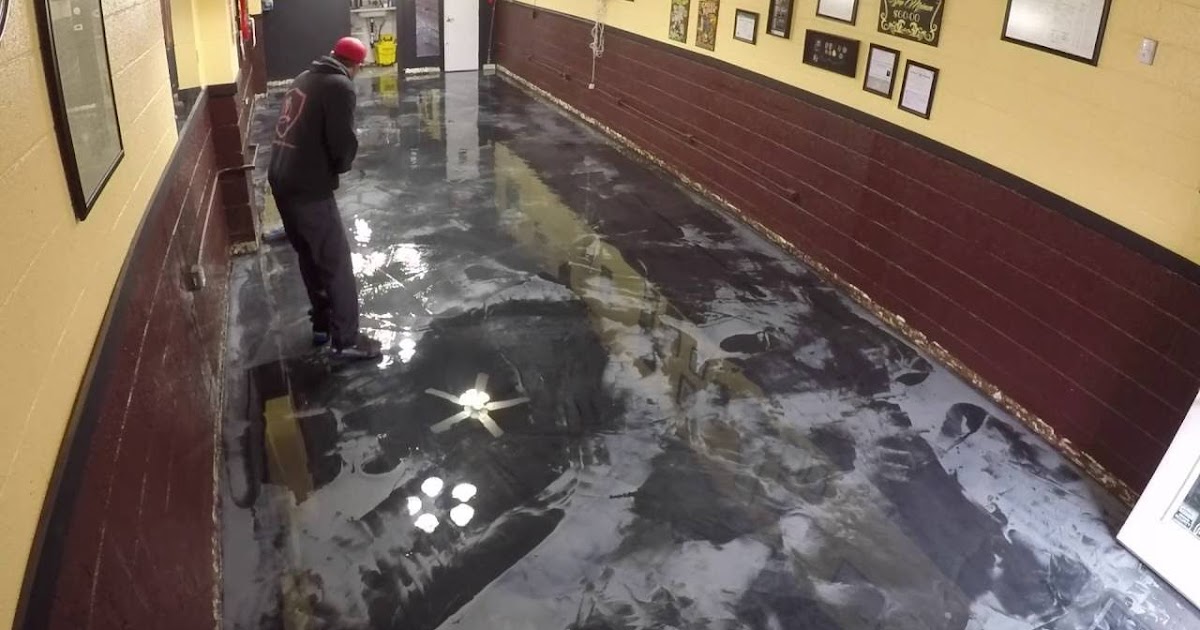
Advantages of Epoxy Flooring for Spas, Saunas and Wet Rooms – Florock

Epoxy coating for floors are additionally very inexpensive compared to various other kinds of floor finishes such as vinyl, wood, tile, and carpeting. Additionally, it extends the lifetime of your concrete and also preserves it. Above every one of these rewards the most significant is the affordable price of its. Hardwood floors are pricey and may be swiftly damaged by water.
Epoxy Shower Floor Kit : Bathroom Epoxy Refinishing Kit Bathroom Epoxy – Learn how to make the
If the prroperty owner doesn’t want to get it done themselves they’re able to contact epoxy flooring business enterprises to do the task. Obviously the expense of this kind of flooring is justified by its durability since as soon as it has been laid it will last a life time. Try and get a similar color of epoxy layer so it fits with the remainder of the floor.
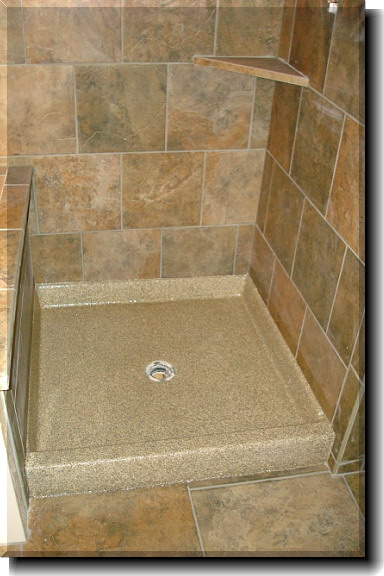
Epoxy Floor Coatings: Epoxy Floor Coating Applied To Shower Pan
One disadvantage to using an epoxy floor coating is that it is able to develop a yellowish tint throughout the curing process. It is able to additionally be altered to adapt to the climate in the area of yours. Though such flooring is often present in industries and public buildings it’s beginning to be more prominent in residential houses.
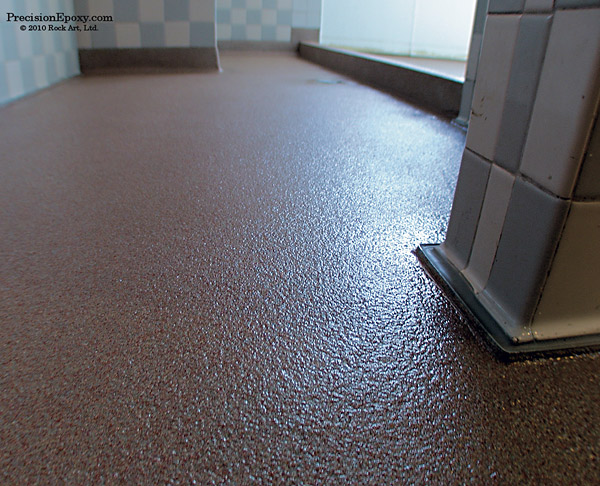
Waterproof Floor Coating for Public Restrooms Easy to Clean

Custom tile shower – Céramiques Hugo Sanchez

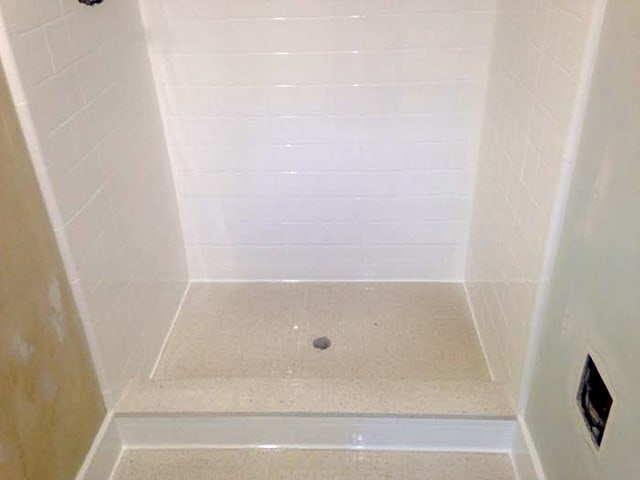
Shower Floor Area $400.00 Inc GST – LIFETIME Warranty

Epoxy Sealer For Shower – Bathroom Epoxy Refinishing Kit Bathroom Epoxy / Mas epoxies

Epoxy Sealer For Shower Floor / Weather Resistance Epoxy Grout Sealer , Shower Tile Grout Sealer

Epoxy Sealer For Shower Floor / Floor Tiles Clear Epoxy Over Tile Shower Floor – Okay, even

Epoxy And Sand Flooring Epoxy Floor
Custom Self adhesive Floor Mural Wallpaper 3D Clear Sea Water Floor Tiles Sticker Bathroom
![]()
I have a tile shower floor and wanted to put a coat of clear epoxy over it to protect it any

Bathtub Epoxy Shower Walls
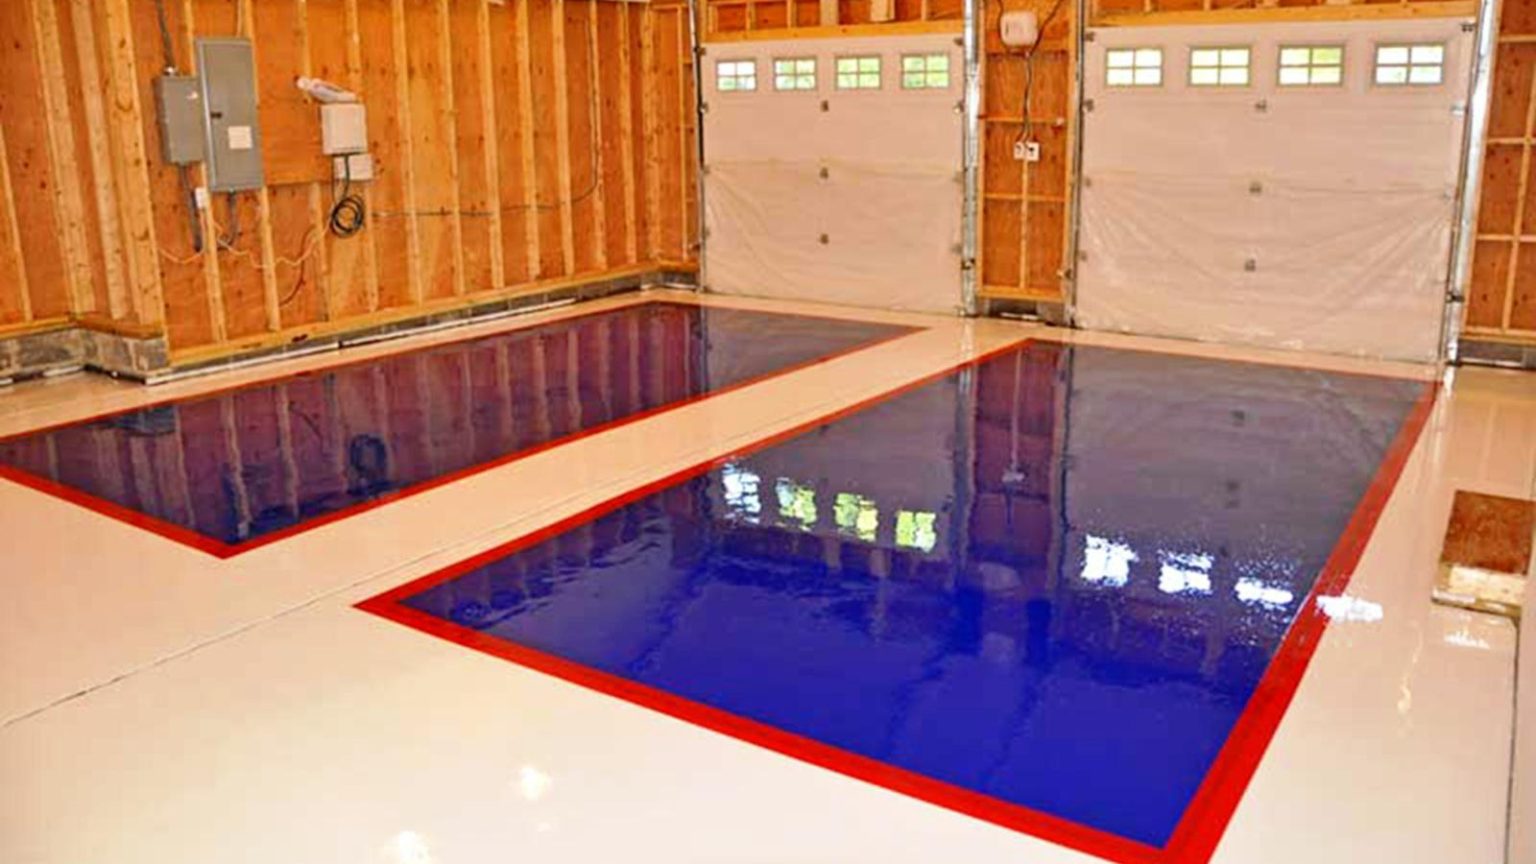
Oxy Red Garage Floor Epoxy — Schmidt Gallery Design
Related Posts:
- Epoxy Resin Floor Finish
- Commercial Grade Floor Epoxy
- Clear Self Leveling Floor Epoxy
- Epoxy Over Laminate Flooring
- Quikrete Floor Epoxy Reviews
- Outdoor Epoxy Resin Flooring
- Epoxy Floor Decals
- Epoxy Terrazzo Flooring Installation
- How To Remove Epoxy Paint From Concrete Garage Floor
- Epoxy Flooring Baton Rouge
Clear Epoxy Shower Floor – A Comprehensive Guide
When it comes to the bathroom, nothing says elegance like a beautiful epoxy shower floor. It adds an extra bit of flair to the room, and it can be both practical and attractive. Clear epoxy is one of the best materials for this purpose, as it offers a strong and durable finish that won’t chip or crack over time. In this comprehensive guide, we’ll go over everything you need to know about installing a clear epoxy shower floor.
What Is Clear Epoxy?
Clear epoxy is a type of resin that has been mixed with hardening agents and usually pigments to create a strong, waterproof finish. It’s usually used in industrial settings, but it’s becoming more popular for residential use due to its easy maintenance and attractive appearance. It’s perfect for bathrooms because it repels water and resists staining better than other finishes like tile or grout. Plus, the clear version allows you to show off the natural beauty of your bathroom flooring beneath.
Benefits Of Clear Epoxy Shower Floors
Clear epoxy shower floors offer several advantages over other types of flooring. First, it’s incredibly durable and resistant to water damage and staining. This makes it perfect for wet environments like showers or bathrooms where moisture is often present. Additionally, clear epoxy can easily be maintained with just a damp cloth or sponge. Finally, clear epoxy is non-porous which means that bacteria and mold can’t penetrate the surface and cause staining or odors.
Preparation Before Installing Clear Epoxy Shower Floors
Preparation is key when installing any type of flooring in the bathroom, and clear epoxy is no exception. First, you’ll need to make sure that the surface is clean and dry before beginning installation. This includes removing any existing tile or grout from the area and then cleaning the surface with a mild detergent solution to remove any dirt or debris that may have accumulated over time. You should also check for any cracks or chips in the surface before beginning installation as these could potentially weaken the overall structure of the flooring once installed.
Once you’ve prepared the surface properly, you’ll need to purchase your supplies. The most important part of this process is purchasing a high-quality clear epoxy resin that will be able to stand up to moisture and provide a strong finish without yellowing or cracking over time. You’ll also need several tools such as an adhesive trowel, caulk gun, mixing bucket, mixing paddle, spatula, plastic spreader, paint roller, sandpaper and paintbrush for spreading and smoothing out the resin. Additionally, you’ll need some protective gear such as gloves and safety glasses to protect yourself from any accidental spills during installation.
How To Install Clear Epoxy Shower Floors
Now that you have all your supplies ready to go, it’s time to install your clear epoxy shower floor! Start by mixing your resin according to the manufacturer’s instructions until it reaches an even consistency with no lumps or air bubbles left in it (you may want to use an electric mixer if available). Once your resin is ready to go, apply it directly onto the surface using your trowel in an Even layer. Make sure to spread it out evenly and cover any cracks or chips that you may have noticed before beginning. Finally, use a paint roller to smooth out the surface and create an even finish before allowing it to cure completely.
What is the best way to apply clear epoxy to a shower floor?
The best way to apply clear epoxy to a shower floor is to first prepare the surface by cleaning it with a degreaser, such as trisodium phosphate (TSP), and then sanding it. Once the surface is clean and smooth, mix the two-part epoxy according to the manufacturer’s instructions and apply it using a paint roller with an extension handle. Allow the epoxy to cure for 24 hours before walking on it.
What tools are needed to apply clear epoxy to a shower floor?
-Safety glasses and gloves
-Respirator or dust mask
-Putty knife
-Drill with mixing attachment
-Epoxy mixing container
-Epoxy resin and hardener
-Mixing paddle
-Spreader tool or brush
-Rags
-Masking Tape
-Acetone
-Disposable plastic drop cloth
-Paint roller with an extension handle
What is the best way to prepare a shower floor for clear epoxy?
The best way to prepare a shower floor for clear epoxy is to thoroughly clean and dry the surface, then lightly sand any glossy areas with fine-grit sandpaper. Next, use a vacuum or broom to remove any dust particles, and then wipe down the surface with a damp cloth. Finally, make sure the area is completely dry before applying the epoxy.
What type of grout should be used to prepare a shower floor for clear epoxy?
A modified epoxy grout should be used to prepare a shower floor for clear epoxy. This type of grout is specifically designed to be used in wet areas, and is more durable and waterproof than traditional cement-based grouts.