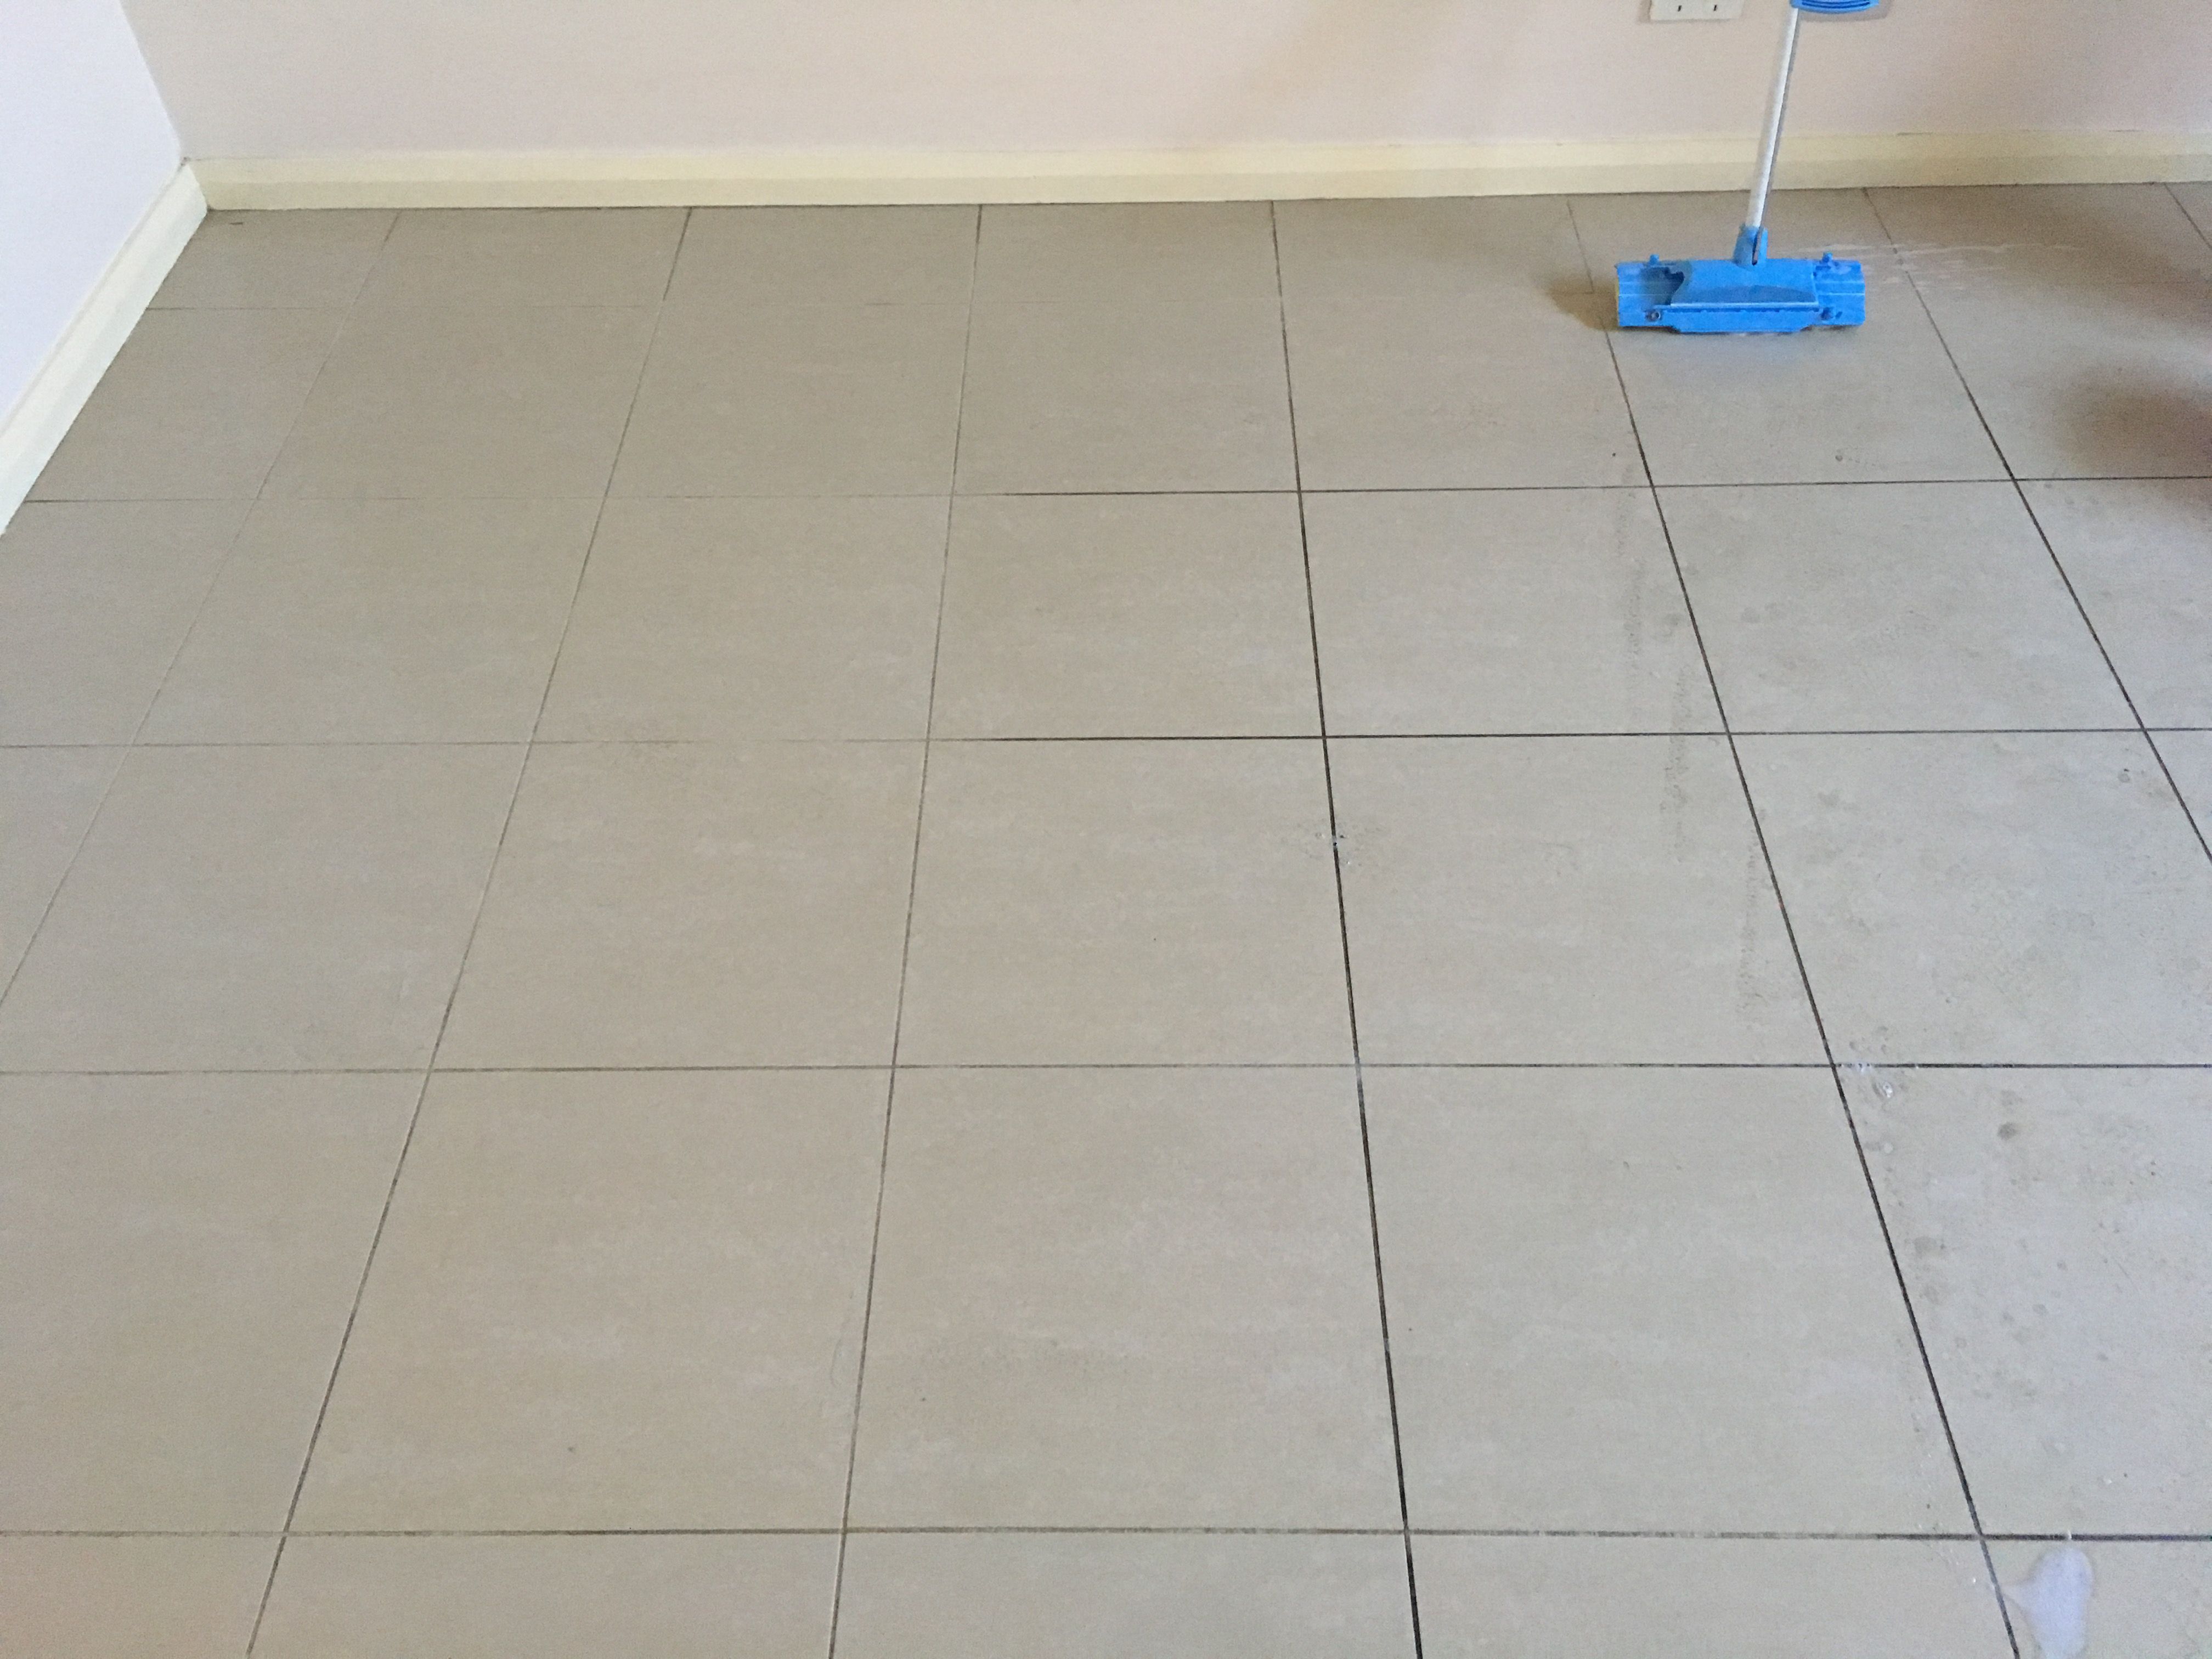
Cleaning Grout Between Tiles Kitchen Floor
Related Images about Cleaning Grout Between Tiles Kitchen Floor
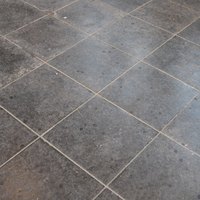
Cleaning And Maintenance Tips Regarding Tile Grout – Home
By making the proper decision these days you can guarantee that an excellent kitchen floor is going to keep its beauty and last a lifetime. Kitchen flooring can be utilized to accent the counters, appliances, and cabinetry. For countless people the kitchen flooring is the center of the home of theirs and as such plays an important part in the interior layout of the house.
Tile and Grout Cleaning JP Floor Care 818.263.9314

Wood kitchen flooring delivers several of the biggest number of options of any flooring content on the market today. There is kitchen laminate flooring which is a wonderful combination of attractive design of sturdy wood and affordable, low maintenance benefits of laminate. Special care, however, has to be done when keeping the state of laminate flooring since it is extremely sensitive to scratches and dirt.
How to Clean Tile Grout and Keep Your Home Healthy
These clay tiles are available in a choice of a glossy or matte finish, and tend to be out there in colors which are different. You'll find various grades of anti-skid available for commercial use along with a large selection of colors. Nearly all house owners find out linoleum simple to hold in an excellent condition since only a bit of amount of effort is needed to soak it spic as well as span.
7 Creative Ways to Clean Floor Tile Grout
Solved: Cleaning tile grout Bunnings Workshop community
How to Clean Colored Tile Grout
Cleaning White Tile Floors And Grout Floor Tiles

Tile/Grout Cleaning

Qualified Grout Cleaning Tips – Cleaning Tile Flooring In Your Kitchen

How Do Professionals Clean Tile & Grout? Cleaning Blog
.jpg)
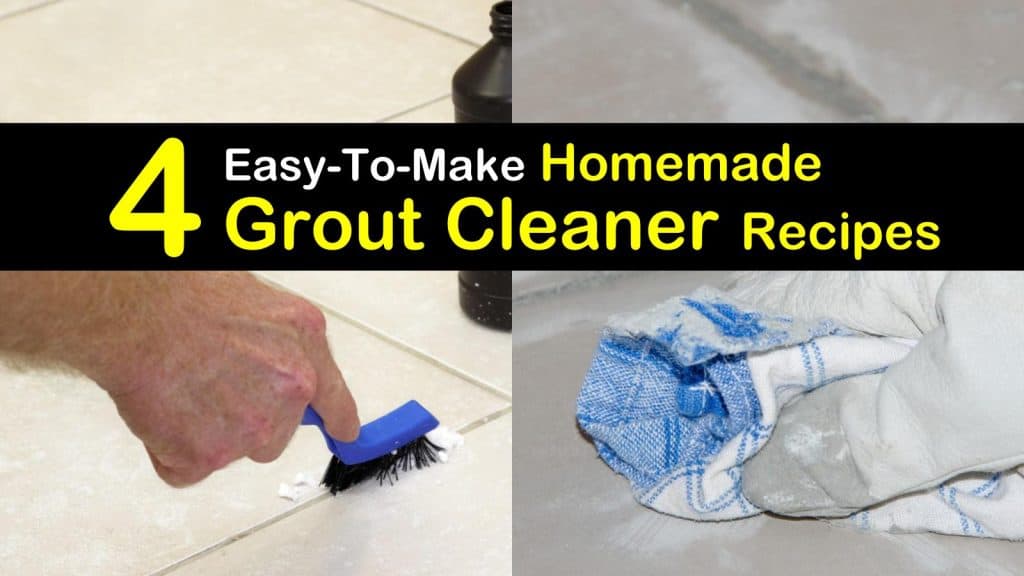
4 Easy to Make Homemade Grout Cleaner
CLEANING GROUT BETWEEN TILES. BETWEEN TILES – CLEAN LIVING COOKBOOK
Amazon.com: Grout Gator Cleaning Brush: Health & Personal Care

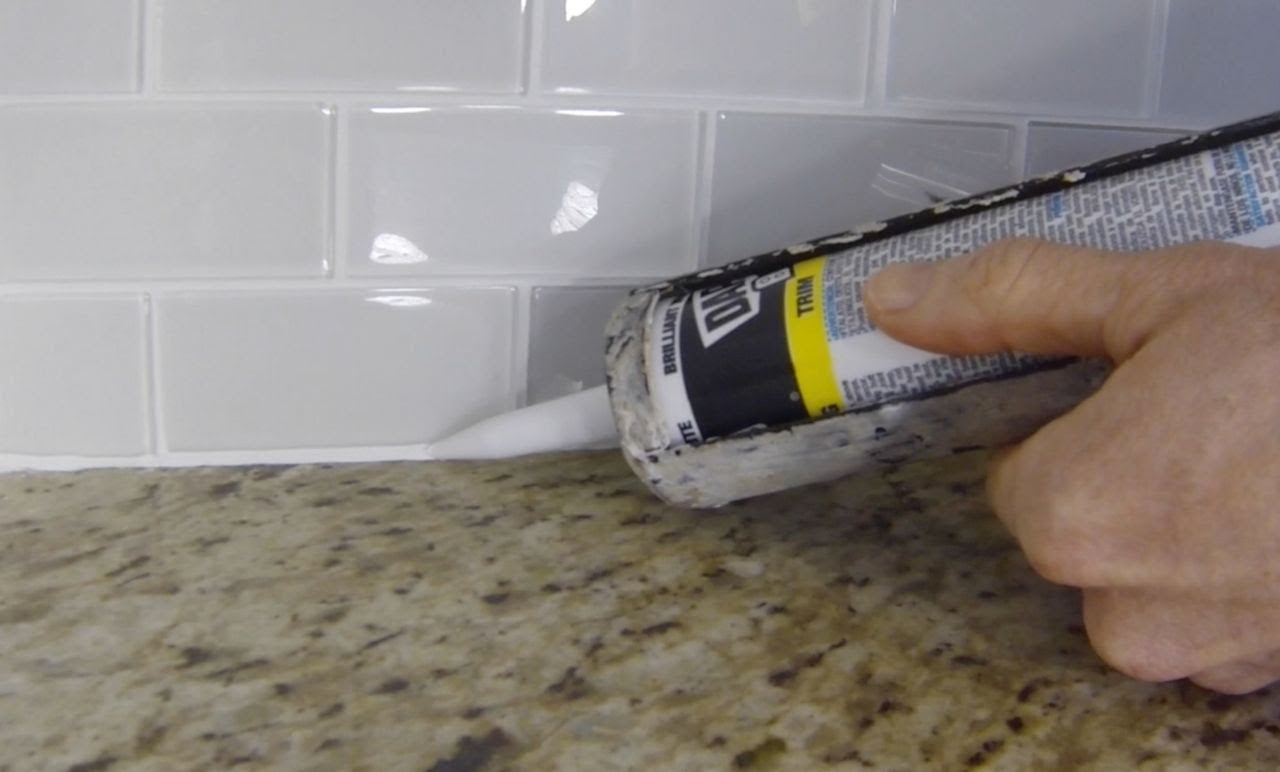
Tile Repairs, Regrout and Replacement in Sydney – Tile Regrouting
Related Posts:
- What Is The Most Desirable Kitchen Floor Plan
- How To Lay Out A Kitchen Floor Plan
- Best Hardwood Floor Finish For Kitchen
- Wickes Kitchen Floor Tiles
- Kitchen Floor Replacement Options
- 20 X 10 Kitchen Floor Plans
- Kitchen Floor Plans By Size
- Kitchen Floor Storage Cabinets
- Kitchen Cabinets Flooring And Countertops
- Bamboo Kitchen Flooring Ideas
Cleaning Grout Between Tiles: A Comprehensive Guide for Kitchen Floors
Introduction:
Keeping your kitchen floor clean and in pristine condition is essential for maintaining a healthy and inviting living space. One of the most challenging tasks in kitchen maintenance is cleaning the grout between tiles. Over time, grout can become discolored, stained, and even moldy, detracting from the overall aesthetic appeal of your kitchen. In this article, we will provide you with a detailed guide on how to effectively clean grout between tiles on your kitchen floor, ensuring that your kitchen remains spotless and hygienic.
I. Understanding Grout:
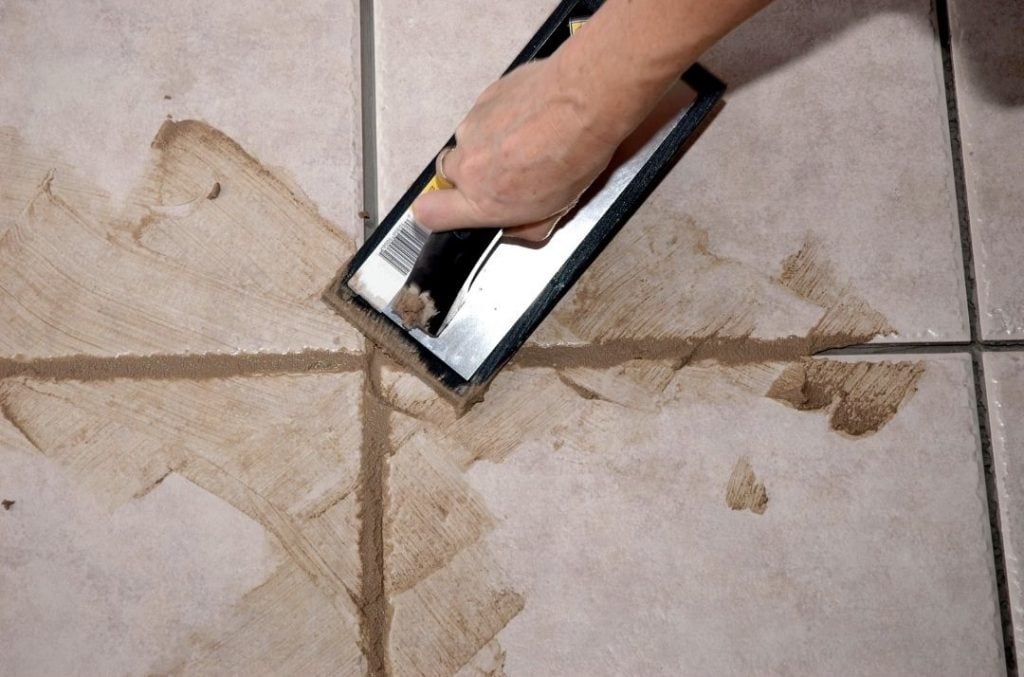
Grout is a mixture of cement, sand, and water that is used to fill the gaps between tiles. It is typically applied after the tiles have been laid down and allowed to cure. Grout not only fills in these gaps but also prevents moisture from seeping beneath the tiles, thus providing stability and durability to the flooring. However, due to its porous nature, grout can easily absorb dirt, spills, and grime over time. This accumulation can make the grout lines appear dull, discolored, and unsightly.
FAQs:
Q: Why does grout get dirty so easily?
A: Grout is porous, meaning it has small openings that allow liquids and dirt particles to penetrate its surface. As a result, it absorbs spills, stains, and dirt more readily than the tiles themselves.
Q: Can I prevent grout from getting dirty?
A: While it may not be possible to completely prevent grout from getting dirty over time, taking preventive measures such as sealing the grout can help reduce its susceptibility to stains and discoloration.
II. Tools and Materials Required:
Before you embark on your grout cleaning journey, it’s important to gather all the necessary tools and materials to ensure an efficient process. Here are some items you will need:
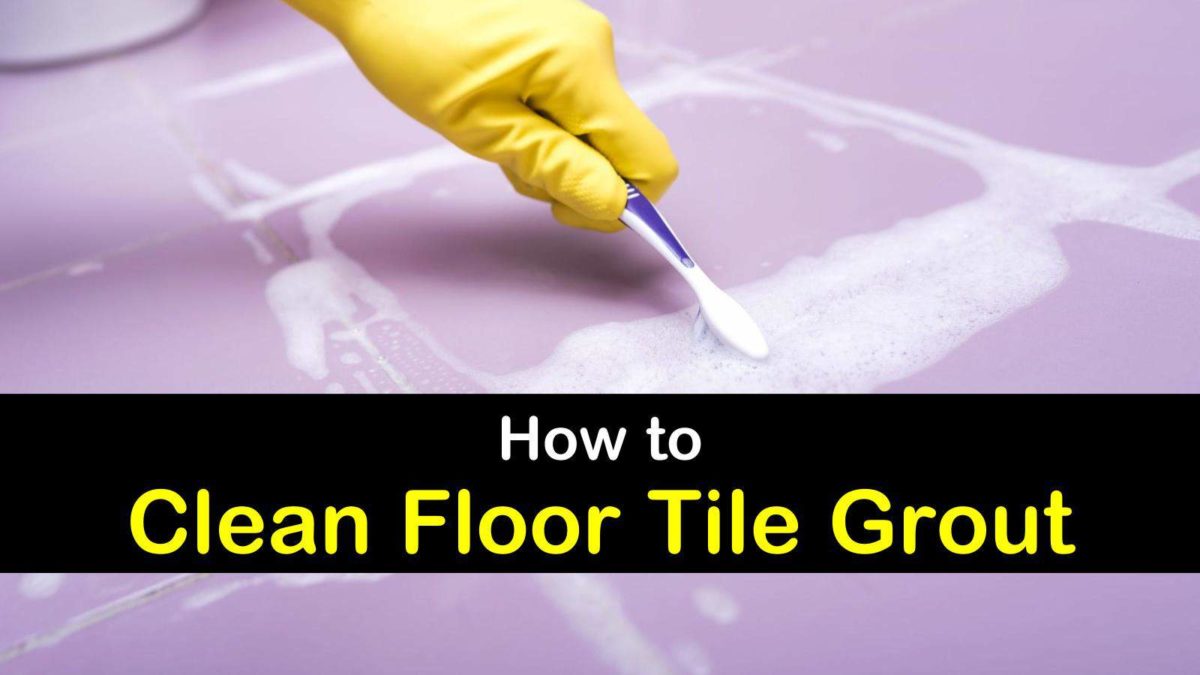
1. Stiff-bristled brush: A stiff-bristled brush will help you scrub away dirt and grime from the grout lines effectively. Opt for a brush with nylon bristles to avoid scratching the tiles.
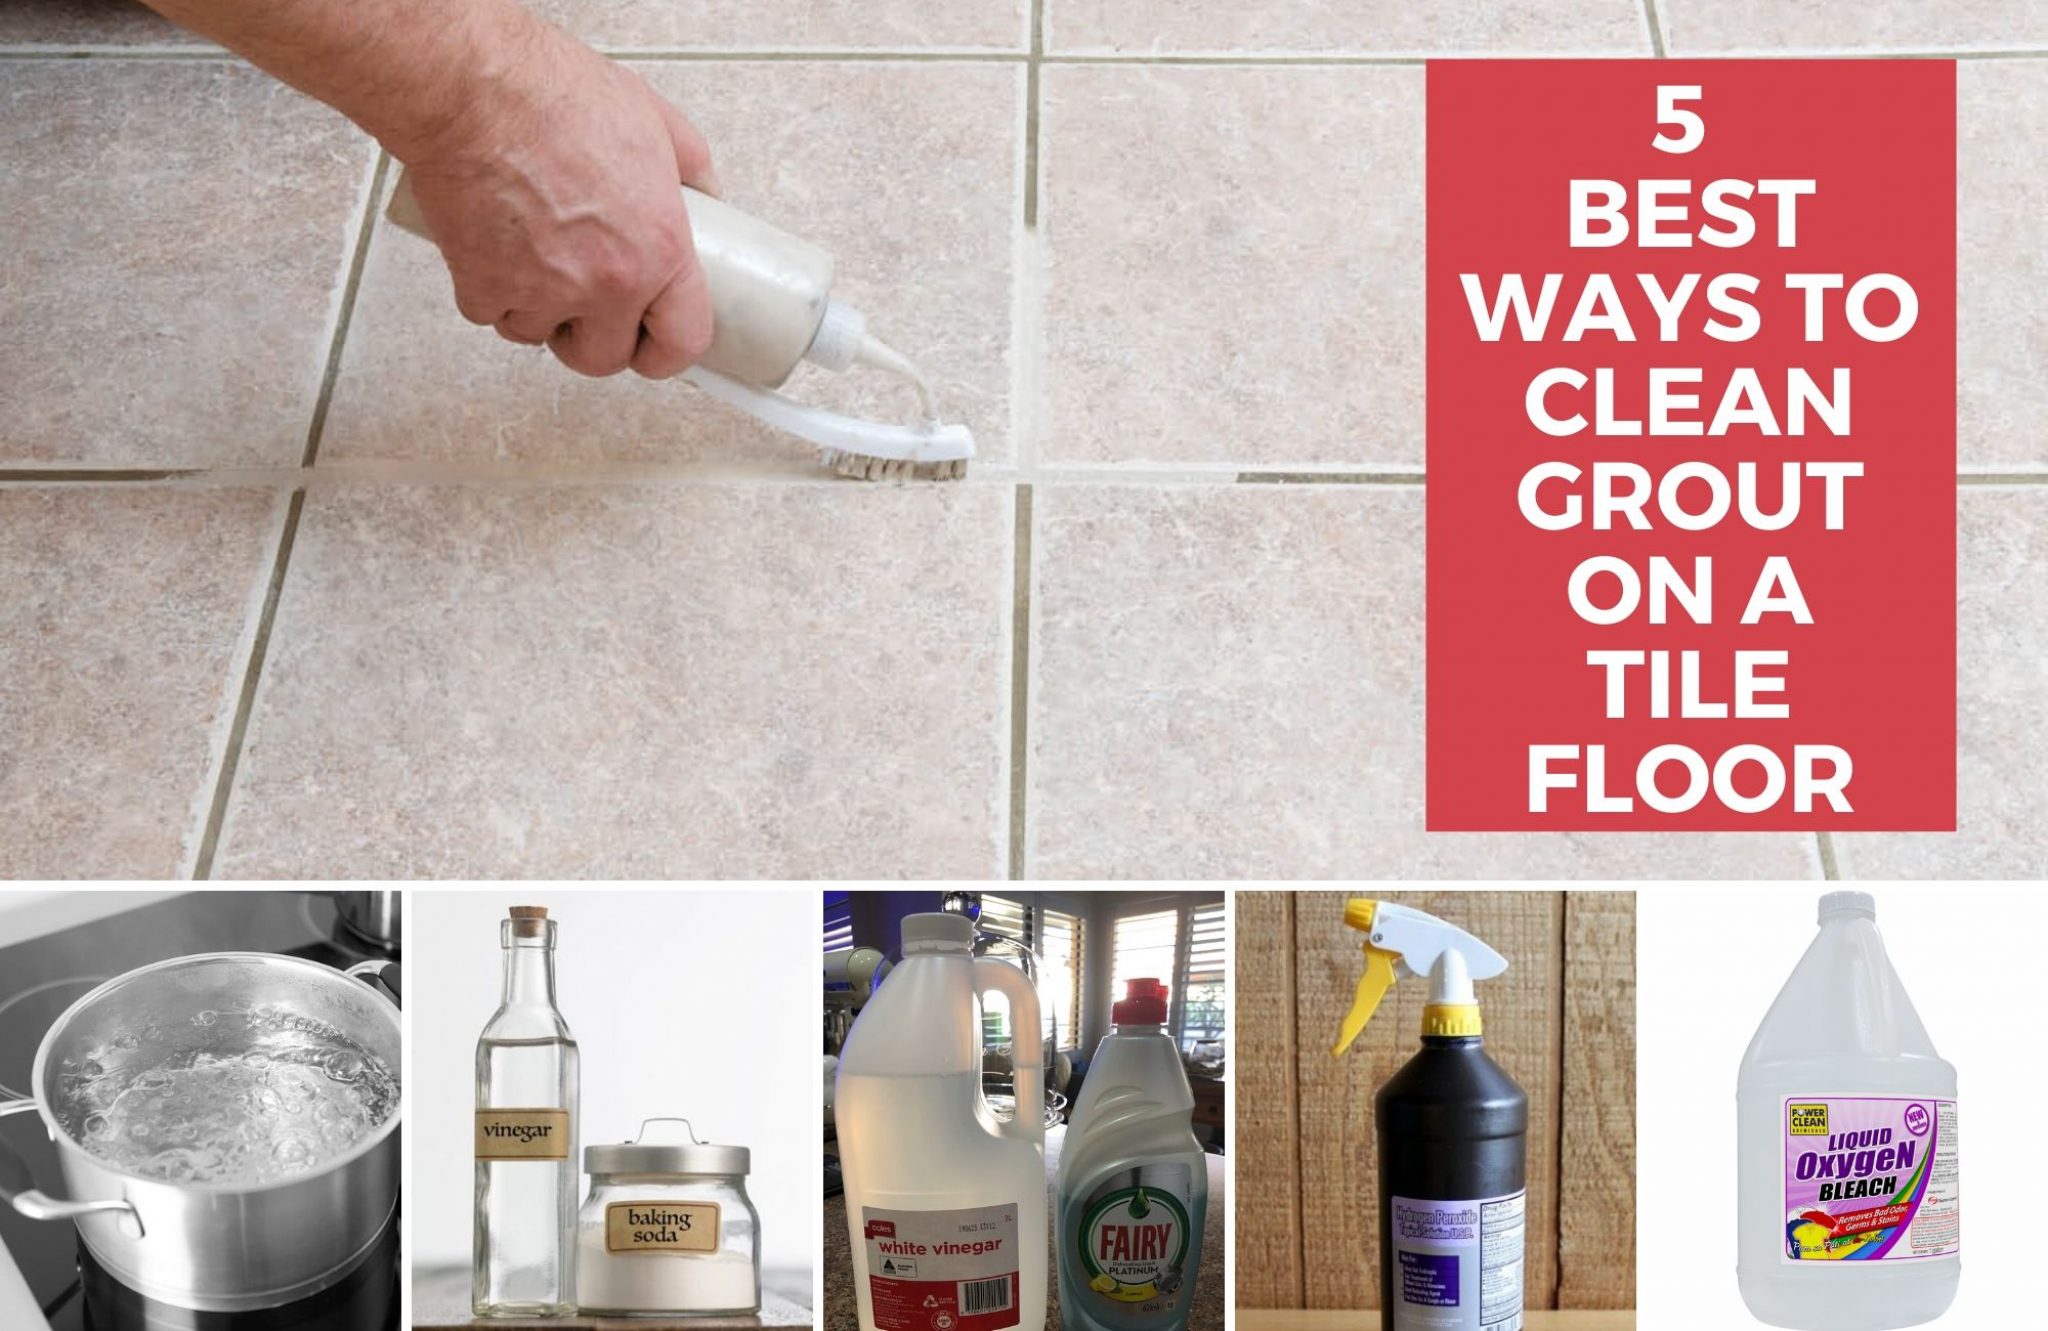
2. Grout cleaner: There are various grout cleaners available in the market, ranging from chemical-based options to natural alternatives. Choose one that suits your preferences and needs. Alternatively, you can create a DIY grout cleaner using vinegar and baking soda.
3. Protective gear: Since some grout cleaners may contain harsh chemicals, it is advisable to wear protective gear such as gloves and goggles to prevent any skin or eye irritation.
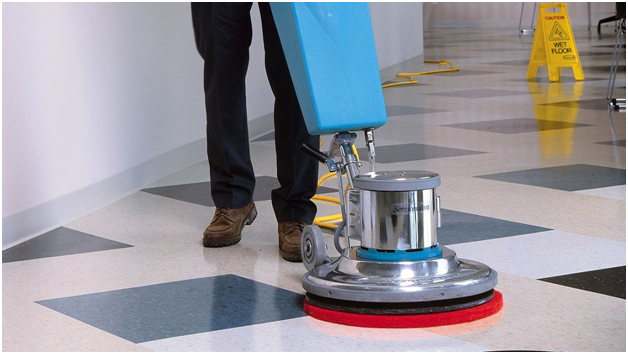
4. Steam cleaner (optional): A steam cleaner can be particularly useful for tackling stubborn stains and deeply embedded dirt in the grout lines. It uses heat and pressure to loosen and remove dirt without the need for harsh chemicals.
FAQs:
Q: Can I use a toothbrush instead of a stiff-bristled brush?
A: While a toothbrush can be used for smaller areas or precise cleaning, it may not provide enough scrubbing power for larger sections of grout. It is recommended to use a stiff-bristled brush for more efficient results.
Q: Are chemical-based grout cleaners safe?
A: Most commercially available grout cleaners are safe when used according to the instructions provided. However, it is always advisable to read the labels carefully and take necessary precautions such as adequate ventilation and wearing protective gear.
III. Preparing the Grout:
Before diving into the cleaning process, it’s important to prepare The grout by removing any surface dirt or debris. Here’s how you can do it:
1. Sweep or vacuum the area: Start by removing any loose dirt, dust, or debris from the grout lines using a broom or a vacuum cleaner.
2. Create a pre-cleaning solution: Mix a small amount of mild detergent or grout cleaner with warm water in a bucket. Avoid using harsh chemicals or bleach as they can damage the grout and surrounding tiles.
3. Apply the solution: Dip a stiff-bristled brush into the cleaning solution and scrub it onto the grout lines. Make sure to work in small sections at a time for better control and efficiency.
4. Let it sit: Allow the cleaning solution to sit on the grout for a few minutes to loosen any embedded dirt or stains.
5. Scrub the grout: Using the stiff-bristled brush, scrub the grout lines vigorously in a back-and-forth motion. Apply more pressure on stubborn stains or heavily soiled areas.
6. Rinse with clean water: Once you have thoroughly scrubbed the grout, rinse the area with clean water to remove any residue or cleaning solution.
FAQs:
Q: Can I use bleach to clean grout?
A: While bleach can be effective in removing stains and disinfecting surfaces, it is not recommended for cleaning grout. Bleach can weaken and erode the grout over time, leading to potential damage and discoloration.
Q: How often should I clean my grout?
A: The frequency of grout cleaning depends on various factors such as foot traffic, spills, and personal preference. Generally, it is recommended to clean the grout at least once or twice a year to maintain its appearance and prevent buildup.
IV. Deep Cleaning with a Steam Cleaner (Optional):
If you’re dealing with stubborn stains or deeply embedded dirt in the grout lines, using a steam cleaner can provide a more thorough cleaning. Here’s how:
1. Read the steam cleaner instructions: Familiarize yourself with the specific instructions and safety precautions provided by the steam cleaner manufacturer.
2. Prepare the steam cleaner: Fill the steam cleaner’s water tank with clean water according to the manufacturer’s guidelines. Allow the machine to heat up until it produces steam.
3. Steam clean the grout: Hold the steam cleaner nozzle close to the grout lines and move it slowly along the surface. The heat and pressure from the steam will help loosen and remove dirt and stains from the grout.
4. Wipe away excess moisture: Use a clean cloth or mop to wipe away any excess moisture left behind by the steam cleaner.
5. Repeat if necessary: For heavily soiled areas or persistent stains, you may need to repeat the steam cleaning process multiple times until satisfactory results are achieved.
FAQs:
Q: Is a steam cleaner safe for all types of tiles?
A: Steam cleaners are generally safe for most types of tiles, but it’s always recommended to check the manufacturer’s guidelines or consult a professional if you’re unsure about using a steam cleaner on a specific type of tile.
Q: Can I use a steam cleaner on unsealed grout?
A: It is not recommended to use a steam cleaner on unsealed grout as the high heat and moisture can penetrate the grout, potentially causing damage. Make sure your grout is properly sealed before using a steam cleaner.
V. Sealing the Grout:
To protect your freshly cleaned grout and prevent future stains and discoloration, it is recommended to seal the grout. Here’s how you can do it:
1. Choose a grout sealer: There are various types of grout sealers available, including penetrating sealers and surface sealers. Select a sealer that is compatible with your grout type.
2. Clean and dry the grout: Before applying the sealer, make sure the grout lines are clean and completely dry. Any dirt or moisture left on the surface may interfere with the sealing process.
3. Apply the sealer: Follow the manufacturer’s instructions to apply the grout sealer evenly onto the grout lines. Use a small brush or roller for more precise application.
4. Wipe off excess sealer: After applying the sealer, gently wipe off any excess sealer from the tiles using a clean cloth or sponge. This will prevent any residue or haze from forming on the tile surface.
5. Allow it to cure: Let the sealer dry and cure according to the manufacturer’s instructions. This usually takes several hours or even days, depending on the type of sealer used.
FAQs:
Q: How often should I seal my grout?
A: The frequency of grout sealing depends on various factors such as foot traffic and exposure to moisture. As a general guideline, it is recommended to reseal the grout every 1-3 years, or as per the sealer manufacturer’s instructions.
Q: Can I apply multiple coats of grout sealer?
A: Some grout sealers may require multiple coats for maximum protection. Refer to the manufacturer’s instructions to determine if multiple coats are necessary and how long you should wait between applications.
VI. Maintenance Tips:
To keep your grout looking clean and fresh after the deep cleaning process, here are some maintenance tips you can follow:
1