Ceramic Tile Floor Installation Instructions

Related Images about Ceramic Tile Floor Installation Instructions
How to Install Ceramic Floor Tile eHow
Remember which the moment that is spent eliminating the old flooring, putting in the subflooring, laying out the floor tiles, thin setting the flooring, grouting the tiles, and washing up the flooring is actually a 7 day affair. They're sexy – in case you pick the proper type of flooring – and also may be found in colors and themes to suit the house of yours.
Installing Ceramic Tiles On A Floor Stock Photo – Image: 12752670

Nowadays, you are going to find all types of flooring of all colors types and many have gorgeous borders offered to match. Intuition might explain to you they are much stronger than ceramic, but in fact they're more brittle and prone to cracking. To make these mosaic tiles, small pieces of clay, glass, shell, or other substances had been placed into special, colorful patterns. You can also check out on-line about marble floors tiles.
Professional Tile Floor Installation Metro Flooring & Design Moore, OK
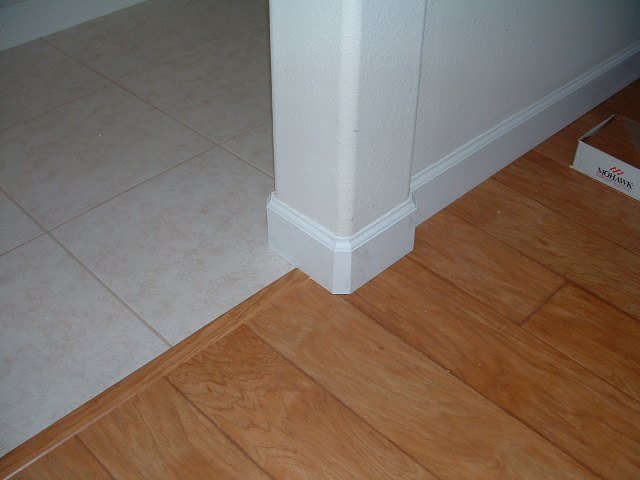
Additionally, the durability of these tiles implies an excellent investment which will hold great for no less than twenty years. When it's some time to vacuum, it is truly hard to get rid of dust and sand stuck in your carpeting. Tile next to wood can be quite a distinctive appearance, as outstanding hardwood in a single room is married to stylish ceramic in the next. Mix the grout based on the directions by the manufacturer.
How To Install Floor Tiles – Cut & Using Ceramic Tiles – YouTube

Ceramic Tile and laminate flooring installation starting at $5.50 per square foot! (This is for

LONDON METRO GLOSS CREAM BEVELLED BRICK BATHROOM KITCHEN WALL TILES 10 X 20CM eBay in 2020

How to install ceramic tiles on a floor – YouTube

Floor Tile: Installing Ceramic Floor Tile

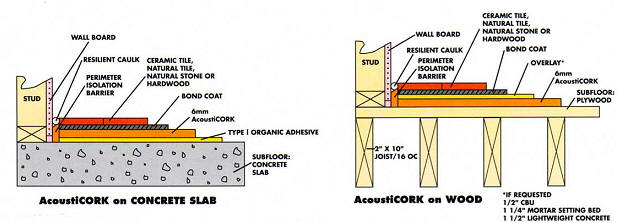
Acousticork R60 cork underlayment rolls and S130 cork underlay planks, meets building code and
Mohawk laminate flooring review, Hemisphere Collection
What is the best way to level a floor before you can begin any tile work? – Quora
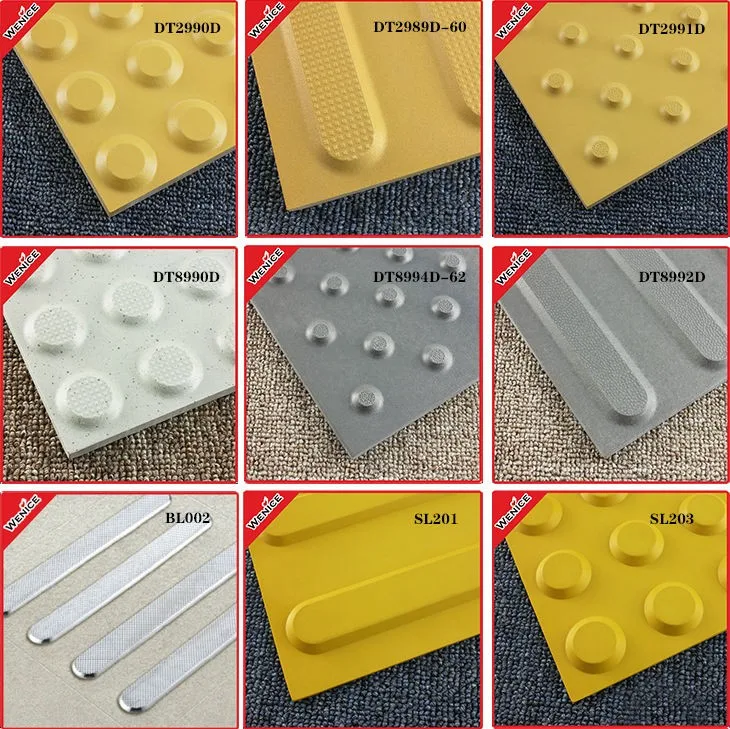
Unglazed Yellow Porcelain Tactile Tiles Warning Track Tile Flooring For Blind Guidance 300×300
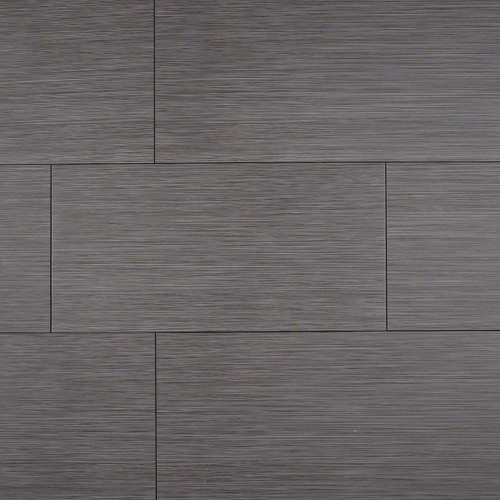
Focus Graphite Matte Porcelain 12×24 – Tiles Direct Store
Shower mixing valve cutout – Ceramic Tile Advice Forums – John Bridge Ceramic Tile
Related Posts:
- Commercial Porcelain Tile Flooring
- Ideas Covering Tile Floors
- Steam Mop For Hardwood And Tile Floors
- Shaw Vinyl Tile Flooring
- Herringbone Wood Look Tile Floor
- Chair Casters For Tile Floors
- Bona Mops For Tile Floors
- How Clean Porcelain Tile Floor
- How To Install Natural Stone Tile Flooring
- How Much To Install Tile Floor Per Square Foot
Ceramic Tile Floor Installation Instructions
Installing a ceramic tile floor is a great way to update any room of your home. Ceramic tile is a durable and attractive material that can last for years with proper care and maintenance. If you’re looking to add an eye-catching design element to your home, a ceramic tile floor is a great option. In this article, we’ll provide detailed instructions on how to install a ceramic tile floor, from planning to completion.
Planning Your Ceramic Tile Floor
The first step in installing a ceramic tile floor is planning the layout of the tiles. Measure the space that you want to tile and decide on the size, shape, and pattern of the tiles. Choose tiles that will fit the area and make sure you leave enough room for grout lines between the tiles. Once you’ve chosen the tiles, it’s time to purchase them and any other supplies you need for installation. Be sure to purchase extra tiles in case of breakage or other issues during installation.
Preparing the Subfloor
Once you have all of your supplies, it’s time to prepare the subfloor. The subfloor should be clean, dry, and level before you start installing tiles. If there are any cracks or uneven spots, use a self-leveling compound to fill them in before laying down your tiles. Make sure the surface is smooth and even before starting installation.
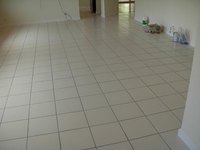
Laying Out Tiles
Before actually installing the tiles, it’s important to lay them out first so that you can make sure they look right when installed. Start by finding the center point of the room and then work outward from there, laying out each row of tiles until the entire area is covered. You can use spacers to ensure that each row is even with the next one. Once you have your layout complete, it’s time to start tiling!
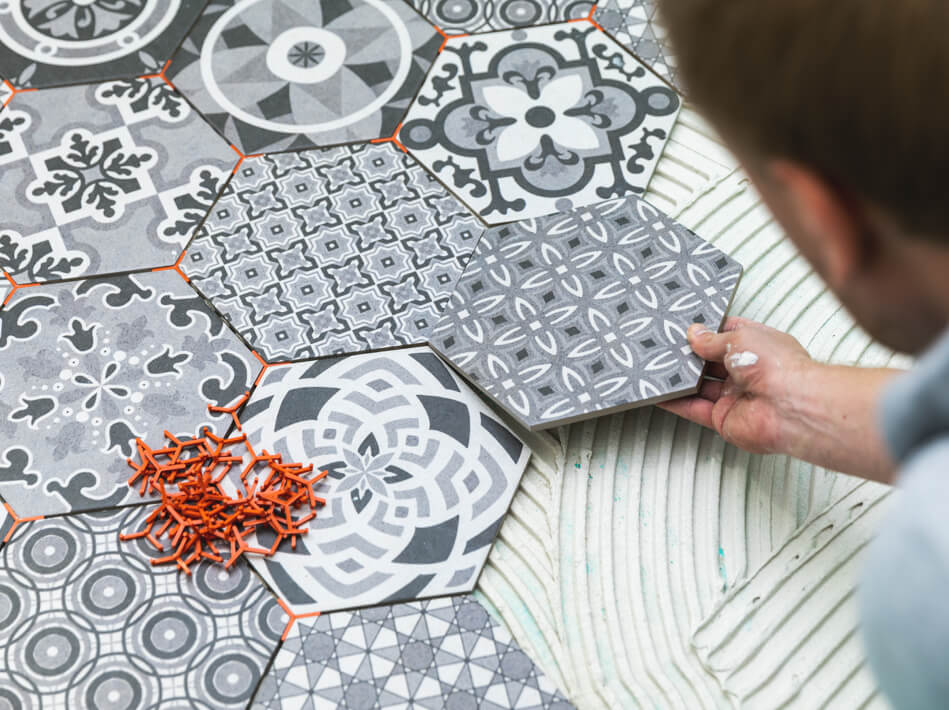
Installing Tiles
To install ceramic tiles on your subfloor, start by applying a layer of thinset mortar over an area about four feet square with a trowel. Then press each tile into place firmly with a twisting motion so that it adheres properly to the mortar. Be sure to use spacers between each tile as you go along to make sure they stay even and aligned properly during installation. Make sure that all edges are lined up properly before moving onto the next tile so that everything looks uniform when finished. Continue until all of your tiles are installed!
Grouting
Once all of your tiles are installed, you’ll need to grout them in order to ensure they stay in place properly. Start by mixing up some grout according to package instructions and then spread it over your newly tiled floor with a rubber grout float held at a 45 degree angle. Be sure not to leave any gaps between the tiles as you go along and wipe off any excess grout with a damp sponge after applying it everywhere else. Let this dry for 24 hours before walking on it or applying sealer or polish if desired.
FAQs
Q: What kind of mortar should I use for ceramic tile floor installation?
A: It Is best to use a thinset mortar for ceramic tile installation. Thinset mortar is designed specifically for ceramic tile and provides the best adhesion for tiles. Be sure to follow the instructions on the package carefully when mixing and applying the thinset mortar.
Q: How should I clean my newly tiled floor?
A: It is best to use a mild, non-abrasive cleaner to clean your newly tiled floor. Avoid using harsh chemicals, abrasives, or scrubbing pads as these can damage the tile and grout. Stick with a mild, pH neutral cleaner and mop gently with a damp mop.