Ceramic Tile Bathroom Floor Do It Yourself

Related Images about Ceramic Tile Bathroom Floor Do It Yourself
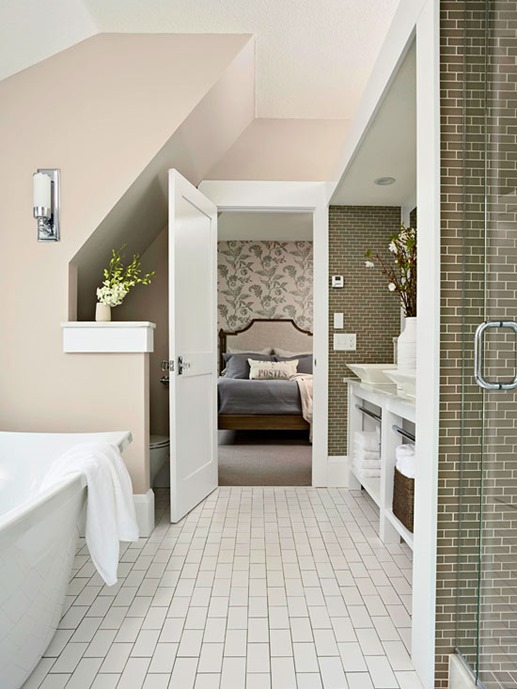
Best Ceramic Tiles for Bathroom Flooring Ideas #ceramictile #tilebathroom White bathroom

Mosaic tiles add texture and color to the floor and stop slipping. Just before you will head to your local home improvement center, understand our choice to choose the best one for the home of yours and your life. When you're using bathroom vinyl, do not forget to experiment by blending as well as matching. One of the most pragmatic bath room floor tiles ideas involves using concrete tiles.
Floor Tile Design Pictures
:max_bytes(150000):strip_icc()/BathroomFlooring-568562573df78ccc15e2b6c0.jpg)
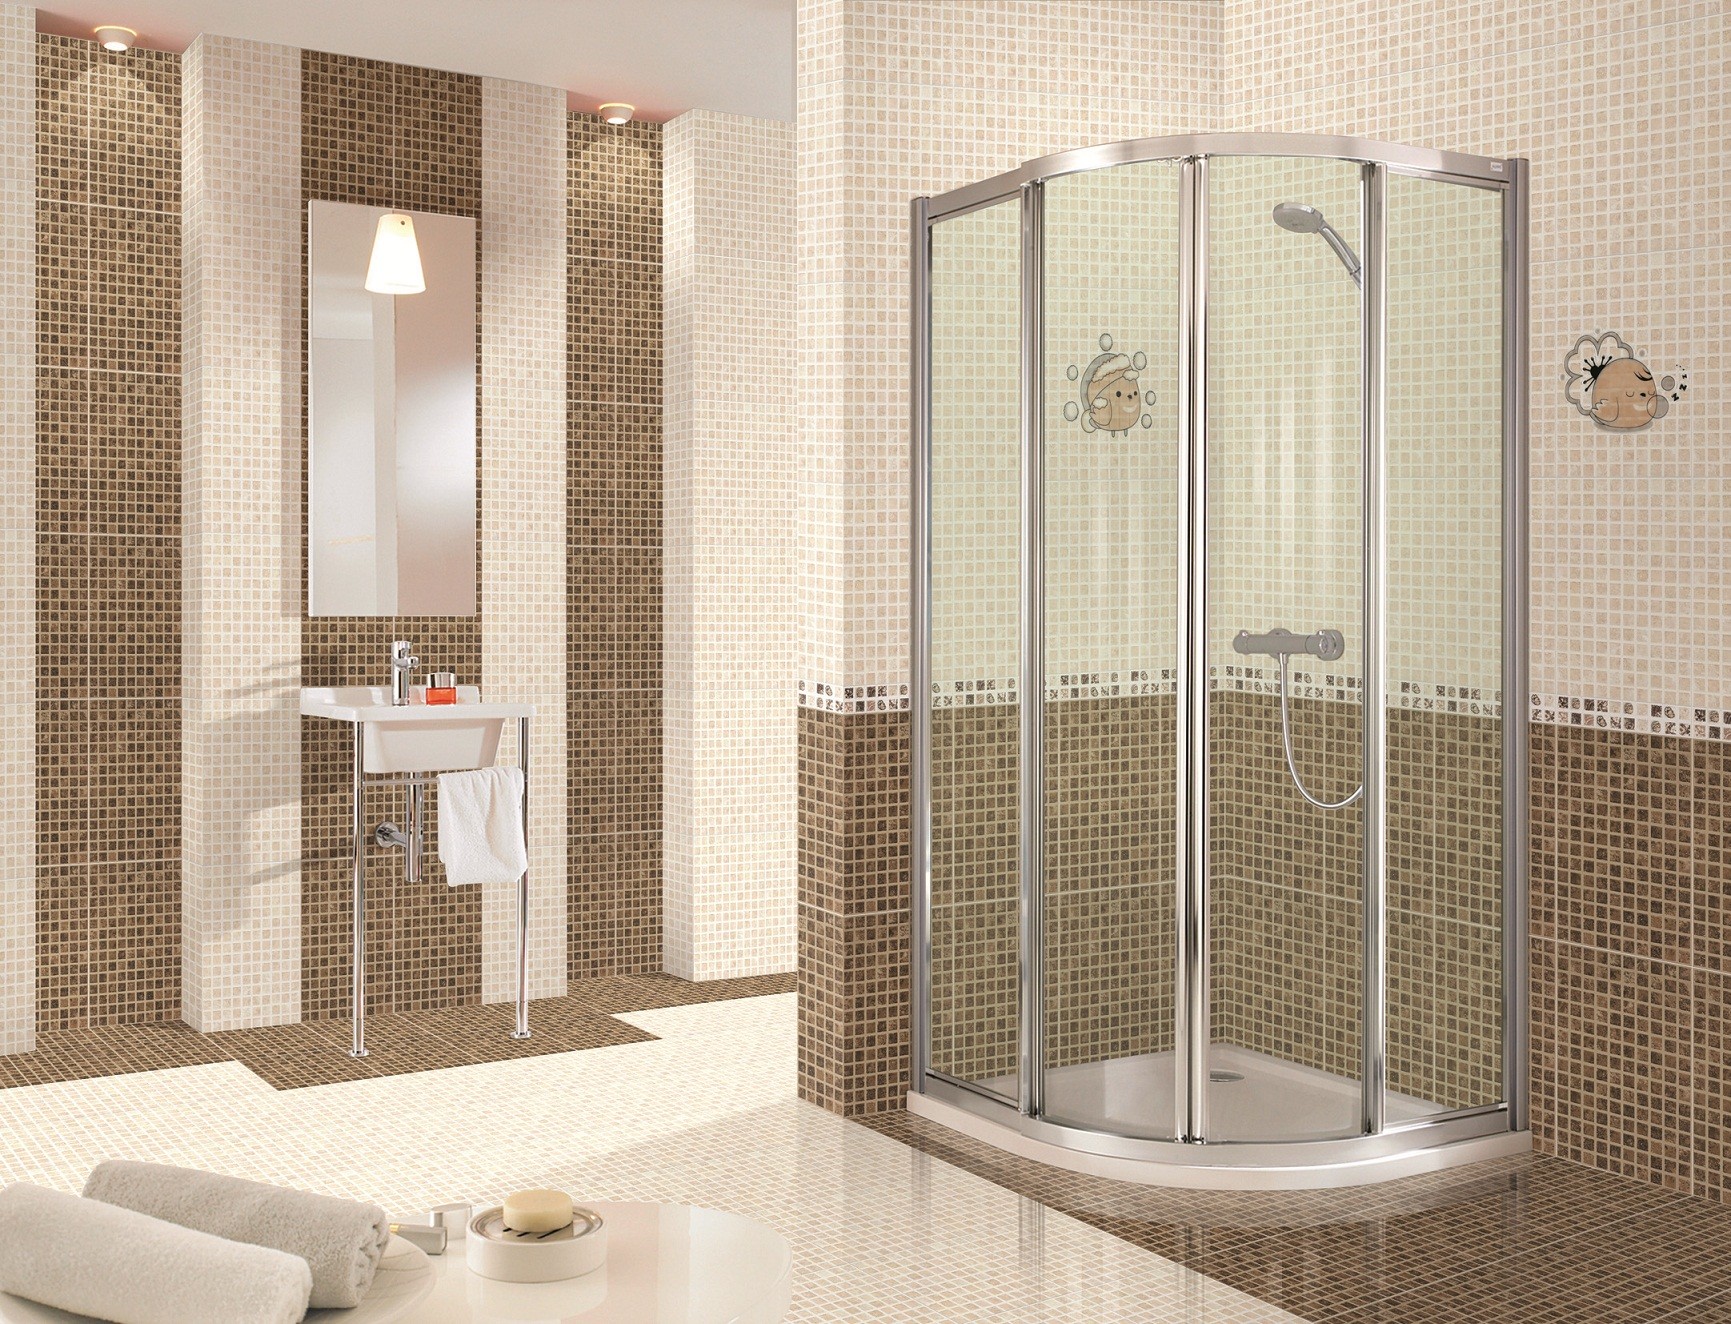
colors that are Bright as peach and grey colored are fun, they make the bathroom experience cozier and they go well with an even more country looking bathroom decor. You'll find lots of designs & colors to check out on the market. Ceramic tiles are maybe the most popular sort of flooring alternative for your bathroom's floor design.
Google Image Result for http://www.ceramic-tile-floor.info/galleries/room-galleries/bathrooms

The majority of the time, bath room flooring isn't the component which gets much attention from homeowners as well as decorators. Never to mention, new flooring for your bathroom can take a large chunk of the remodeling spending budget. Use your originality and creativity to customize the bathroom of yours to fit your style and the house of yours.
Five Ways to Update a Bathroom Centsational Girl
Instructions Install Bathroom Floor With Ceramic Tiles Properly – YouTube

How to Install Sheet Vinyl Flooring Over Tile – Bless’er House in 2020 Vinyl flooring bathroom

Related image Tile remodel, Bathroom floor tiles, Bathrooms remodel

Why Choose Ceramic Tile for Your Floor Mr. Floor Companies Chicago IL

24 ideas to answer is ceramic tile good for bathroom floors
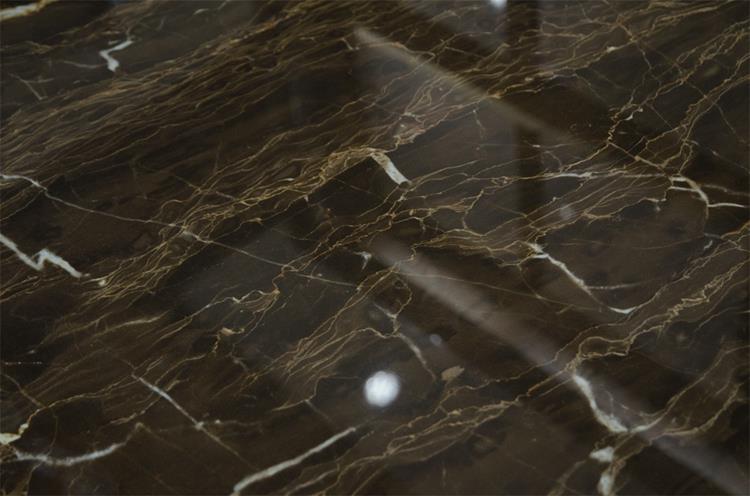
Brown Polished Ceramic Floor Tiles,Size: 600 x 600mm,Model: HYH6221GN Hanse Tiles Products
Time lapse ceramic tile installed in a bathroom – YouTube

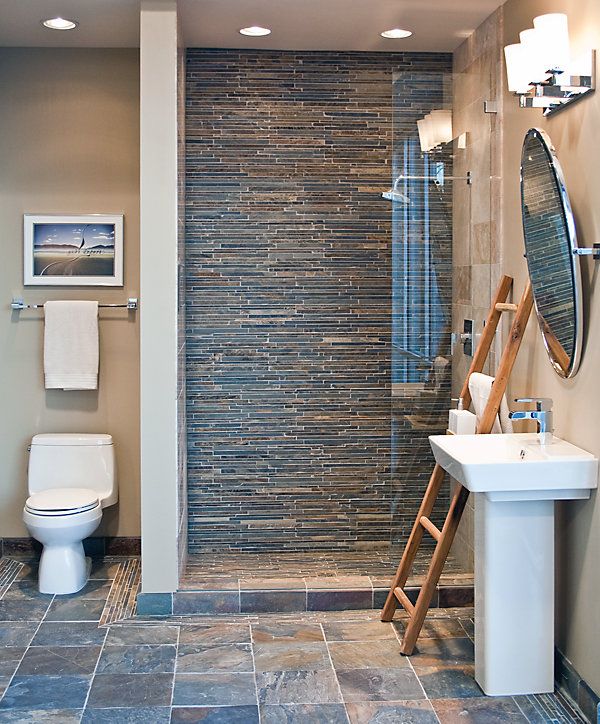
40 blue shower tile ideas and pictures
Get Bathroom Floor Tile Texture Background

30 Pictures of mosaic tile patterns for bathroom floor

Related Posts:
- Bathroom Floor Tiles Price
- Cement Tile For Bathroom Floor
- Bathroom Floor Sky Painting
- Caught Me On The Bathroom Floor
- Heated Tile Floor Cost Per Square Foot
- Dirty Bathroom Floor
- Replace Bathroom Floor And Subfloor
- How To Make Bathroom Floor Waterproof
- Easy Bathroom Flooring Options
- Cheap Bathroom Floor Cabinets
Ceramic Tile Bathroom Floor Do It Yourself – A Comprehensive Guide
Adding a beautiful ceramic tile floor to your bathroom is a great way to bring style and elegance into the room. While it can be quite a daunting task for the DIY enthusiast, with the right tools and some patience, it’s possible to get great results without having to call in the professionals. In this article, we’ll take a look at how to tile a bathroom floor from start to finish, including all the materials you’ll need, the key steps involved, and some key tips that can help make the job easier.
Materials Needed for Ceramic Tile Bathroom Floor Installation
Before you get started, you’ll need to make sure you have all the right materials for the job. The most important things you’ll need are:
– Ceramic tiles – obviously! Make sure you choose tiles that will match the style of your bathroom.
– Trowel – this is used for spreading adhesive onto the floor.
– Grout – choose a grout color that will match or complement your tiles.
– Spacers – these help ensure that tiles are spaced evenly in relation to each other.
– Leveling tool – this helps make sure that your tiles are laid level on the floor.
– Adhesive – suitable adhesive should be used depending on whether your tiles are going onto wooden or concrete floors.
– Sealant – this is used after grouting to protect against water damage.
– Tile cutter – this is used for cutting tiles accurately where needed (e.g. around corners).
– Safety goggles and gloves – important for protecting your eyes and hands during installation work.
Preparation Steps Before Installing Ceramic Tiles on Bathroom Floor
Before starting any tiling work, it’s important to prepare properly by following these steps:
– Clear out any existing fixtures and fittings from the bathroom so that you have enough space for working safely and effectively.
– Ensure that any existing flooring is completely level and free of any dirt or debris using an appropriate cleaner or sandpaper if necessary.
– Mark out any areas where tiles might need to be cut (e.g. around corners) using a pencil or chalk line so that you know exactly where cuts need to be made later on in the process.
– Lay down adhesive over the surface of your bathroom floor using a trowel according to manufacturer instructions, making sure it’s spread evenly across the entire area and all corners are covered adequately. You may need two coats of adhesive depending on what type of adhesive you are using.
– Carefully place your first tile in one corner of your bathroom making sure it’s level using a spirit level or similar tool before pressing it down firmly into position on the adhesive layer below. If necessary, use spacers between each tile to ensure they’re spaced evenly apart from each other throughout your entire floor area before moving onto laying down further rows of tiles until complete coverage is achieved (make sure you cut any tiles as required).
– Allow sufficient time for adhesive and grout to fully set before continuing with further steps in this guide (this usually takes at least 24 Hours).
– Once adhesive and grout have set, you can apply sealant to your tiles using a brush or roller to protect against water damage. This should also be left to dry completely before you can use the bathroom again.