Caulking Kitchen Floor

Related Images about Caulking Kitchen Floor
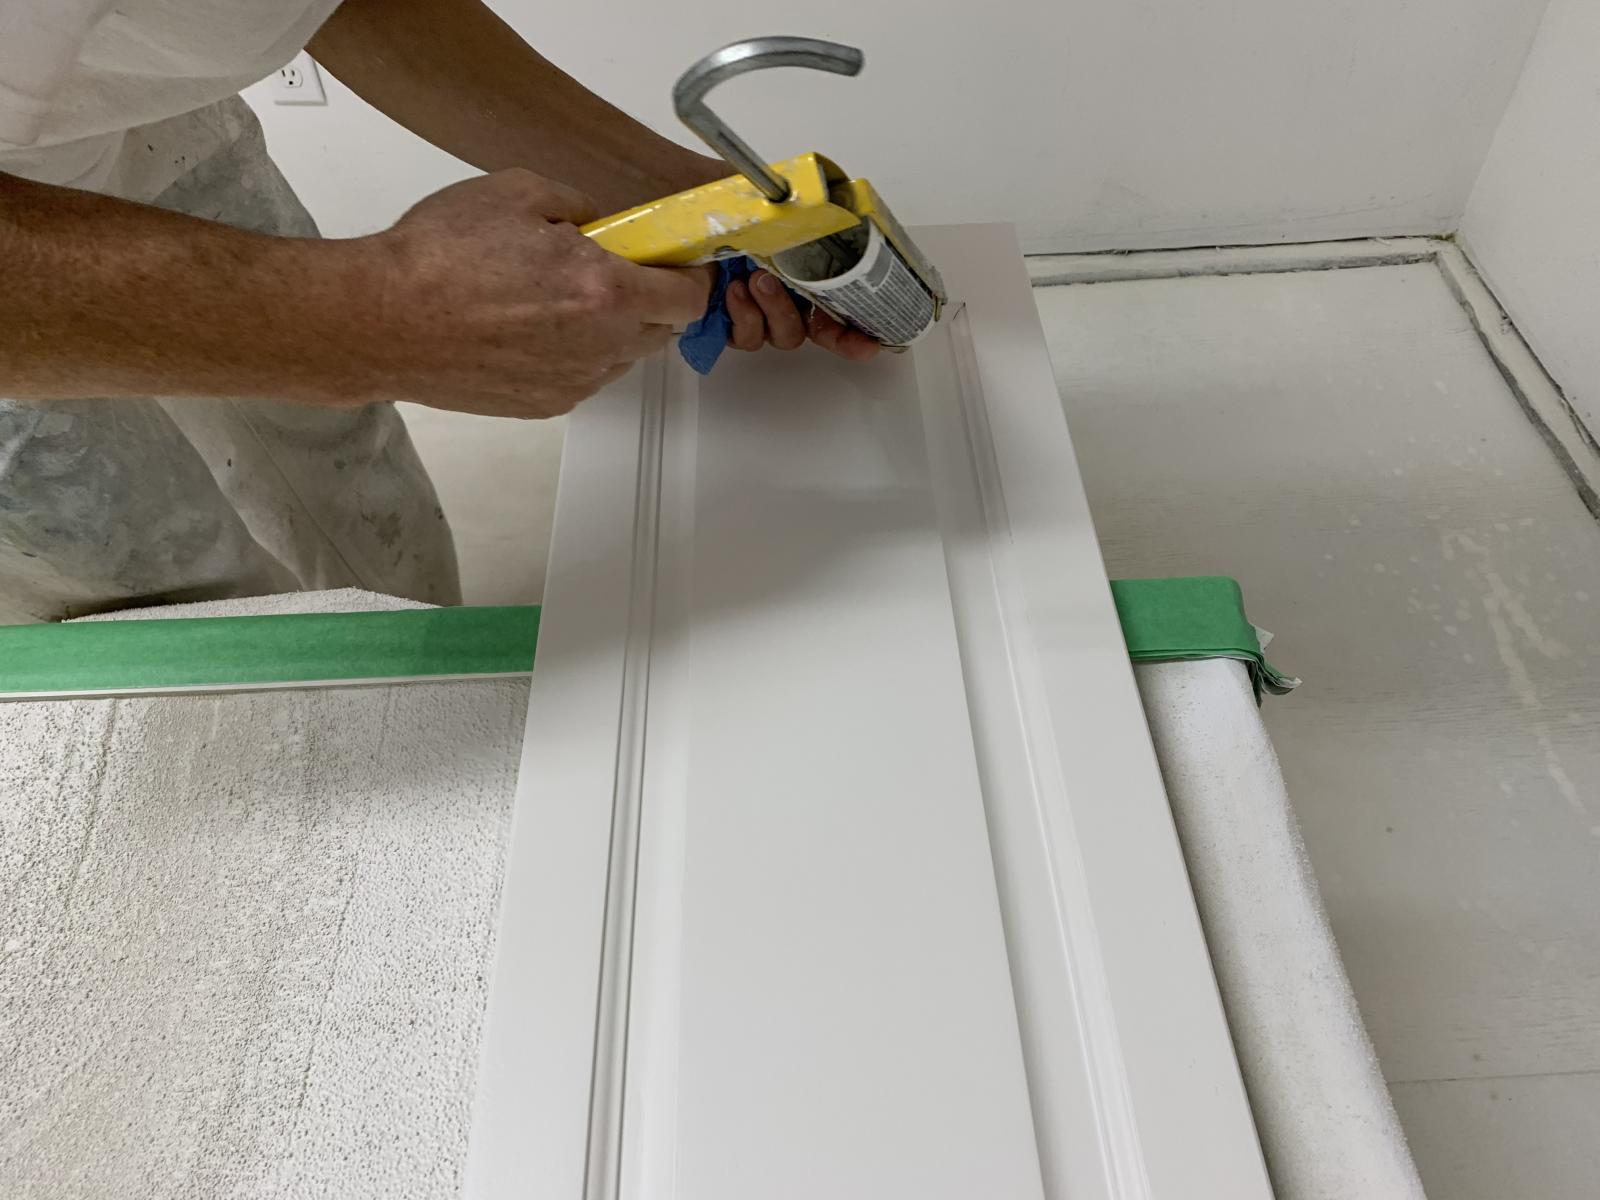
Caulking kitchen cabinets PAINTING Guys
Ceramic flooring is commonly used in homes and kitchens. These places need flooring that's tough, easy to clean, and goes by the test of your time. However when you are taking up a kitchen remodeling project, you very quickly learn the amount of care and thought has going into making decisions regarding this crucial aspect of the cooking room of yours.
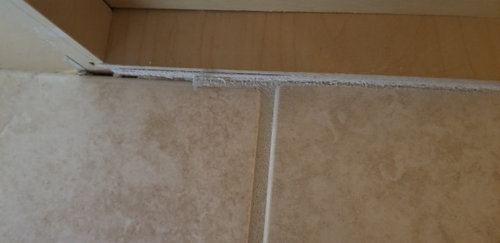
Best Caulking Techniques For Re-Caulking A Tile Countertop

Cork kitchen flooring is simple to set up and provide a shock absorbing feel particularly when you're standing in the home for hours which are long. Being forewarned is as well as being forearmed. It won't lose the finish of its with cleaning soon enough. You need to think about very carefully whether there is any high traffic spot in your kitchen.
Caulking under kitchen cabinet?
The floor of your home, when created and implemented the proper way, can hold as much splendor as your oak dining dining room table, decorative lighting or maybe the state-of-the-art fridge with the stainless steel doors. When choosing your kitchen flooring you will need to consider just how much traffic it will need to endure and exactly how much work you want to go through to keep it fresh.
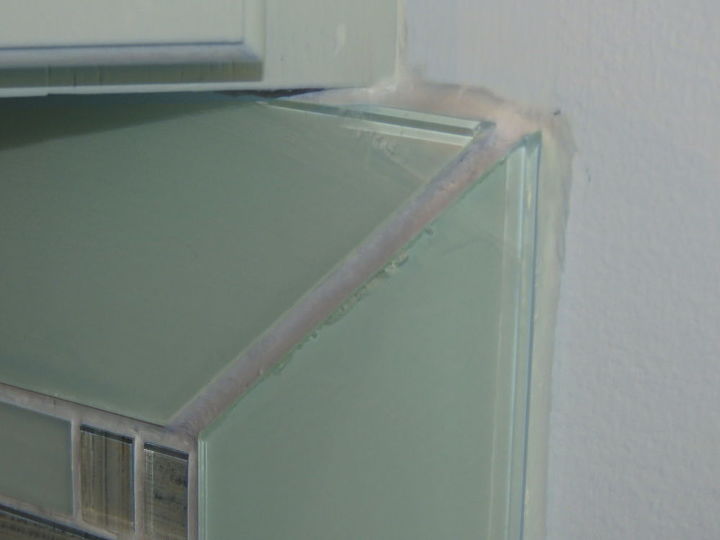
Caulking tile for our backsplash Hometalk
Using 7,500 Pennies, This Jeweler Decorated Her Floor As A Mosaic – HealthyLifeBoxx

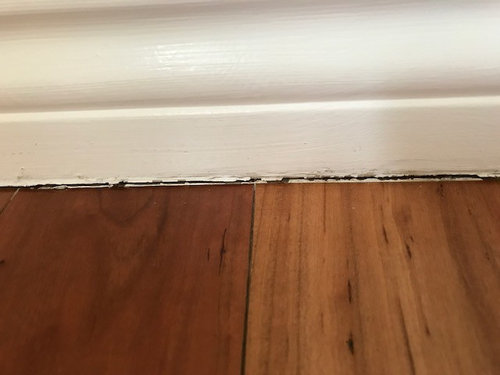
Caulk between trim and wood floor
Caulking Services for Bathrooms, Kitchens and Tile
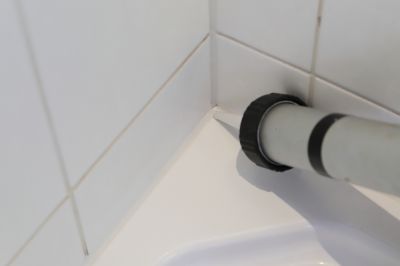
Inspected by 42 (ib42) – Ottawa Home Inspections: Caulking in the Bathroom

How To Lay Tile – A Detailed Guide To Floor Installation
How To Fix Cracked Grout in Tile Floor – Tile Grout Repair Tips #homerenovationtips Diy home

Filling Nail Holes And Caulking Gaps In Wood Trim Painting trim, Wood trim, Fill nail holes

Bathroom trends in 2021 Lexa Tiling 0425 802 036

100 Pictures of Mold in the Home

Galvanized Steel Garbage Can, No Lid, 26.5 Gallons, 25" x 18.5" Dia. H&S Building Supplies

Related Posts:
- What Is The Most Desirable Kitchen Floor Plan
- How To Lay Out A Kitchen Floor Plan
- Best Hardwood Floor Finish For Kitchen
- Wickes Kitchen Floor Tiles
- Kitchen Floor Replacement Options
- 20 X 10 Kitchen Floor Plans
- Kitchen Floor Plans By Size
- Kitchen Floor Storage Cabinets
- Kitchen Cabinets Flooring And Countertops
- Bamboo Kitchen Flooring Ideas
– Be sure to include proper citations to any sources used.
Caulking Kitchen Floor: A Comprehensive Guide
Maintaining a kitchen floor is of utmost importance, and caulking is one of the key steps in this process. Caulking prevents moisture, dirt, and other contaminants from entering the joint between two materials. It also helps keep the kitchen floor looking good and functioning properly. In this comprehensive guide, we’ll look at the basics of caulking, what you need to know before beginning, and how to properly caulk your kitchen floor for an excellent end result.
What is Caulking?
Caulking is a process that involves sealing cracks and gaps between two materials with a waterproof sealant. This sealant helps prevent water and pests from entering through the cracks or gaps, as well as providing an aesthetic improvement by improving the appearance of the area. Caulking can be used on a variety of surfaces such as tile, wood, metal, concrete, and more.
Why Caulk Kitchen Floors?
Caulking kitchen floors helps protect them from moisture damage that can occur over time due to water seeping into cracks or gaps in the flooring material. It also prevents dirt and other contaminants from entering these spaces, which can lead to an unsightly buildup that is difficult to clean. Additionally, caulking helps keep your kitchen looking neat and tidy by providing a clean line between the different materials used in the flooring.
What Materials Are Needed for Caulking Kitchen Floors?
Before beginning your caulking project, you’ll need to make sure you have all necessary materials on hand. These include a caulking gun (manual or electric), caulk (silicone-based or acrylic-based), cleaning cloths or paper towels, masking tape, utility knife or scissors, and a putty knife or spackle knife. If you are caulking tile floors, you may also need grout mixture and grout sealer if there are any potential grout lines that need to be sealed as well.
How To Caulk Kitchen Floors: Step-By-Step
Now that you have all of the necessary materials on hand, it’s time to begin caulking your kitchen floor! Follow these easy steps for best results:
1. Clean – Begin by cleaning the area around the joint where you will be applying caulk. Use a damp cloth or paper towel to remove any dirt or debris that could interfere with adhesion of the caulk. Allow the area to dry completely before proceeding with the next step.
2. Mask – Once the area has been cleaned and dried off completely, apply masking tape along both sides of the joint where you will be applying caulk. This will help ensure a straight line when applying caulk and it also helps protect surrounding surfaces from any dripping caulk during application.
3. Cut – Using a utility knife or scissors, cut off the tip of your caulking gun so that it creates an opening about ¼ inch wide (or according to manufacturer’s instructions). Make sure not to cut too much off!
4. Load – Load your caulk into the gun by pushing it firmly into place until It’s firmly seated. Make sure to use the correct type of caulk for your particular application – silicone-based caulk is best for waterproofing and acrylic-based caulk is best for adhesion.
5. Apply – Starting at one end of the joint, squeeze the trigger of your caulking gun to begin applying the caulk in a steady, even line. Follow the joint as you go, making sure to fill any gaps or cracks completely and to create a nice bead of caulk along the line.
6. Smooth – Once you have finished applying your caulk, use a putty knife or spackle knife to smooth out the bead. This will help ensure an even, attractive finish that will last for years.
7. Clean – Finally, remove any excess caulk with a damp cloth or paper towel before it has a chance to dry and harden.
And there you have it! Following these easy steps will help you achieve excellent results when caulking your kitchen floor and help keep it looking great for years to come.