Bathroom Floor Wet Under Tiles

Related Images about Bathroom Floor Wet Under Tiles
Wet tile floor in bathroom stock image. Image of toilet – 101076513

A wood floors must be impeccably installed to be able to stand a chance in the bathroom, in which moisture as well as standing water is able to ruin it quickly flat. The appropriate choices be an investment which will increase the price of your house, if and when you opt to sell the house of yours. Here once again, you've a few options.
UK BATHROOM
You are going to find porcelain tiles in an assortment of shapes, which includes square, hexagonal as well as octagonal styles – this is a massive edge in case you would like your remodeling contractors to personalize the bathroom of yours and provide it with a distinctive look. Some vinyl go with sticker backing. You are able to additionally find bathroom vinyl tiles which can be printed to resemble mats, tiles in single solid styles etc.
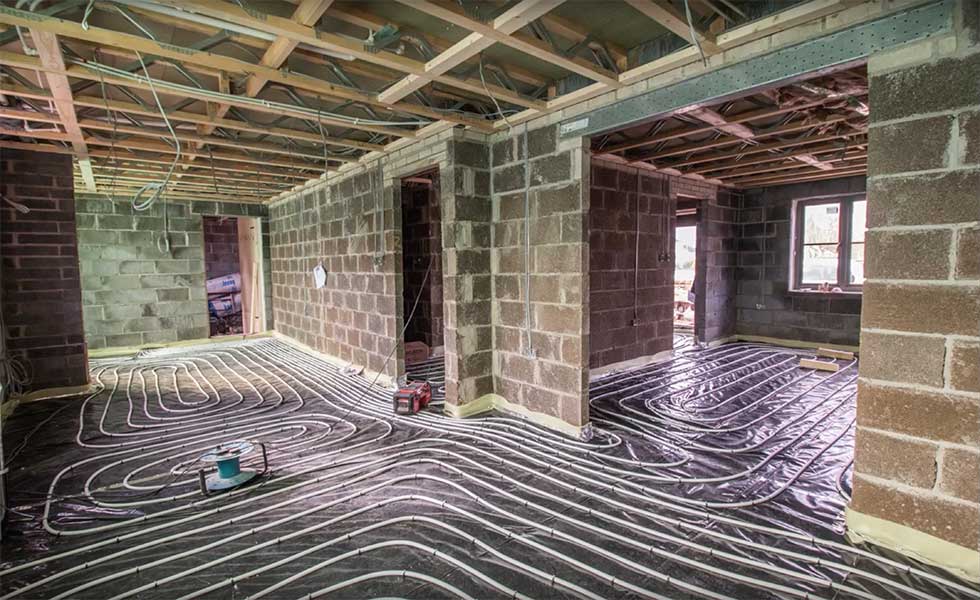
Underfloor Heating: A Beginner’s Guide Homebuilding & Renovating
If you choose to do the floor of yours in a single solid color, use colored grout which contrasts with the color of the tile. Choose prints which merge best with the theme of the bathroom as well as the home on the whole. Simple, affordable, tough, durable and liquid resistant, these tiles are a terrific choice for almost any form of bathroom.
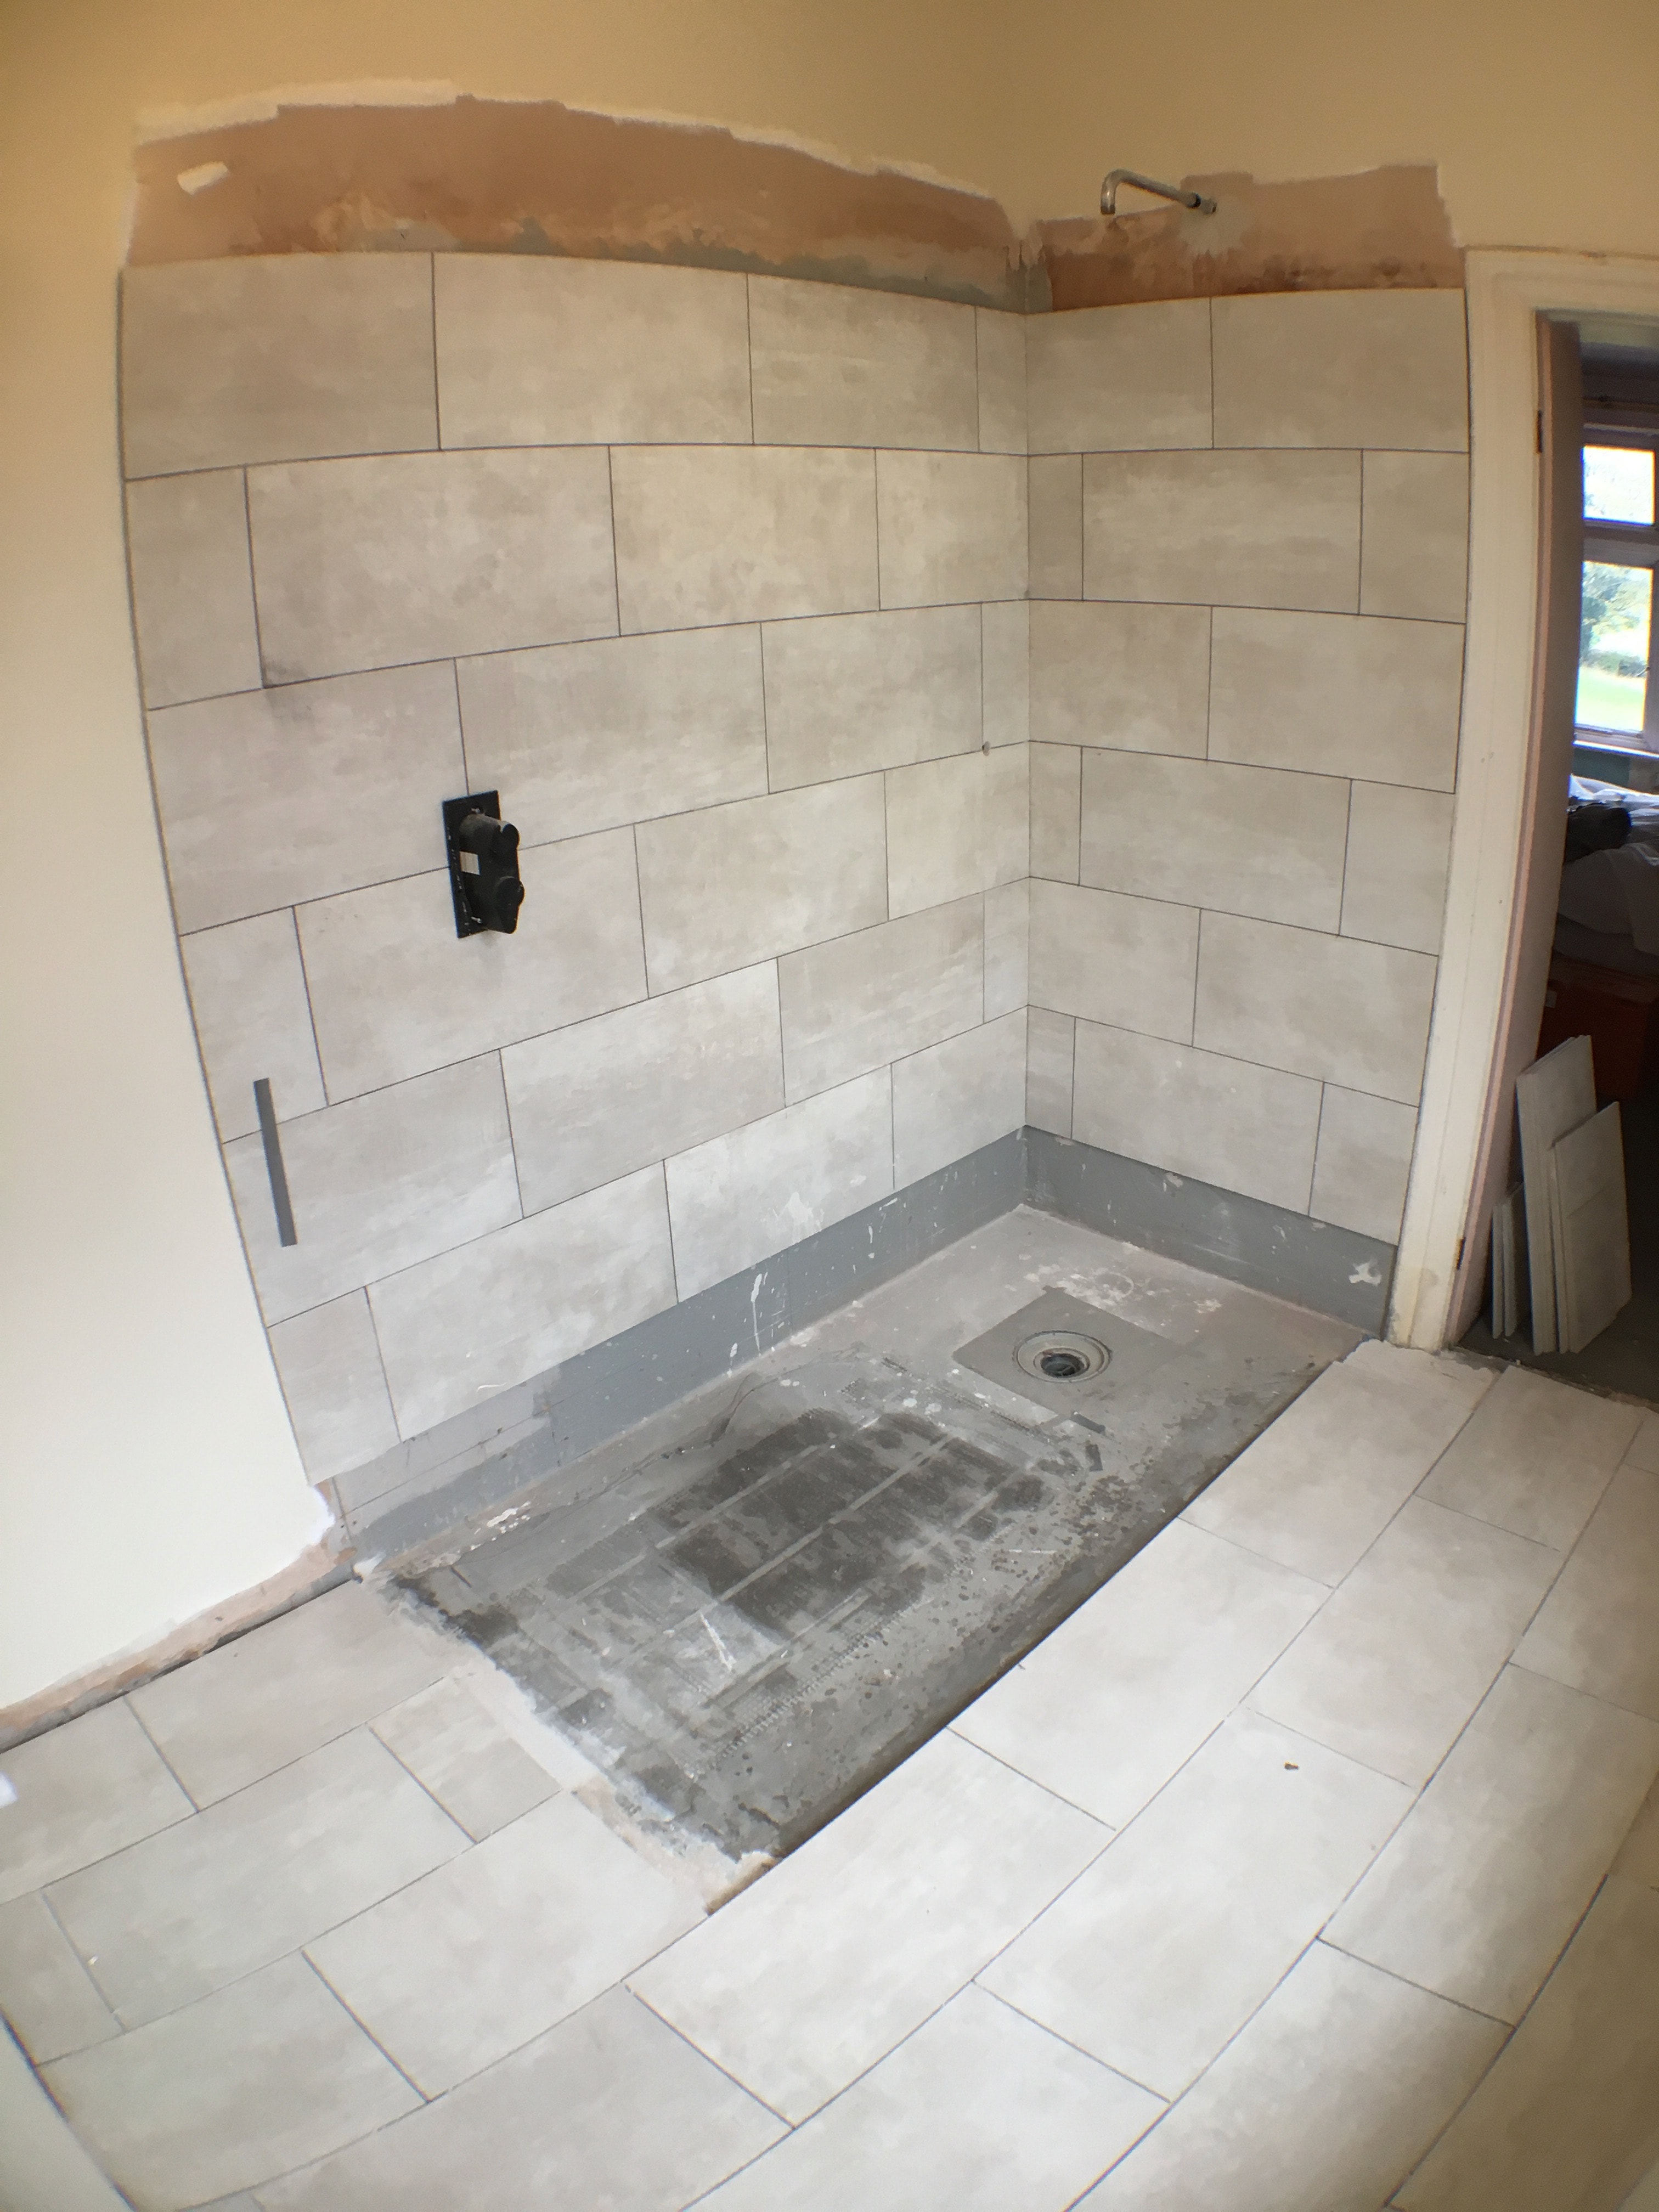
Installation Of New Tiles On A Bathroom Floor Photo – Getty Images

Install Tiles in Wet Areas: Is It OK to DIY? Tile Wizards Total Flooring Solutions
How To Demo A Bathroom (Removing Tile Floor Tips)
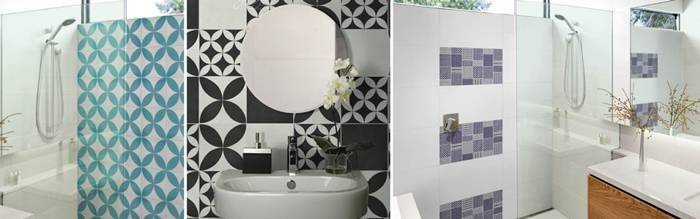
Groutless shower ideas

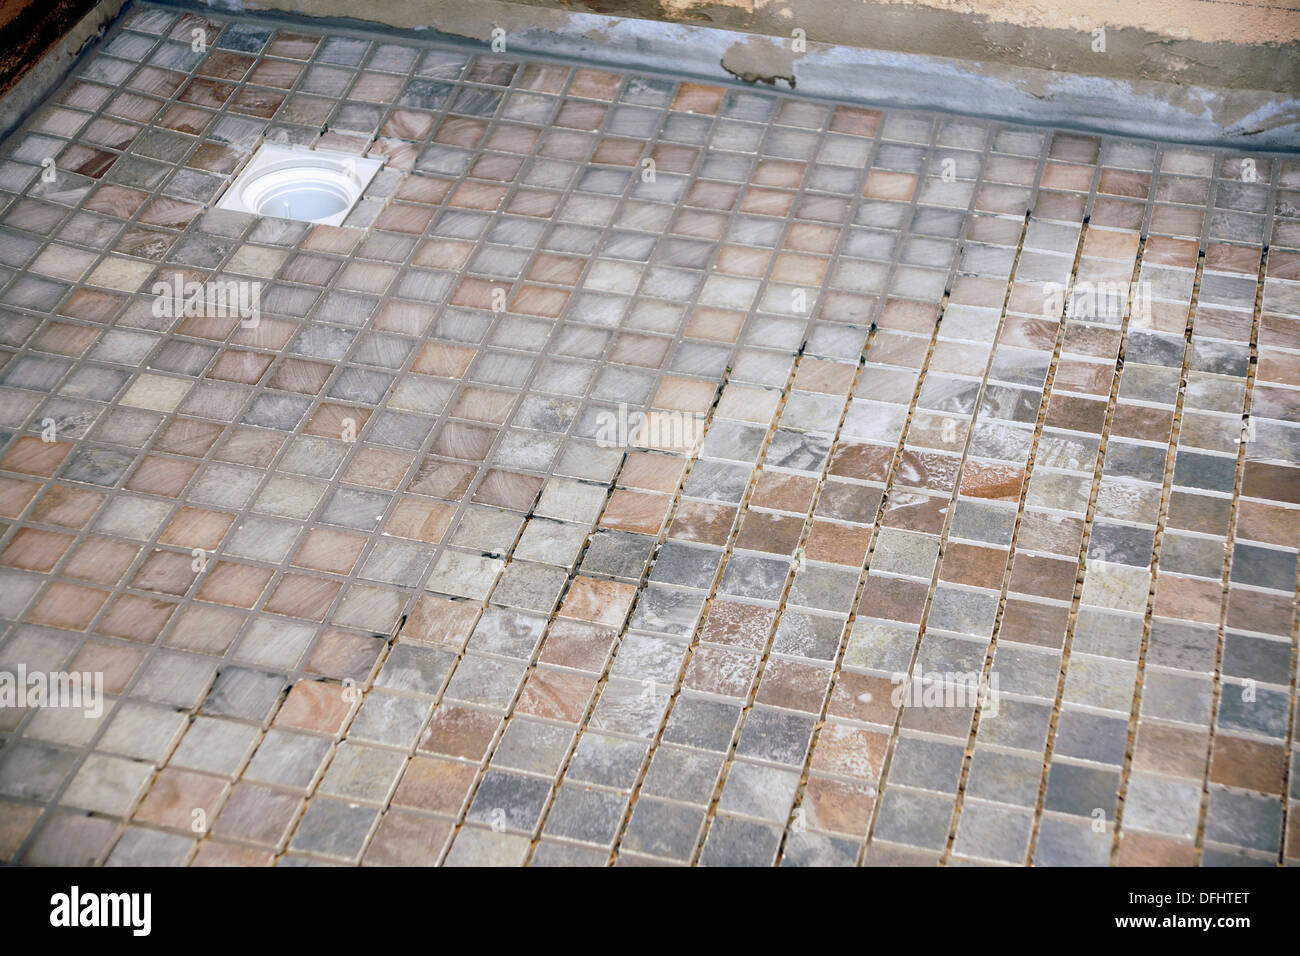
Non slip tiles used for the flooring in a wet room (shower bathroom Stock Photo: 61243360 – Alamy
absolute tiling

Bathroom Tile Design Ideas & Tile Murals – Balian Tile Studio
![]()
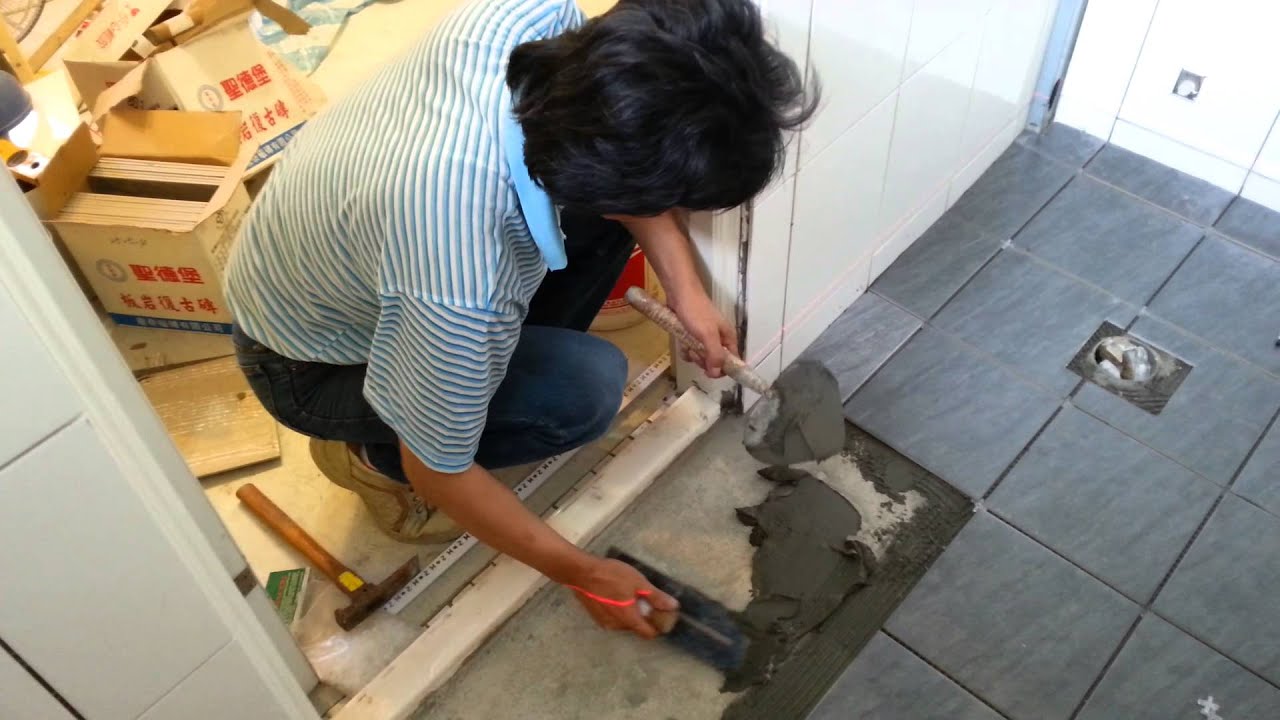
Tile Floor Installation in Bathroom – Part 1 – YouTube
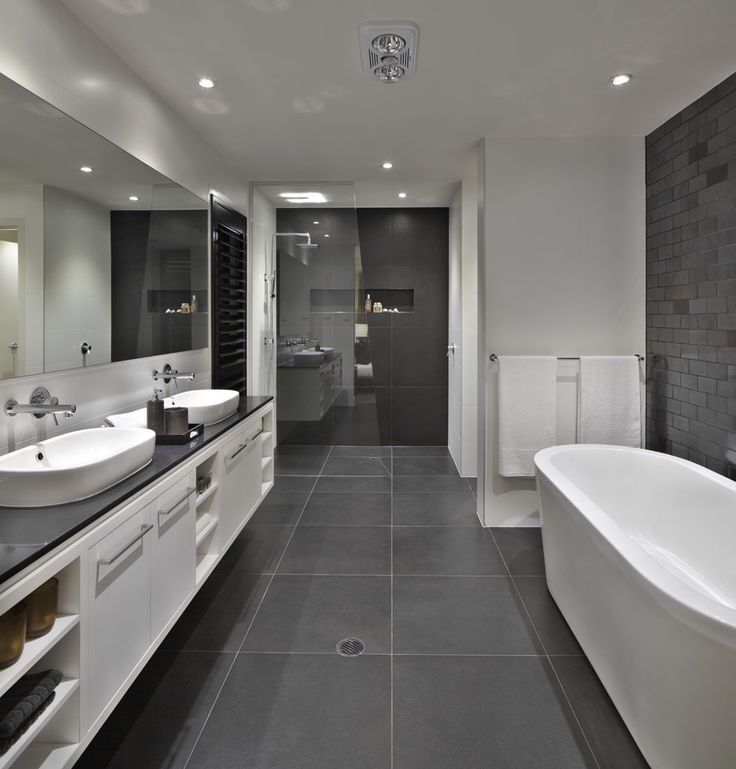
39 dark grey bathroom floor tiles ideas and pictures
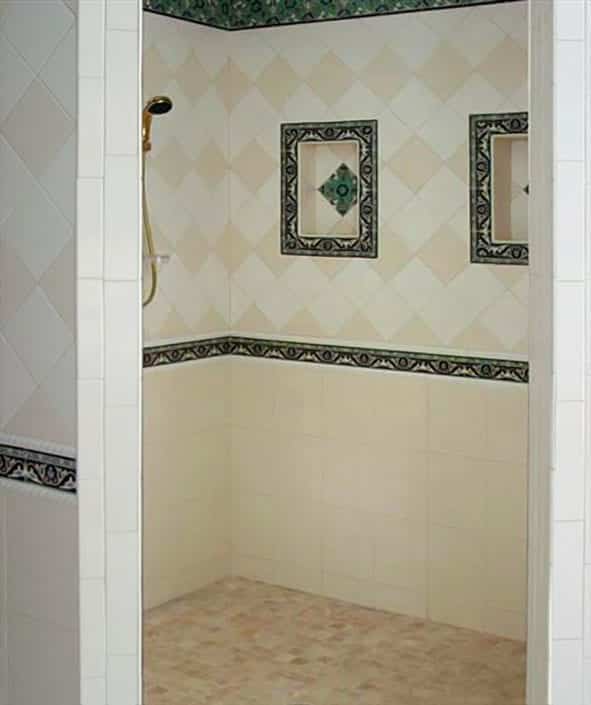
Open Shower with Blue and Green Mosaic Tiles – Contemporary – Bathroom

Bathroom Tile Design Ideas & Tile Murals – Balian Tile Studio
Related Posts:
- Bathroom Floor Tiles Price
- Cement Tile For Bathroom Floor
- Bathroom Floor Sky Painting
- Caught Me On The Bathroom Floor
- Heated Tile Floor Cost Per Square Foot
- Dirty Bathroom Floor
- Replace Bathroom Floor And Subfloor
- How To Make Bathroom Floor Waterproof
- Easy Bathroom Flooring Options
- Cheap Bathroom Floor Cabinets
Bathroom Floor Wet Under Tiles: Causes, Solutions, and Prevention
Introduction:
Discovering that your bathroom floor is wet under the tiles can be a cause for concern. Not only is it unsightly, but it may also indicate an underlying issue that needs to be addressed promptly. In this comprehensive article, we will delve into the possible causes of a wet bathroom floor under tiles, explore effective solutions to resolve the problem, and provide tips for prevention. By understanding the root causes and taking appropriate action, you can ensure a dry and healthy bathroom environment.
I. Causes of a Wet Bathroom Floor Under Tiles:
1. Water Leakage:
One common cause of a wet bathroom floor under tiles is water leakage. This can occur due to various reasons, such as damaged or improperly installed plumbing fixtures, worn-out seals or gaskets, or even cracks in the pipes. When water seeps through these openings, it can accumulate beneath the tiles and lead to a wet floor.
FAQ: How can I identify if water leakage is causing my wet bathroom floor?
To identify if water leakage is the culprit behind your wet bathroom floor, you can follow these steps:
1) Check for any visible signs of water damage on walls or ceilings adjacent to the bathroom.
2) Observe if there are any dripping sounds behind the walls when faucets or showers are used.
3) Inspect for pooling water around fixtures or in areas close to the bathroom.
2. Poor Waterproofing:
Another reason for a wet bathroom floor under tiles could be poor waterproofing during the initial installation process. If the waterproof membrane was not applied correctly or if it has deteriorated over time due to wear and tear, water can permeate through the tiles and saturate the underlying flooring material.
FAQ: Is poor waterproofing always evident immediately after installation?
No, poor waterproofing may not always be evident immediately after installation. It might take some time before symptoms become noticeable. Factors such as the frequency of water exposure, the type of tiles used, and the quality of installation can affect how quickly the issue becomes apparent.
3. Grout and Sealant Deterioration:
Over time, the grout and sealant between bathroom tiles can deteriorate due to constant exposure to water, cleaning agents, and general wear. When this happens, water can seep through the cracks and gaps, making its way beneath the tiles and causing a wet floor.
FAQ: How can I determine if deteriorated grout or sealant is causing my wet bathroom floor?
To check if deteriorated grout or sealant is responsible for your wet bathroom floor, you can perform the following checks:
1) Inspect the grout lines for any visible cracks or gaps.
2) Run your finger along the edges of tiles to feel for loose or crumbling sealant.
3) Test the areas around fixtures by spraying them with water and observing if any moisture seeps through.
II. Solutions to Address a Wet Bathroom Floor Under Tiles:
1. Fixing Water Leakage:
If water leakage is identified as the cause of a wet bathroom floor under tiles, it is crucial to address it promptly to prevent further damage. Depending on the severity and location of the leakage, you may need to hire a professional plumber to fix the issue. They will assess the problem, repair any damaged fixtures or pipes, replace faulty seals or gaskets, and ensure that all connections are tight and secure.
FAQ: Can I fix minor water leaks myself?
Yes, you can attempt to fix minor water leaks yourself if you have the necessary knowledge and skills. However, it is important to exercise caution and ensure that you understand the root cause of the leak before attempting any repairs. If you are unsure or if the leak is more severe, it is recommended to seek professional help to avoid causing further damage. 2. Improving Waterproofing:
To address poor waterproofing and prevent a wet bathroom floor under tiles, you can consider the following solutions:
– Reapply waterproof membrane: If the existing membrane has deteriorated or was not applied correctly, you may need to remove the tiles and apply a new waterproof membrane. This ensures that water cannot seep through to the underlying flooring material.
– Use waterproofing additives: Additives can be mixed with tile adhesive or grout to enhance their waterproofing properties. This can help create a stronger barrier against water penetration.
– Seal cracks and gaps: Inspect the grout lines and seal any visible cracks or gaps using an appropriate sealant. This prevents water from seeping through and causing a wet floor.
3. Repairing Grout and Sealant:
To fix deteriorated grout and sealant and prevent water from permeating through, you can try the following solutions:
– Remove old grout and sealant: Use a grout saw or scraper to remove the old, deteriorated grout from between the tiles. Similarly, remove old sealant using a caulk removal tool.
– Reapply new grout and sealant: After removing the old materials, clean the area thoroughly and apply new grout using a grout float. Once the grout has dried, apply new sealant along the edges of the tiles using a caulk gun.
It is important to note that if you are unsure about any of these solutions or if the issues are more severe, it is always recommended to seek professional help. They will have the expertise and experience to address the problems effectively and ensure long-lasting solutions.