How To Redo Grout In Bathroom Floor
Related Images about How To Redo Grout In Bathroom Floor
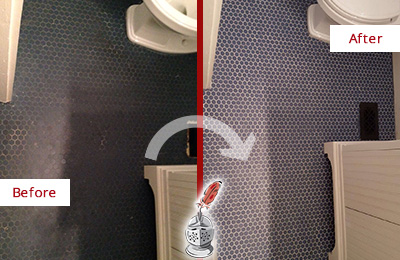
Bathroom Renovation – Floor Grout Problem The contractors … Flickr

Ceramic is the ideal choice of bathroom flooring because it’s affordable, stylish, water proof and easy to maintain. These tiles are believed to be as one of the maximum bases as they are long lasting and not very costly. You can decide to do your bathroom tile in solid colors or even go in for printed or mosaic patterned tiles. or perhaps you are able to make it simple and functional using plain colored flooring.
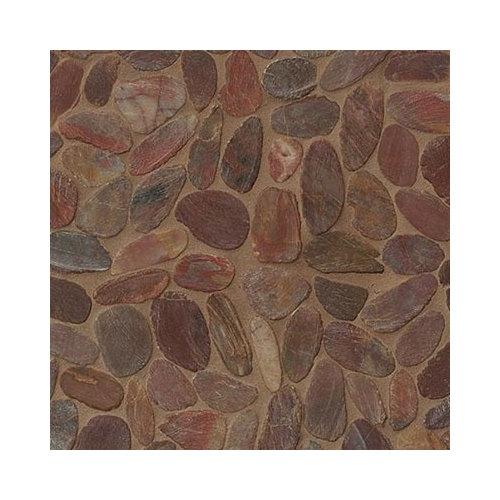
Kavala White Matte Porcelain Tile in 2020 Porcelain tile bathroom, Gray porcelain tile

So we’ve established that your bathroom floor needs to find a way to be cleaned thoroughly as well as regularly as well as be comfortable under feet and with this in brain I would suggest a tile flooring for the bath room. One more promising choice is carpet, which should be resistant to water, stain, as well as mildew to be able to last for a long time.
How To Tile A Bathroom Floor

You can refurbish as well as change these tiles with no much hassle. Choose from different choices as marble, limestone, as well as travertine. In the event that choose cork, a flooring material overloaded with good attributes, as it is warm underfoot and sound insulation, along with being rot-proof and non-slip even when damp. For starters, not one of these flooring choices are hard adequate, barring hardwood.
Suggest one or more types of grout for bathroom floor and shower floor
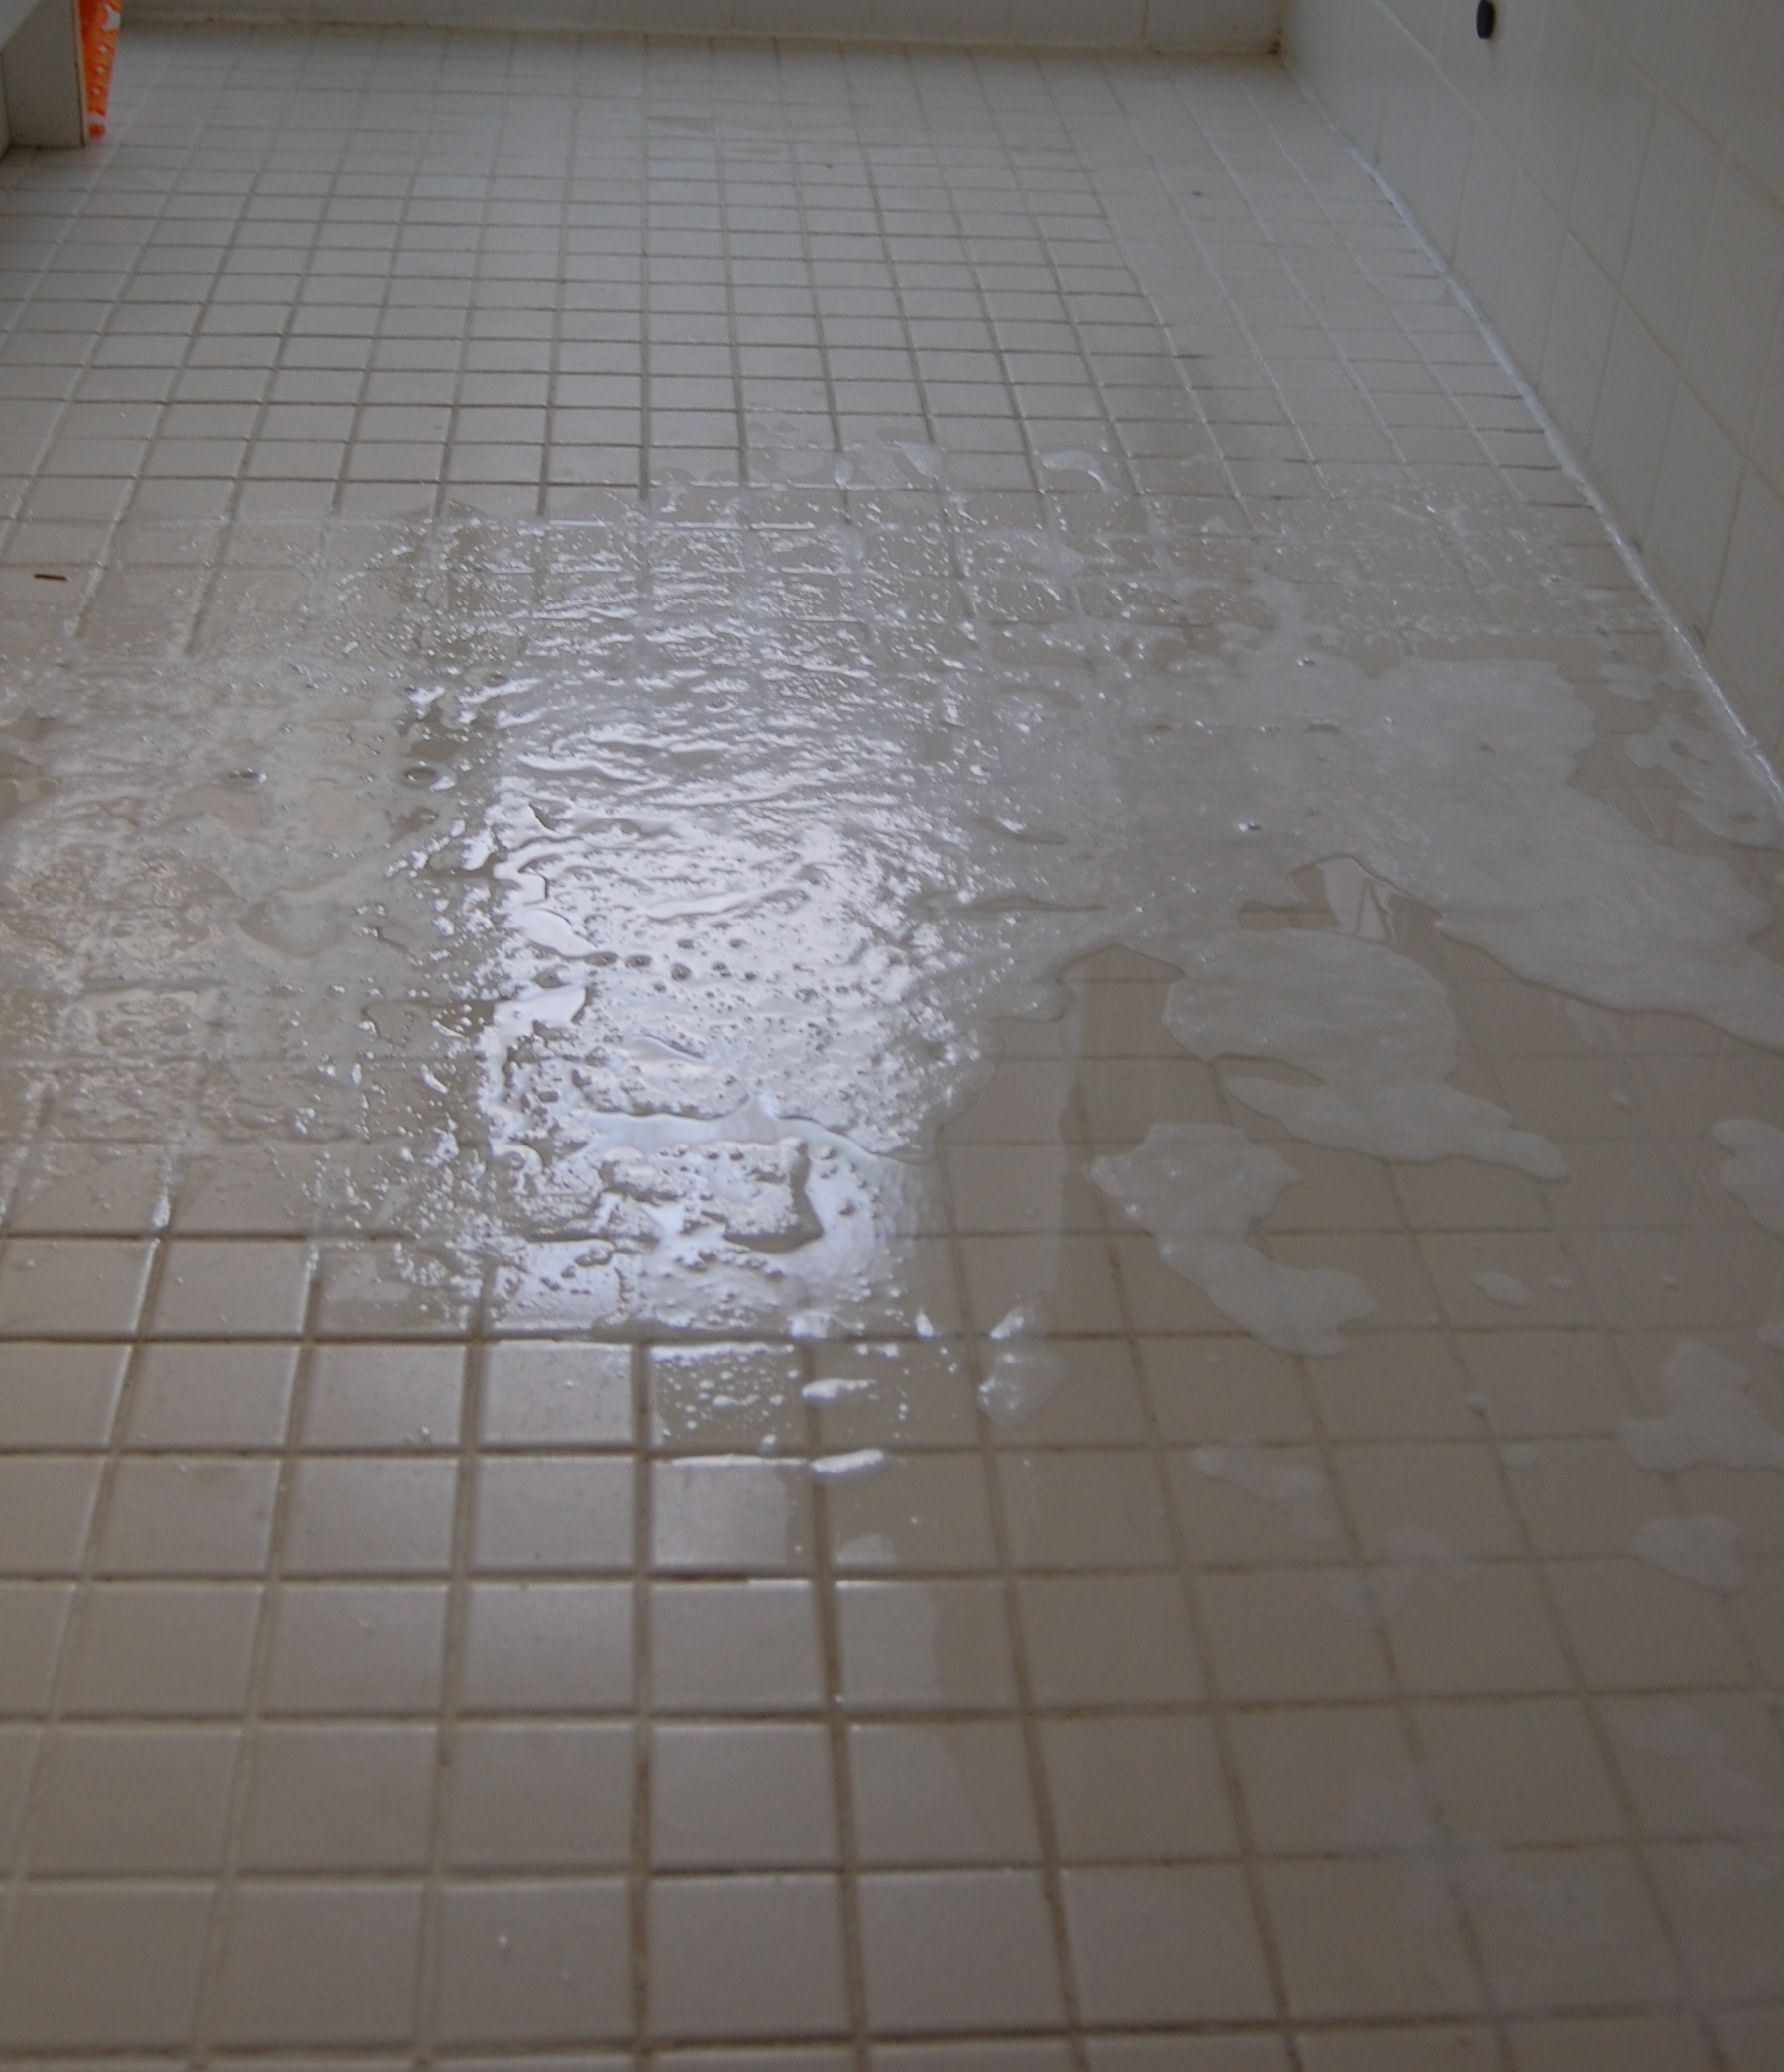
How to Grout a Tile Floor: 12 Steps (with Pictures) – wikiHow

The Best Grout & How To Pick The Right Grout Color Young House Love Grout color, White

Bathroom Floor Refresh: how I changed the color of my grout Bathroom grout, Diy grout

Subway Tile Patterns [Ultimate Guide To 12 Easy Patterns] Subway tile patterns, Shower tile

Remodelaholic Bathroom Redo: Grouted Peel and Stick Floor Tiles

Remodelaholic How to Tile a Bathroom Floor

Subway tile, penny round, dark gray grout Updating house, Vintage tile floor, Bathrooms remodel

Pin on Bathroom

White subway tile & charcoal grout Tile shower niche, Laundry room tile, Bathroom remodel master

How To Clean Grout
Related Posts:
- Bathroom Floor Tiles Price
- Cement Tile For Bathroom Floor
- Bathroom Floor Sky Painting
- Caught Me On The Bathroom Floor
- Heated Tile Floor Cost Per Square Foot
- Dirty Bathroom Floor
- Replace Bathroom Floor And Subfloor
- How To Make Bathroom Floor Waterproof
- Easy Bathroom Flooring Options
- Cheap Bathroom Floor Cabinets
Are you tired of looking at the dingy and worn-out grout in your bathroom floor? Redoing the grout can instantly refresh the look of your bathroom and make it look brand new. While it may seem like a daunting task, with the right tools and techniques, you can easily redo the grout in your bathroom floor yourself. In this article, we will guide you through the process of redoing grout in your bathroom floor so that you can enjoy a fresh and clean space.
Preparation
The first step in redoing the grout in your bathroom floor is to prepare the area. Start by removing any old grout using a grout saw or a rotary tool. Make sure to wear protective gear such as gloves and goggles to prevent any injuries. Once the old grout has been removed, clean the tiles thoroughly to remove any dirt or debris. Use a mild detergent and water to scrub the tiles clean.
Mixing and Applying Grout
Next, mix the grout according to the manufacturer’s instructions. Make sure to use a grout color that matches the existing grout in your bathroom floor. Using a rubber float, apply the grout to the tiles at a 45-degree angle, pressing it into the joints firmly. Work in small sections at a time to ensure that the grout does not dry out before you can finish.
Cleaning Up
After you have applied the grout, use a damp sponge to wipe away any excess grout from the tiles. Make sure to rinse out the sponge frequently to avoid spreading grout residue on the tiles. Once you have cleaned up the excess grout, allow the grout to dry for at least 24 hours before walking on it.
Sealing
To protect your newly redone grout from stains and moisture, it is important to seal it after it has dried completely. Apply a sealer over the grout lines using a brush or roller, making sure to cover all of the joints evenly. Allow the sealer to dry according to the manufacturer’s instructions before using your bathroom.
Common Mistakes to Avoid:
1. Not removing old grout completely before applying new grout.
2. Using too much water when mixing grout, which can weaken its bond.
3. Not allowing enough time for the grout to dry before sealing.
4. Applying too much pressure when cleaning excess grout, which can cause it to come loose.
FAQs:
1. How long does it take for newly applied grout to dry completely?
It typically takes about 24 hours for newly applied grout to dry completely before it can be sealed.
2. Can I use a different color of grout than what was previously used?
It is recommended to use a matching color of grout for a seamless look, but you can choose a different color if you prefer.
3. Do I need special tools to redo grout in my bathroom floor?
While having specific tools such as a grout saw or rotary tool can make the job easier, you can also use basic tools such as a sponge and rubber float.
4. How often should I reseal my bathroom floor grout?
It is recommended to reseal your bathroom floor grout every 1-2 years to maintain its durability and appearance.
5. Can I walk on freshly applied grout immediately?
It is best to avoid walking on freshly applied grout for at least 24 hours to allow it to set properly and prevent Any damage.
By following these steps and avoiding common mistakes, you can successfully redo the grout in your bathroom floor and keep it looking clean and well-maintained. Remember to wear protective gear, take your time during the process, and allow the grout to dry properly before using your bathroom. If you have any further questions or concerns, consult with a professional for assistance.