3d Kitchen Floor
Related Images about 3d Kitchen Floor
Kitchen 3D Flooring, Indoor, Rs 900 /square feet Touchwood Decorator ID: 18130393733

How difficult will this floor be to keep the same appearance of its? Does it take a good deal of traffic and will this room flooring option hold up to wear and tear over the years. The appropriate flooring is able to have a big effect in a kitchen. For example flooring with neutral or light tones produces an impression of light and space. Considering the variety of uses, the kitchen flooring of yours has to be both durable yet have to be visually extraordinary.
3D DESIGN FOR YOUR REMODEL – Morey Remodeling

With increasingly more kitchens opened up to the remainder of the living space, the flooring has become important choice in the decorating of that room. This particular type of flooring can add a fresh and natural look to kitchens and also offer unique appeal and warmth to anyone's home decor. A few might even elect to have guests in the kitchen.
Designing 3D Kitchen
There are various home improvement or flooring stores that may help you make the very best kitchen flooring choice as they have trained personnel to help you. Linoleum is the material of choice for those who value the environment since it is made with all-natural materials. The ceramic tiles are available in various sizes, although the twelve to eighteen inch squares are the most common.
18 Most Creative Flooring Ideas You Should Try In 2017
Stylish 3D Flooring Designs In Your Home
3d Effect 3d Kitchen Modern 3d Tiles – Popular Century

Visualize Flooring Design Ideas Online Roomsketcher Blog

About Kitchen Worktops

Pin on Customer Projects DIRECT COLORS

Best 3D flooring images with epoxy coating for kitchens 2019

Free PNG Top View- Trees, Cars, Landscape, furniture, architecture – Architectural Rendering

Kitchen Cabinet (Version 2) Floor to ceiling cabinets, Home decor kitchen, Floor to ceiling

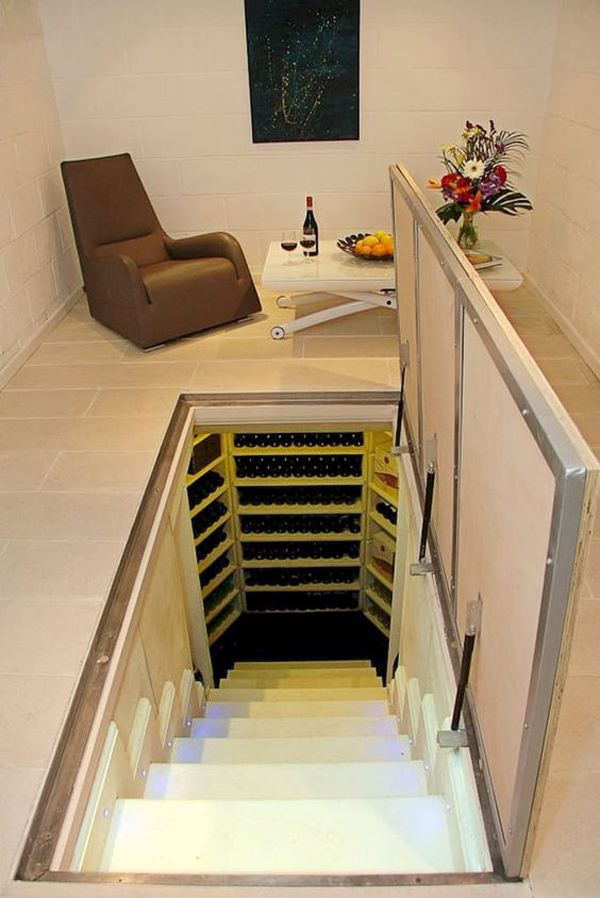
under-floors-secret-room-ideas-with-wine-storage HomeMydesign
freestanding kitchen storage from wall cabinets – IKEA Hackers – IKEA Hackers

Related Posts:
- What Is The Most Desirable Kitchen Floor Plan
- How To Lay Out A Kitchen Floor Plan
- Best Hardwood Floor Finish For Kitchen
- Wickes Kitchen Floor Tiles
- Kitchen Floor Replacement Options
- 20 X 10 Kitchen Floor Plans
- Kitchen Floor Plans By Size
- Kitchen Floor Storage Cabinets
- Kitchen Cabinets Flooring And Countertops
- Bamboo Kitchen Flooring Ideas
The 3D Kitchen Floor: A Revolutionary Way to Transform Your Space
Introduction:
The kitchen is often considered the heart of the home, a place where families come together to cook, eat, and bond. Therefore, it’s important to create a kitchen that not only meets your functional needs but also reflects your personal style. One innovative way to achieve this is by installing a 3D kitchen floor. This cutting-edge flooring solution has gained popularity in recent years due to its ability to add depth and dimension to any space. In this article, we will explore the world of 3D kitchen floors, discussing their benefits, installation process, maintenance requirements, and much more.
I. Understanding 3D Kitchen Floors
A. What are 3D kitchen floors?
– A 3D kitchen floor is an artistic flooring option that utilizes advanced technology and high-quality materials.
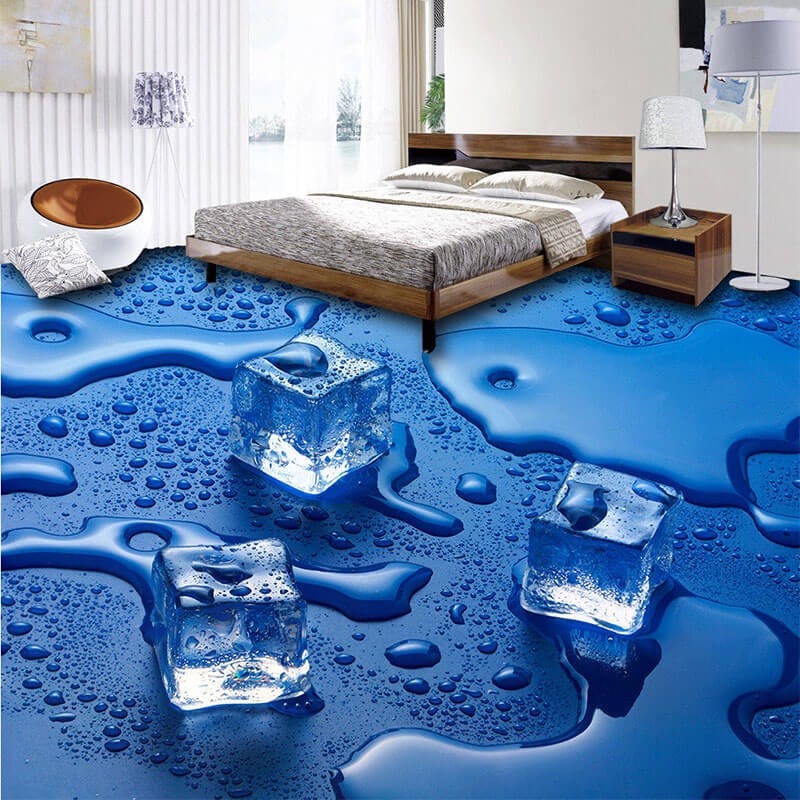
– It creates an optical illusion of depth and texture, making the floor appear as if it’s three-dimensional.
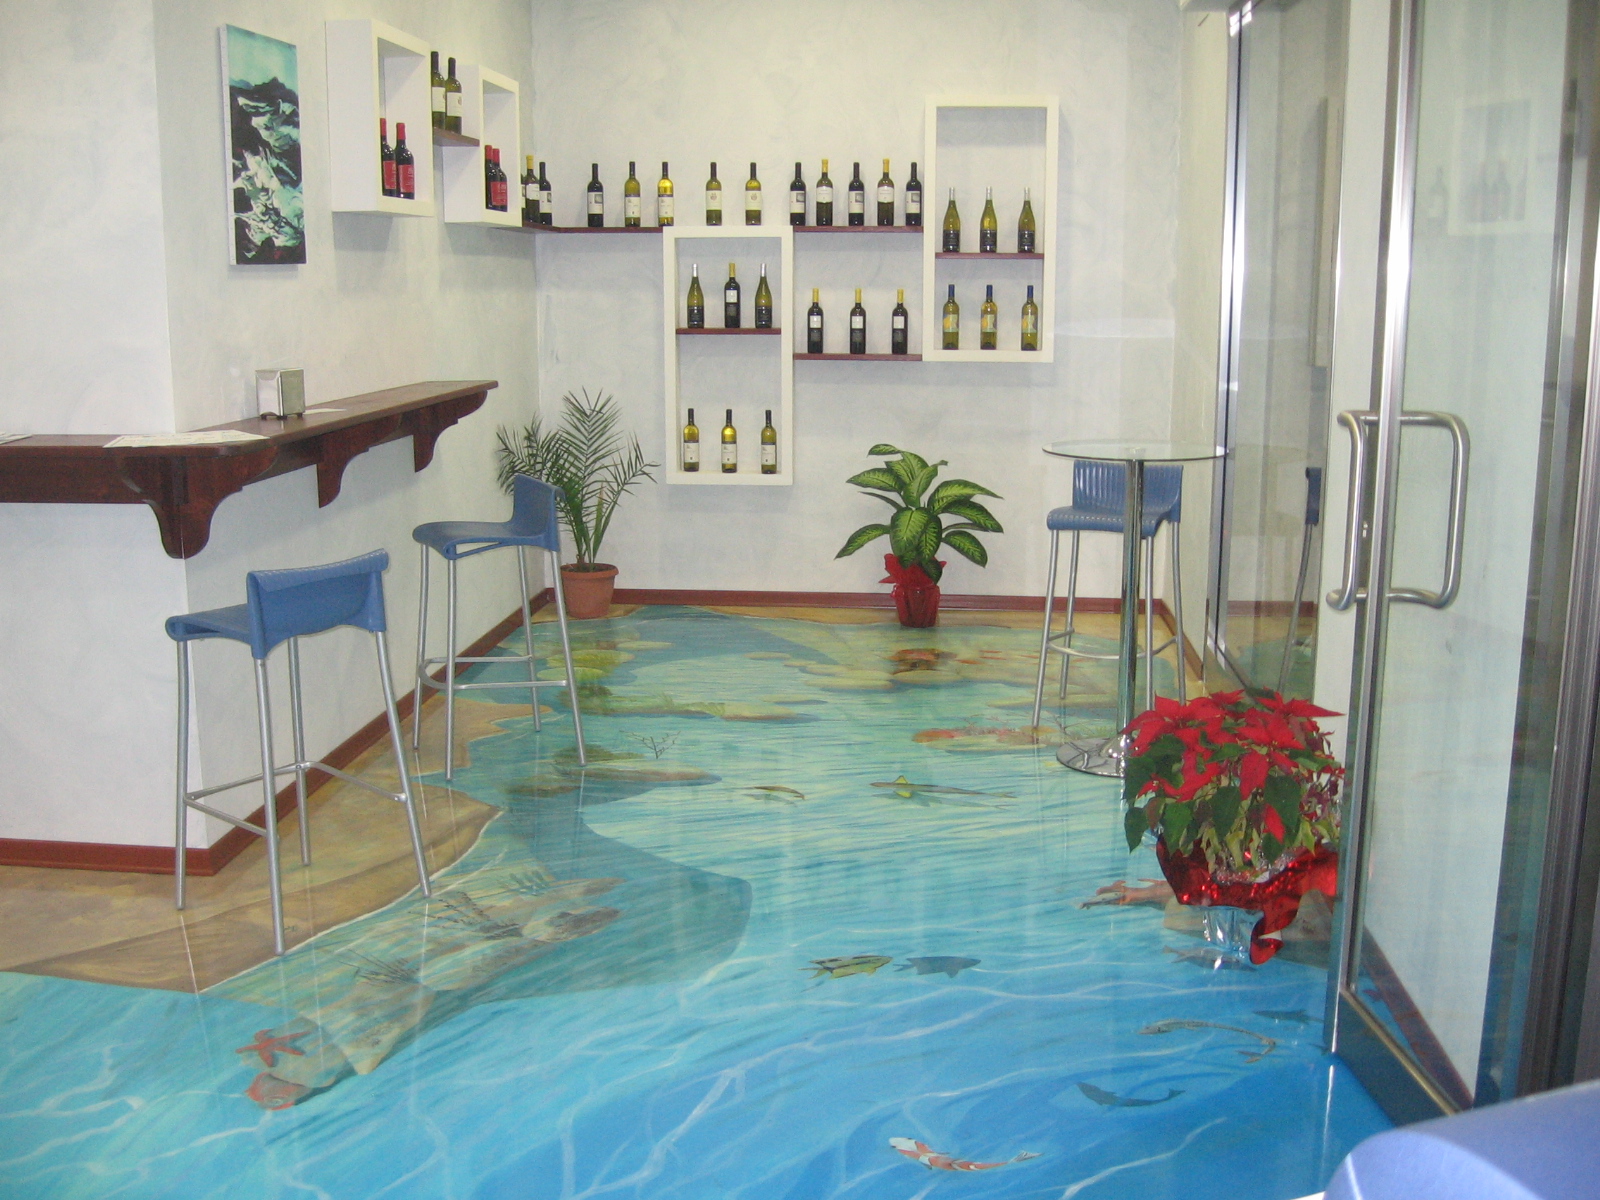
– These floors often feature realistic designs such as underwater scenes, landscapes, or abstract patterns.
B. How do 3D kitchen floors work?
– The illusion of depth in a 3D kitchen floor is achieved through a combination of specialized printing techniques and multiple layers of clear resin.
– The design is printed onto a vinyl or laminate sheet using high-resolution printers.
– The printed sheet is then coated with several layers of clear resin that provide protection and enhance the three-dimensional effect.
C. What are the benefits of installing a 3D kitchen floor?
1. Visual appeal: A 3D kitchen floor adds a unique and visually striking element to your space. It can transform an ordinary kitchen into an extraordinary one.
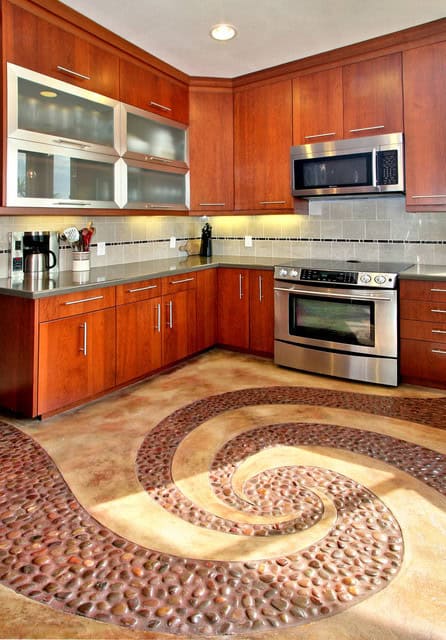
2. Customization options: With countless design possibilities available, you can choose a 3D floor that perfectly matches your personal style and complements your existing decor.
3. Illusion of space: Due to their ability to create depth, 3D kitchen floors can make a small kitchen appear larger and more spacious.
4. Durability: These floors are designed to withstand heavy foot traffic and daily use, making them a practical choice for kitchens.
5. Easy maintenance: 3D kitchen floors are generally easy to clean and maintain. They are resistant to stains, scratches, and water damage.
II. Installation Process of 3D Kitchen Floors
A. Preparing the subfloor:
– The first step in installing a 3D kitchen floor is to prepare the subfloor by ensuring it is clean, level, and free from any imperfections.
– Any existing flooring must be removed, and the subfloor should be thoroughly cleaned and dried.
B. Applying adhesive:
– Once the subfloor is ready, an adhesive layer is applied using a trowel or roller.
– The adhesive should be spread evenly to ensure proper bonding between the subfloor and the new flooring.
C. Placing the 3D floor:
– The printed vinyl or laminate sheet is carefully positioned on top of the adhesive layer.
– It is crucial to align the design properly with the desired location to achieve a seamless look.
D. Smoothing out air bubbles:
– After placing the 3D floor, a specialized tool called a smoothing roller is used to eliminate any air bubbles trapped between the floor and the adhesive.
– This step is crucial for achieving a flawless finish And ensuring the design remains intact.
E. Applying clear resin:
– Once the floor is smooth and free from any air bubbles, several layers of clear resin are applied.
– The resin not only enhances the three-dimensional effect but also provides protection for the design.
– Each layer of resin must be allowed to dry completely before applying the next one.
F. Finishing touches:
– After the final layer of resin has dried, any excess material or uneven edges are trimmed and smoothed out.
– The floor is then cleaned and polished to achieve a glossy and seamless finish.
G. Maintenance tips:
– To maintain the beauty of a 3D kitchen floor, it is important to avoid using abrasive cleaners or scrubbing brushes that could damage the surface.
– Regular sweeping or vacuuming, followed by mopping with a mild cleaning solution, is usually sufficient for routine maintenance.
– It is also recommended to place mats or rugs in high-traffic areas to protect the floor from excessive wear and tear. – Spills should be cleaned up immediately to prevent staining.
– Furniture should be lifted when moving to avoid scratching the floor.
– Avoid dragging heavy objects across the floor to prevent damage.
– Regularly inspect the floor for any signs of wear or damage and address them promptly.
– Avoid exposing the floor to excessive heat or direct sunlight, as it can cause fading or warping.
– Follow any specific care instructions provided by the manufacturer.